Categories
DIY Kids

DIY String Art

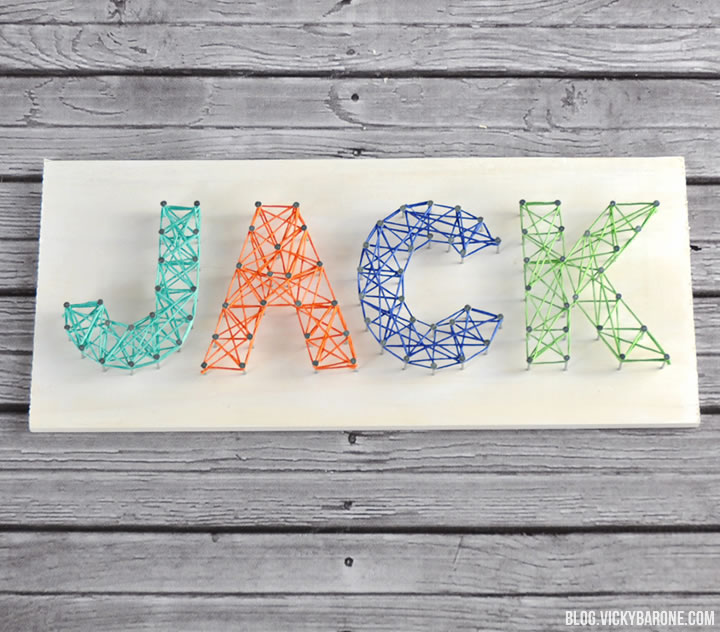
Today we’re sharing a super cute DIY that has been popping up all over Pinterest (how cool is this extra-large installation?!). String art decor is a great project for a rainy day and a name plate like this one would make a great gift!

DIY String Art | Vicky Barone

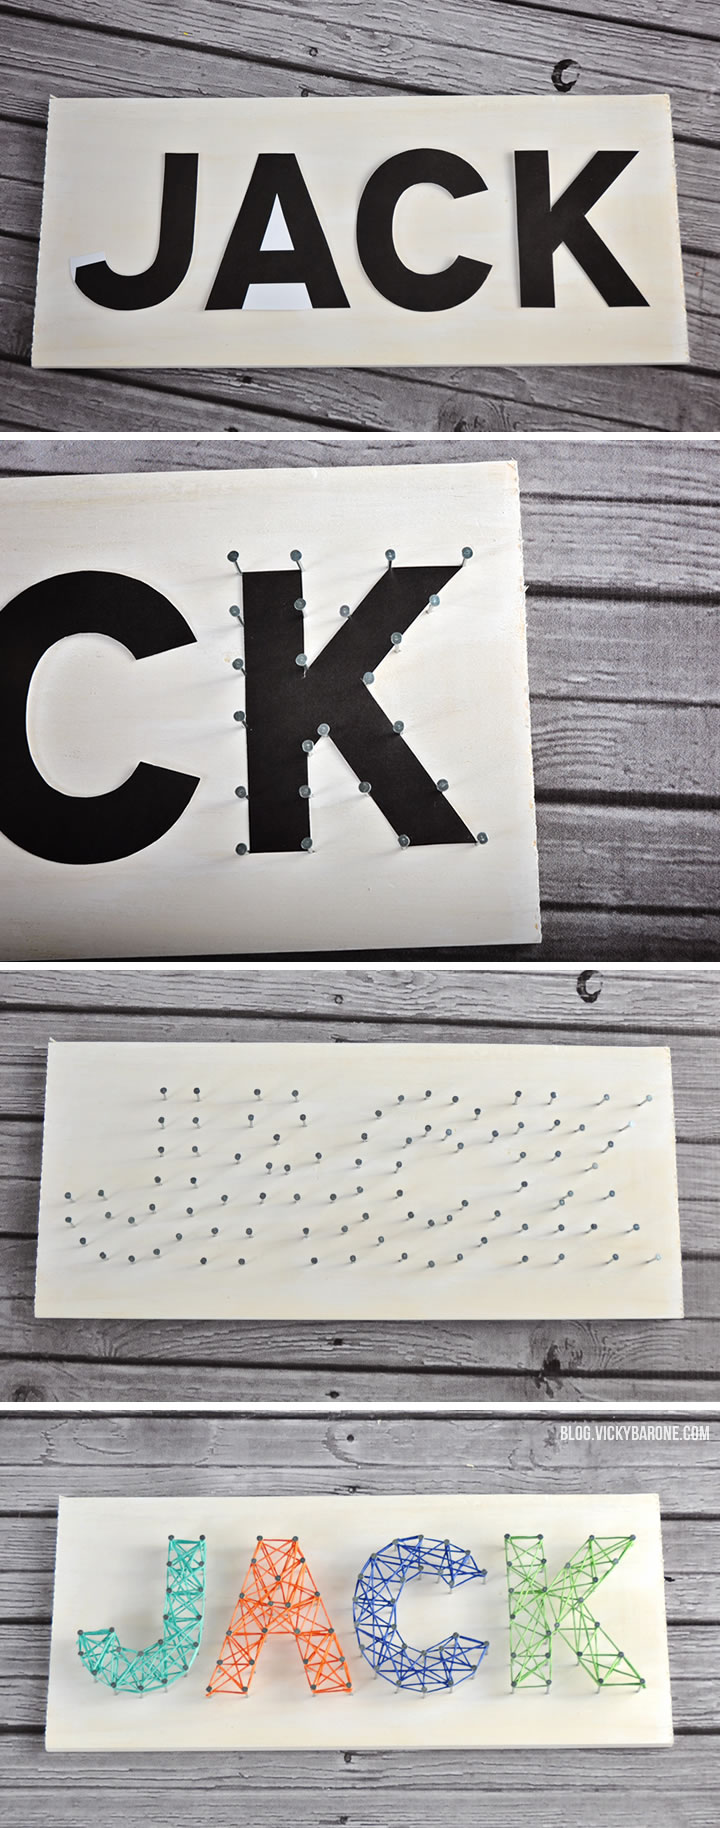
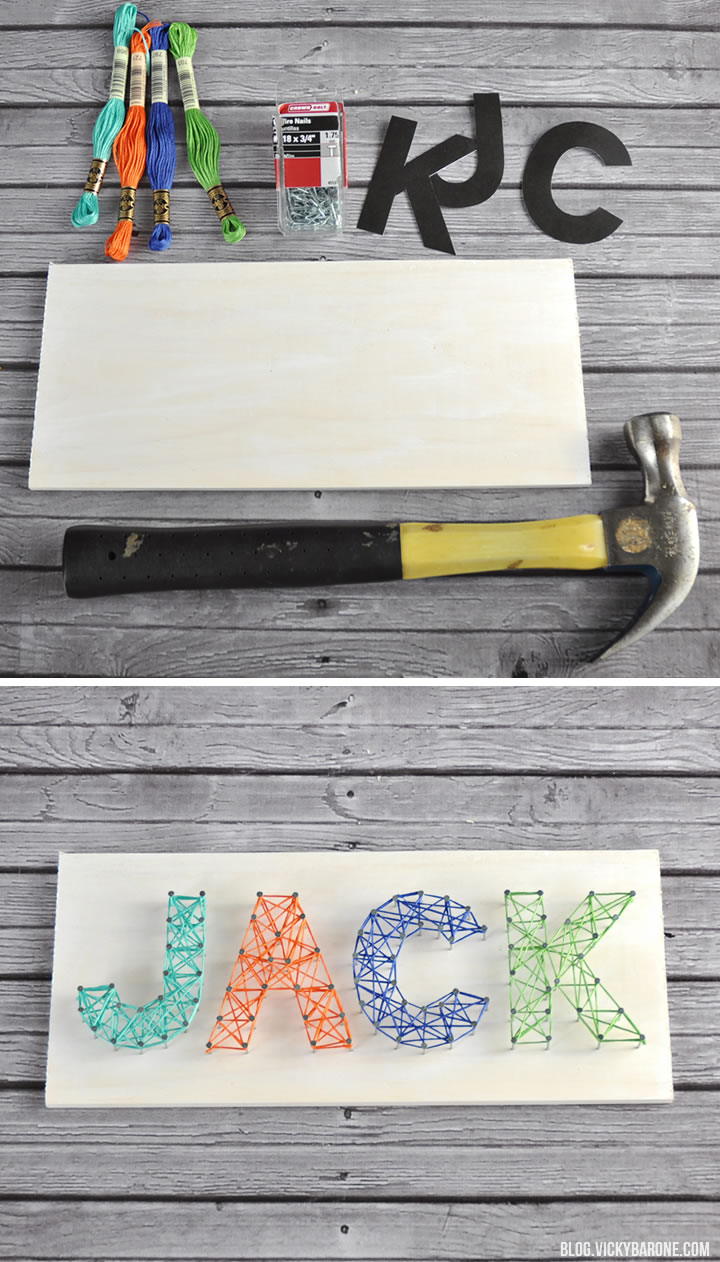
Supplies: a piece of wood (anything from pallet wood to unfinished wood), nails, a hammer, printed letters, and colorful embroidery floss.

DIY String Art | Vicky Barone

Directions:
1. Place the letters (or whatever design outline you choose) on to the wood. Keep them lightly in place with a piece of tape or a pin.
2. Add nails around the outside perimeter of the letters, equal distance apart.
3. Remove the paper letters and discard.
4. Tie a piece of embroidery floss to a nail and begin wrapping! Use a haphazard approach to wrapping so the string stays in place. When it looks like the picture above, you can stop, or keep wrapping to make the letters even more full. Have fun with it!

DIY String Art | Vicky Barone

Categories
DIY Holidays Kids

Turkey Handprints

Is your Thanksgiving Eve rainy or snowy like ours? If this weather keeps you stuck inside, try this easy (and messy) craft for kids!

We used paper, acrylic paint in brown, red, yellow, and orange, paint brushes, markers, and googly eyes.

If your child is old enough, they can paint their own hand with each of the colors! My boys are 5 and 2, so I helped them out with this step. Paint the palm of their hand and thumb with brown paint for the turkey’s body. Paint the four fingers red, yellow, blue, and orange (or any colors they’d like!) for the feathers. Once their hand is covered, have them press it down on the paper and lift up their hand carefully. Once the paint is dry, use markers to add legs, a beak, and a gobbler, and a little dot of glue to add the googly eye.

Before adding the googly eye, I scanned each turkey into my computer and printed multiple copies. Add names with a gold paint pen and these make great place cards for the Thanksgiving table!

Categories
DIY Holidays Kids

Chick & Lamb Easter Craft

This post contains affiliate links. If purchased, I will receive a commission, but the price stays the same for you!

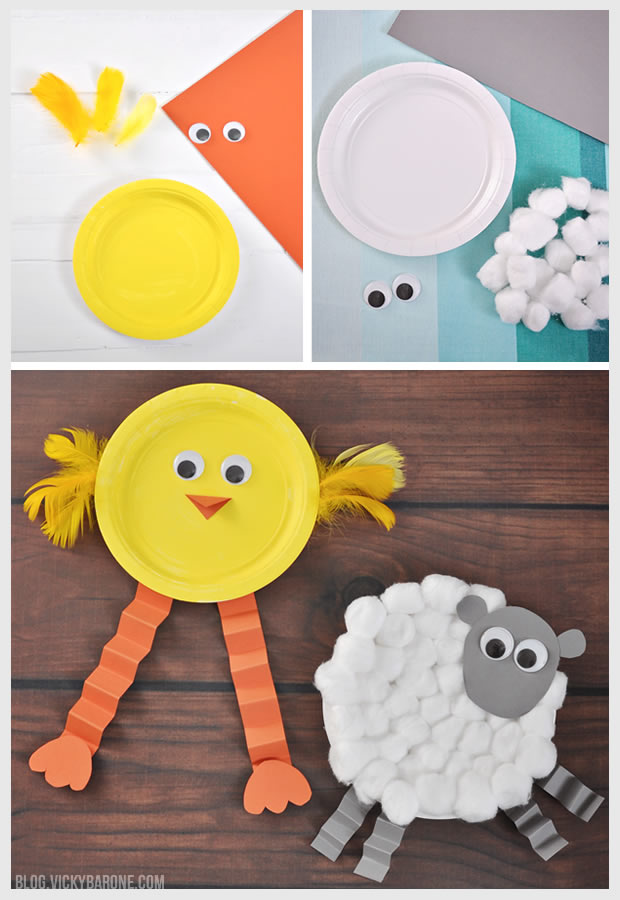
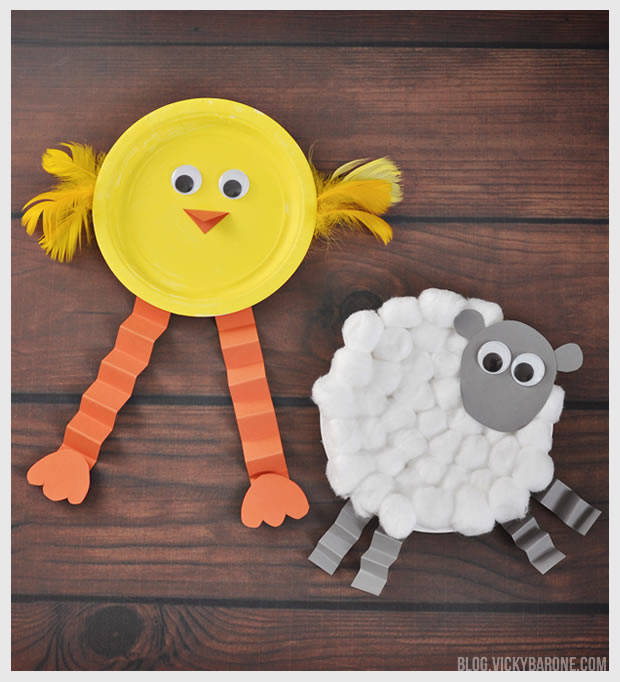
While looking for Easter crafts for the boys, we stumbled upon this adorable paper plate baby chick. We loved that little guy so much we decided to make him a lamb friend! We think anything with googly eyes is hysterical, so of course we had a lot of fun with these silly Easter characters.

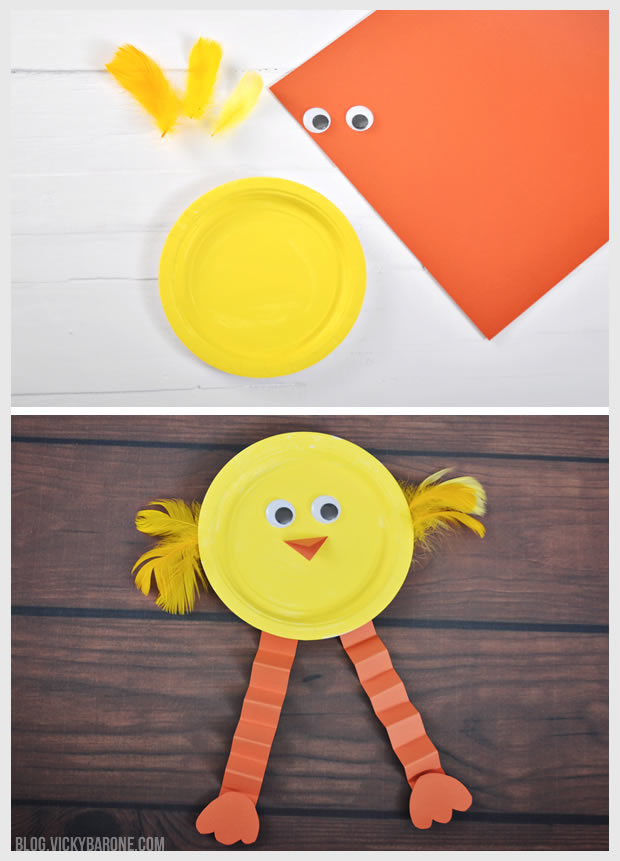
Chick & Lamb Easter Craft | Vicky BaroneMaterials for the Chick: A yellow paper plate (we had white paper plates so we painted one yellow with acrylic paint), orange scrapbook paper, yellow feathers, googly eyes, craft glue, and scissors.

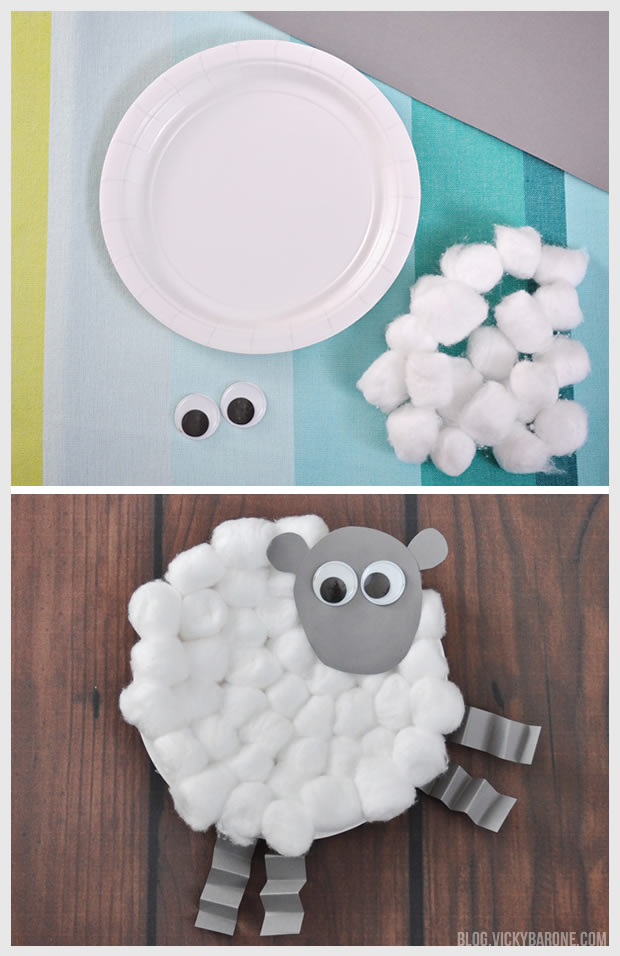
Materials for the Lamb: A white paper plate, cotton balls, gray or black scrapbook paper, googly eyes, craft glue, and scissors.

The above supplies contain affiliate links. If purchased, I will receive a commission, but the price stays the same for you!

Chick & Lamb Easter Craft | Vicky BaroneDirections: Check out Simple as That for the original directions!

Lamb Easter Craft | Vicky BaroneDirections:
1. Glue cotton balls to the paper plate until it’s covered.
2. Cut out four strips of scrapbook paper for the legs, an oval for the head, and two little oval ears.
3. Fold the four strips accordion-style and glue to the back of the plate.
4. Glue ears onto the back of the lamb’s head and googly eyes to the front.
5. Glue the lamb’s head onto the cotton ball-covered plate.

Chick & Lamb Easter Craft | Vicky BaroneWe hope you and your little ones enjoy making these as much as we did! What other animals could you make with a paper plate, googly eyes, and some accordion legs? We’d love to see!

Categories
DIY Holidays Kids

DIY Thumb Print Shamrock

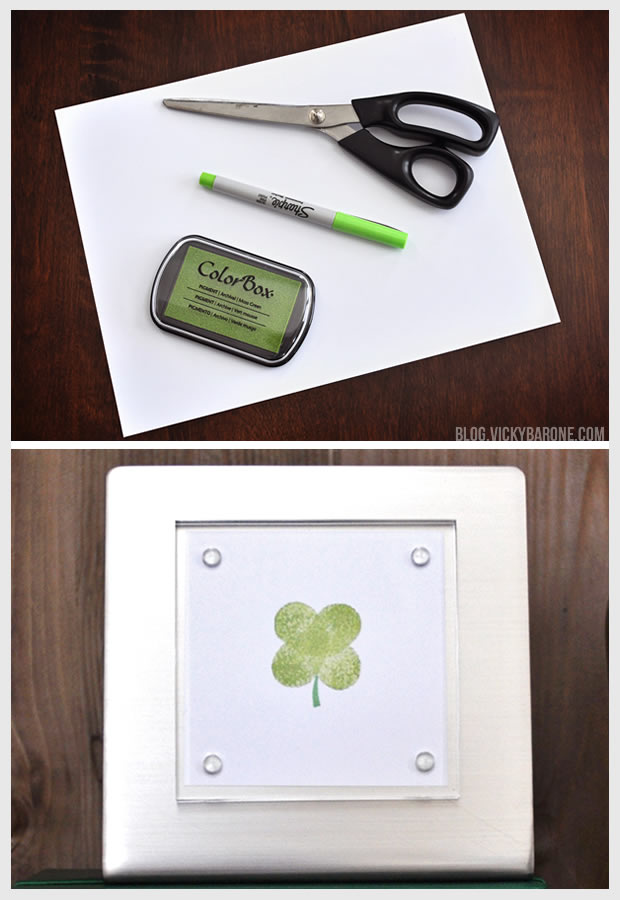
We are loving all the thumb print shamrocks we’ve seen on Pinterest, so we tried our own! This is a simple and sweet craft that’s great for kids. You can even frame your favorite like we did!

DIY Thumb Print Shamrock | Vicky BaroneMaterials: Paper, a green ink pad, a green marker or pen, scissors, and a small frame (optional).

Directions:
1. Dip your thumb (or any of your finger tips) into the ink pad.
2. Press each thumb print down diagonally from one another and slightly overlapping.
3. Keep practicing! We made tons of practice shamrocks until we got the hang of it.
4. With your green marker, add a stem to the shamrocks.
5. Cut out your favorites and frame them!

These thumb print shamrocks make a great addition to a St. Patrick’s Day card. Tell your loved ones you feel so lucky to have them!


Categories
DIY Kids

DIY Olympic Gold Medals

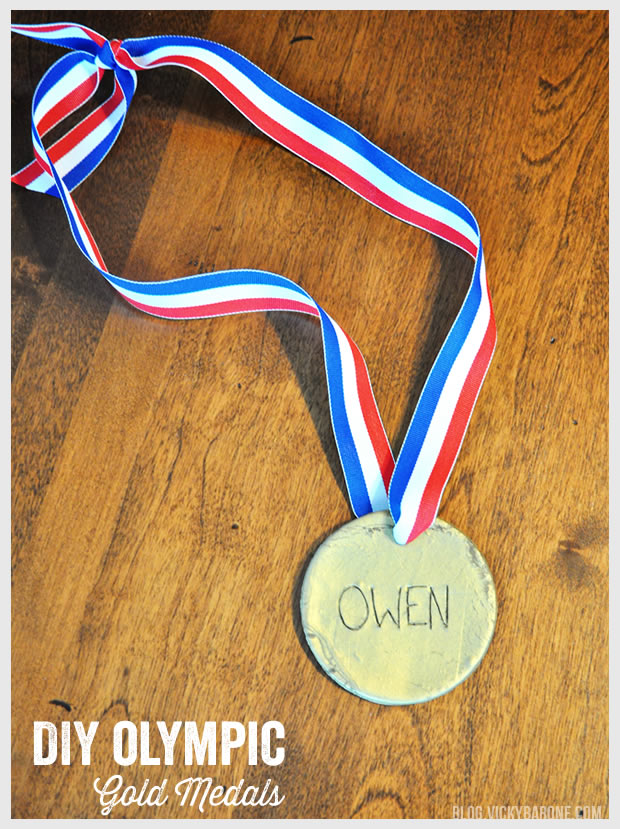
In honor of the 2014 Winter Olympics, we made our very own gold medals! This is a fun and easy project for kids. They can write their names in the medals or even paint them after the medals are baked and cooled.

DIY Olympic Gold Medals | Vicky BaroneMaterials: Polymer clay in Antique Gold, ribbon, scissors, waxed paper, a rolling pin, a straw, a toothpick, and a round object to cut a circle in the clay.

Directions:
1. Roll out the clay on waxed paper with a rolling pin. Put waxed paper between the clay and rolling pin or use a glass jar in place of a rolling pin. Do not mix cooking utensils with clay!
2. Use a circular object to cut a circle into the clay. We used the lid to an old tupperware container that we then threw away.
3. Use a straw to make a hole in the top of the clay circle for your ribbon.
4. Use a toothpick to draw a name or the number 1 into the clay.
5. Bake the clay medals on a cookie sheet lined with aluminum foil according to the baking directions on the clay packaging.
6. Once the medals are cool, cut the ribbon to size and thread it carefully through the holes of the medals and tie a knot.

Tada! Now you and your kids can be Olympic gold medalists!


Categories
DIY Holidays Kids Things I Love

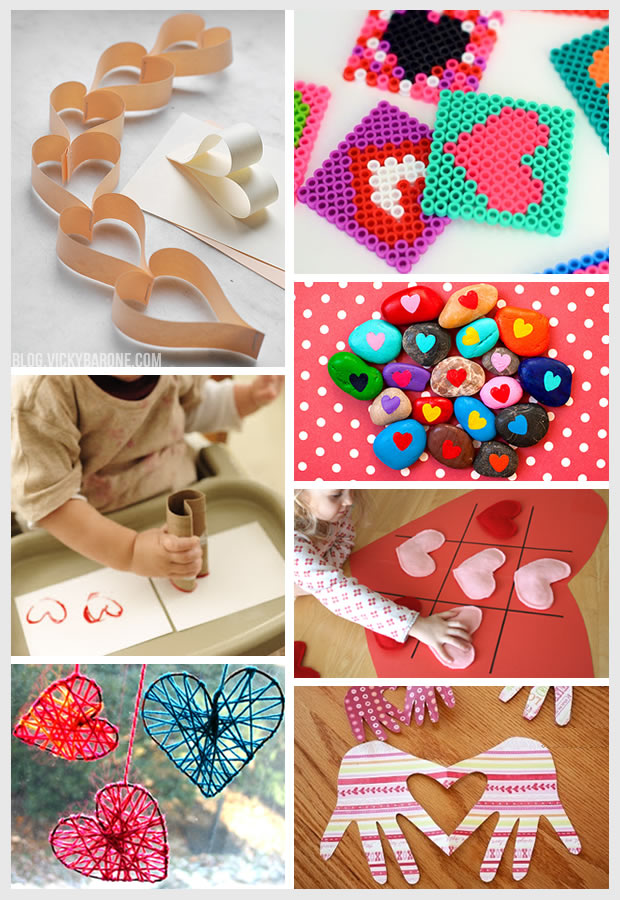
Things I Love: Valentine’s Day Crafts for Kids

1. Paper Heart Garland | 2. Perler Bead Hearts | 3. Painted Rocks | 4. Heart Stamps | 5. Tic Tac Toe | 6. Yarn Hearts | 7. Hand Print Heart

With Valentine’s Day this Friday, and a couple of snow days on our hands, it’s the perfect time for arts and crafts. Keep your kids busy this week with these seven fun projects for Valentine’s Day!

Categories
DIY Holidays Parties and Events

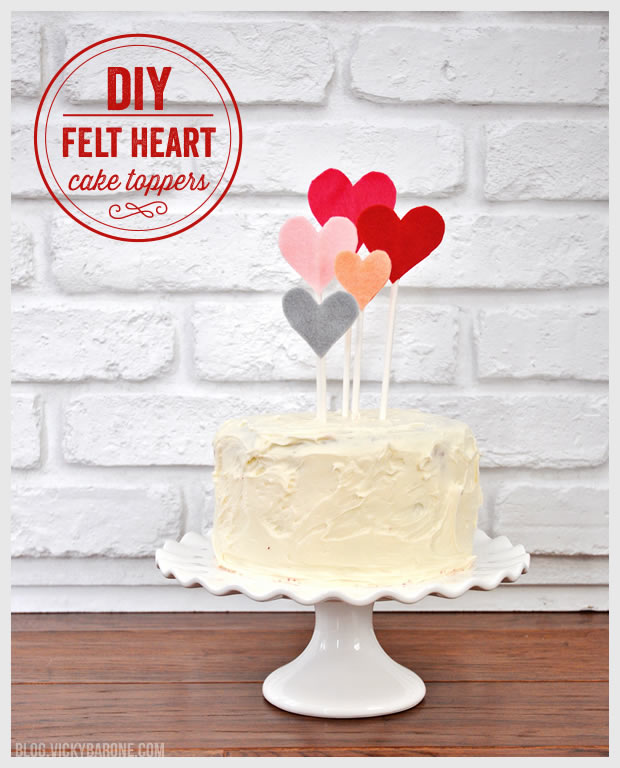
DIY Felt Heart Cake Toppers

We made the sweetest cake toppers for Valentine’s Day! They are super easy to make and would make a nice touch to any Valentine’s Day treat. Try them in your heart-shaped pancakes, use them as a drink stirrer, or have them top off any cake, pie, or cupcake!

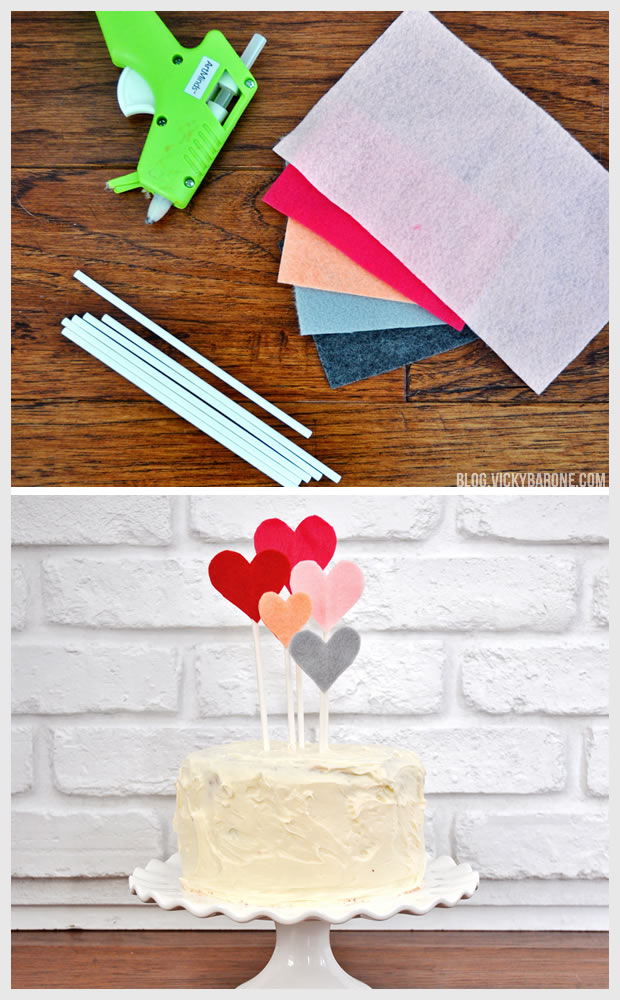
DIY Felt Heart Cake Toppers for Valentine's Day | Vicky BaroneMaterials: Felt, cake pop sticks, a hot glue gun, and scissors.

Directions:
1. Cut your felt into different sized squares.
2. Fold one square in half and cut out half of a heart, with the fold as the center.
3. Unfold the square and trim the heart you just made!
4. Place the heart on top of another piece of felt in the same color and cut an identical heart underneath, using the top heart as a tracer.
5. Put a line of hot glue down the middle of one heart and place a cake pop stick on top.
6. Outline the heart with more hot glue and place the matching heart on top.
7. Repeat with different sized hearts in different colors.

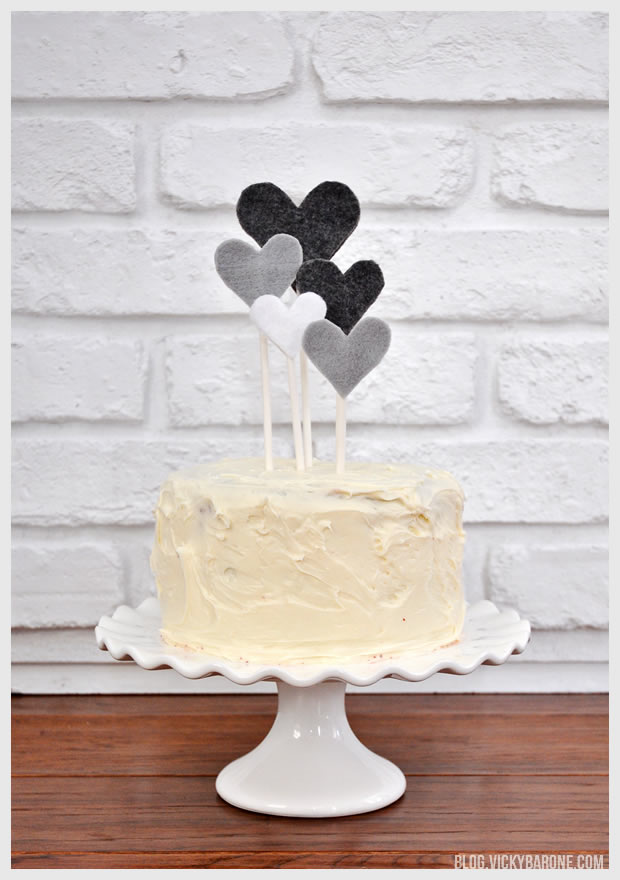
DIY Felt Heart Cake Toppers for Valentine's Day | Vicky BaroneUse your multi-colored hearts to make different color combinations!

DIY Felt Heart Cake Toppers for Valentine's Day | Vicky BaroneThese cake toppers aren’t just for Valentine’s Day! Make them to match your birthday party theme, or cut them into shapes other than hearts! Show us what you make! We would love to see it.


Categories
DIY Holidays Kids Things I Love

Things I Love: DIY Valentines

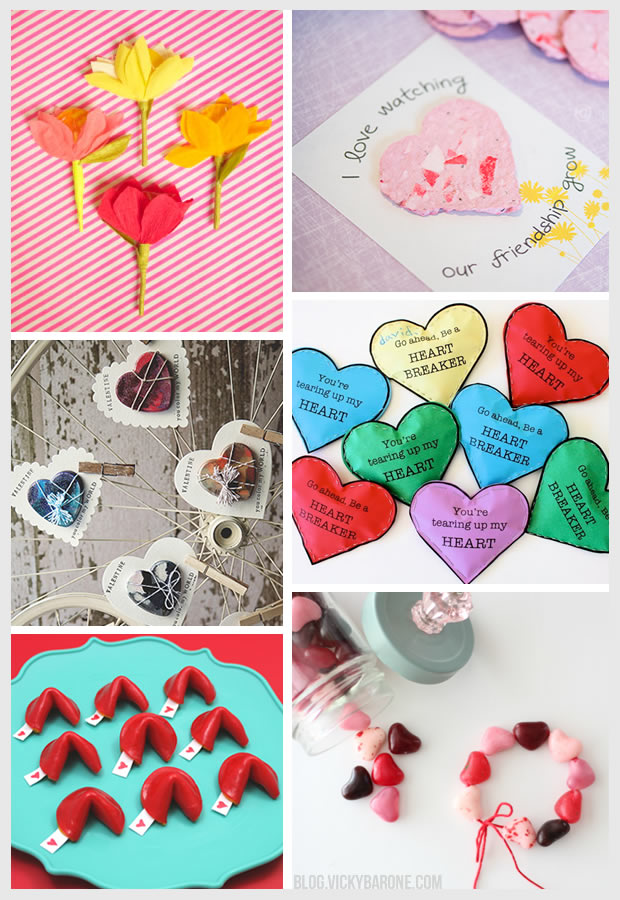
1. Lollipop Flower | 2. Seed Paper Heart | 3. Crayon Heart | 4. Paper Heart Breakers | 5. Fruit Roll-Up Fortune Cookies | 6. Candy Heart Bracelet

We love DIY Valentines! Here are six great ideas for do-it-yourself Valentines that are great for kids. Just add a sweet message and share the love!

Follow Vicky Barone on Bloglovin’ for more Valentine’s Day ideas!