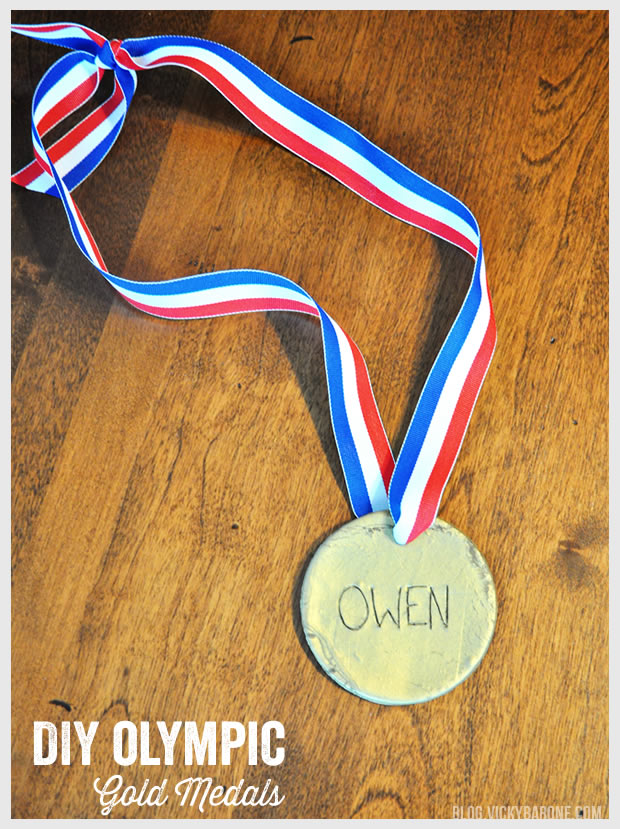
In honor of the 2014 Winter Olympics, we made our very own gold medals! This is a fun and easy project for kids. They can write their names in the medals or even paint them after the medals are baked and cooled.
 Materials: Polymer clay in Antique Gold, ribbon, scissors, waxed paper, a rolling pin, a straw, a toothpick, and a round object to cut a circle in the clay.
Directions:
1. Roll out the clay on waxed paper with a rolling pin. Put waxed paper between the clay and rolling pin or use a glass jar in place of a rolling pin. Do not mix cooking utensils with clay!
2. Use a circular object to cut a circle into the clay. We used the lid to an old tupperware container that we then threw away.
3. Use a straw to make a hole in the top of the clay circle for your ribbon.
4. Use a toothpick to draw a name or the number 1 into the clay.
5. Bake the clay medals on a cookie sheet lined with aluminum foil according to the baking directions on the clay packaging.
6. Once the medals are cool, cut the ribbon to size and thread it carefully through the holes of the medals and tie a knot.
Tada! Now you and your kids can be Olympic gold medalists!
