Get Your Free Guide to get more done with AI →
Search
DIY Projects
DIY
Holidays
Parties and Events
Kids
Things I Love
Recipes
About
Website
Shop
Tag:
Kids
“I’m Bored” Jar + A Free Printable
Kid’s Art Room Tour
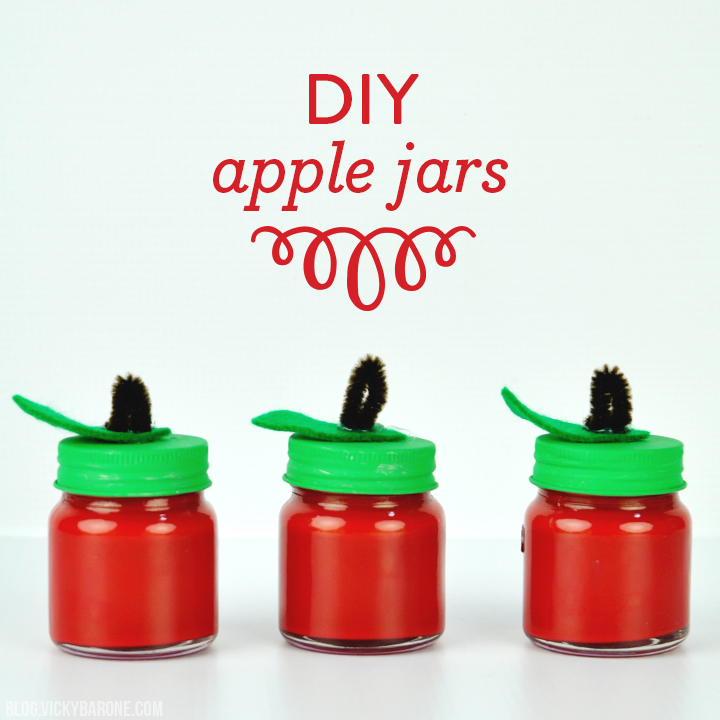
DIY Apple Jars
Gummy Bear Popsicles
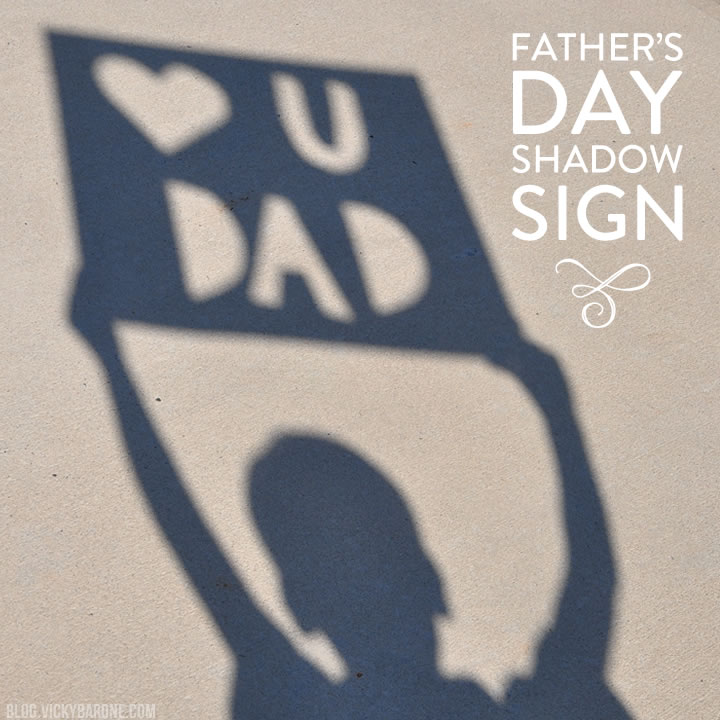
Father’s Day Shadow Sign
DIY Paper Plate Crab
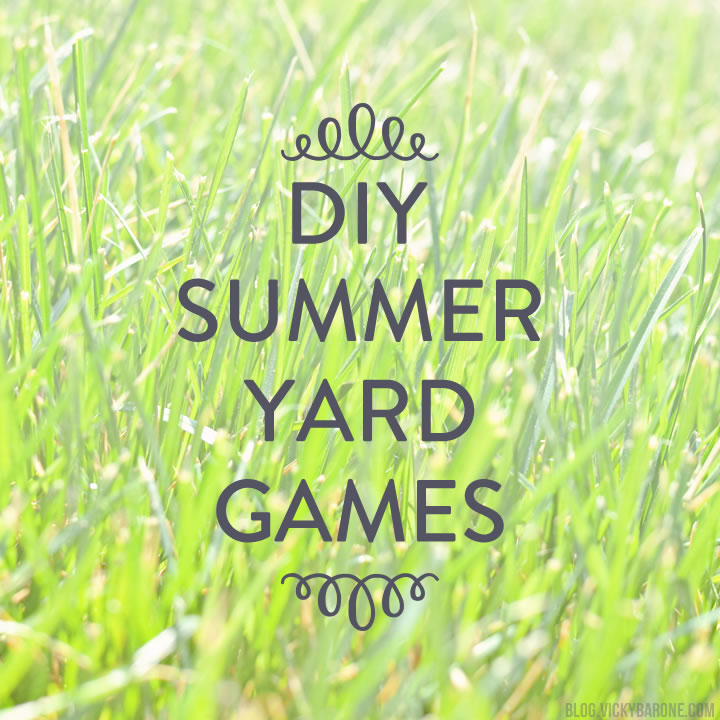
Fun in the Sun: Yard Game DIYs
DIY Felt Memory Game
Next Page
Loading Comments...
Write a Comment...
Email (Required)
Name (Required)
Website