Categories
DIY Projects

DIY Metallic Confetti Tumblers

Here’s how we made the metallic confetti tumblers from our Summer party!
We love the way Zandi from Radical Possibility made her Anthropologie knock-off confetti tumblers, and decided to make our own version to match our Summer party!

7_29_13_MetallicConfettiTumbers

Materials:
-Glass tumblers
-Metallic glass paint (we used Martha Stewart’s Opaque Glass Paint in “Champagne”)
-Rubbing alcohol and a paper towel

What to do:
1. Clean the tumblers using a paper towel and rubbing alcohol.
2. Using your glass paint with the detail tip, start making concentrated dots at the base of the tumbler and spread them out as you move up (we suggest you practice a dotting technique on a paper plate first so you get into the rhythm of it, otherwise your first dots may be a different size than the rest).
3. Follow the directions on your glass paint for how to set the paint. We let ours air cure for 21 days, but you can also bake them in the oven to set them!
4. Make a fancy cocktail and pour into your pretty new tumblers!

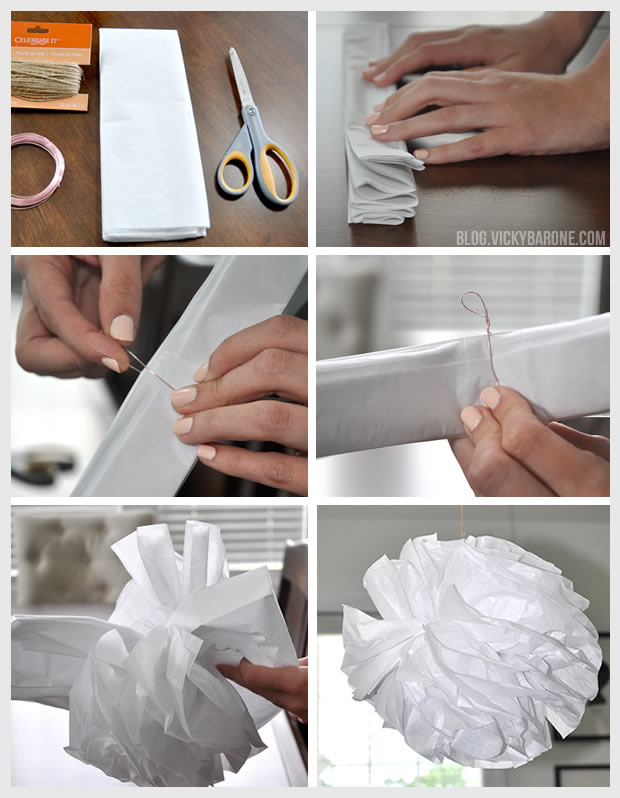
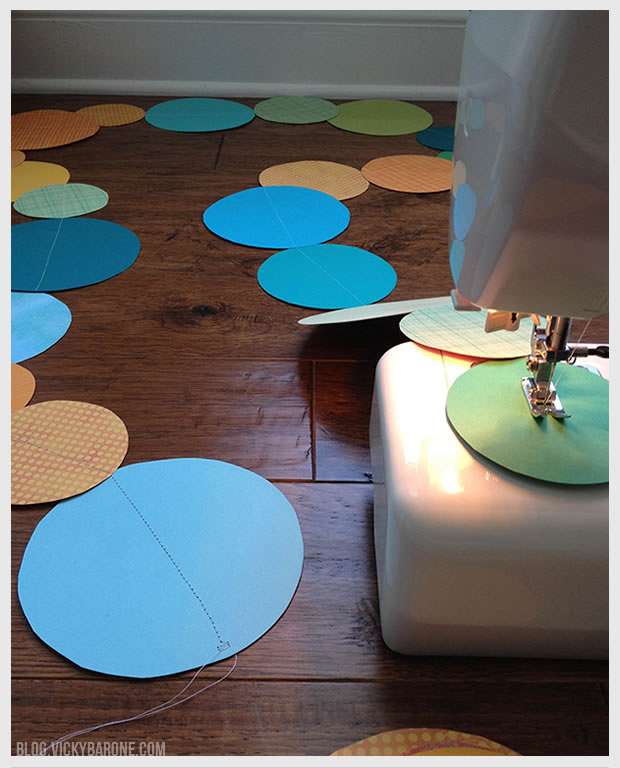
Check out some of the other fun DIY projects we made for our Summer party too!

Categories
DIY Family Kids My Projects Parties and Events Projects

DIY Tissue Paper Pom Poms

Here’s a fun and easy (and cheap!) detail from our son’s first birthday party!

What you need: Colored tissue paper, floral wire, scissors, and string.

What to do:
1) Stack 10 to 15 pieces of tissue and fold it up accordion style.

2)  Twist floral wire around the middle of the folded tissue paper and fasten into a loop.

3) For the party, we cut the ends of the accordion into a point to make a more spiky pom pom. You can also cut a scalloped edge for a more flowery look.

4) Carefully pull each of the sheets of paper away from the bunch to create your pom pom!

5) Tie a piece of string on the wire loop and hang your pom poms!

Here are some of the pom poms we made for the party:

6_11_13_TissuePaperPomPoms_JacksParty

We used the white ones for our Summer Party! Take a look to find other DIY party projects!

Categories
DIY Family Kids My Projects Parties and Events Projects

Circle Birthday Party Garland

Here’s a fun and easy detail from our son’s first birthday party!

What you need: Scrapbook paper, circles to trace (we used some different sized circular things from the kitchen), a glue stick, scissors, all-purpose thread, and a sewing machine.

What to do:
1. Trace your circles with a pencil and cut them out.
2. If your scrapbook paper is only one-sided, use the glue stick to put two pieces together and let dry completely.
3. Put your circles in the order and length you’d like.
4 One by one, slowly feed them into your sewing machine, leaving a tail of thread at each end to use to hang the garland.
5. Hang your garland and enjoy!

DIY Circle Paper Garland | Vicky Barone

DIY Circle Paper Garland | Vicky Barone

We made another circle garland (this time all-white) for our Summer party! It’s a great detail that can add to any party.