Categories
DIY Family Kids My Projects Parties and Events Projects

Circle Birthday Party Garland

Here’s a fun and easy detail from our son’s first birthday party!

What you need: Scrapbook paper, circles to trace (we used some different sized circular things from the kitchen), a glue stick, scissors, all-purpose thread, and a sewing machine.

What to do:
1. Trace your circles with a pencil and cut them out.
2. If your scrapbook paper is only one-sided, use the glue stick to put two pieces together and let dry completely.
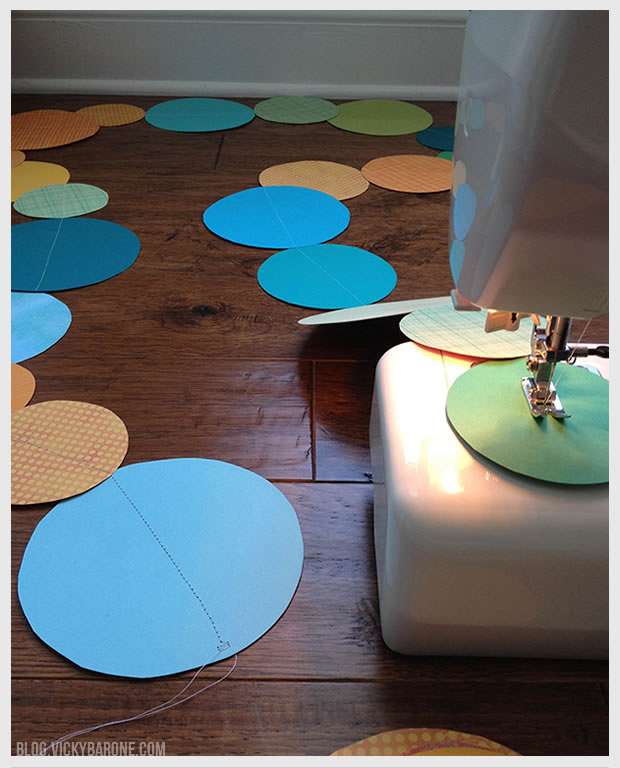
3. Put your circles in the order and length you’d like.
4 One by one, slowly feed them into your sewing machine, leaving a tail of thread at each end to use to hang the garland.
5. Hang your garland and enjoy!

DIY Circle Paper Garland | Vicky Barone

DIY Circle Paper Garland | Vicky Barone

We made another circle garland (this time all-white) for our Summer party! It’s a great detail that can add to any party.

Categories
Family My Projects Projects

Special Dates Print

I’ve become a regular on Pinterest lately because I love to see what other creative people are up to.  Recently I came across two different date prints that I really loved.  The first one showed a very graphic layout of just important days seen here.  They even let you design your own by adding your dates and printing at home.  I also came across this one that you can order from Etsy.  Colleen and Shannon have a variety of other prints you can order as well.  I wanted to combine the two ideas for myself so I created my own special date print.

I got this frame from Target – I liked the floating glass look but it would look great with a matte as well.
Something like this would make a very personal and thoughtful gift for someone special.