Categories
DIY Holidays Recipes

DIY Chocolate Spoons

This post contains affiliate links. If purchased, I will receive a commission, but the price stays the same for you!

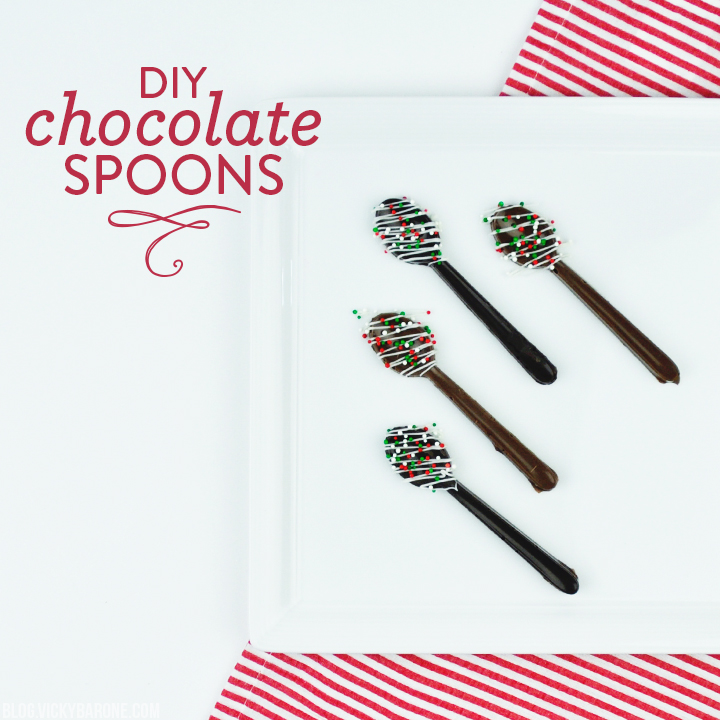
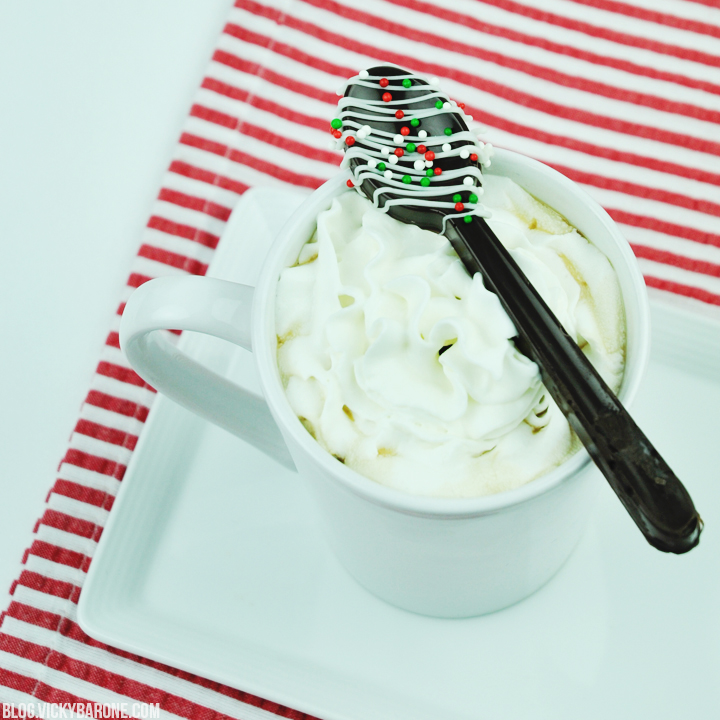
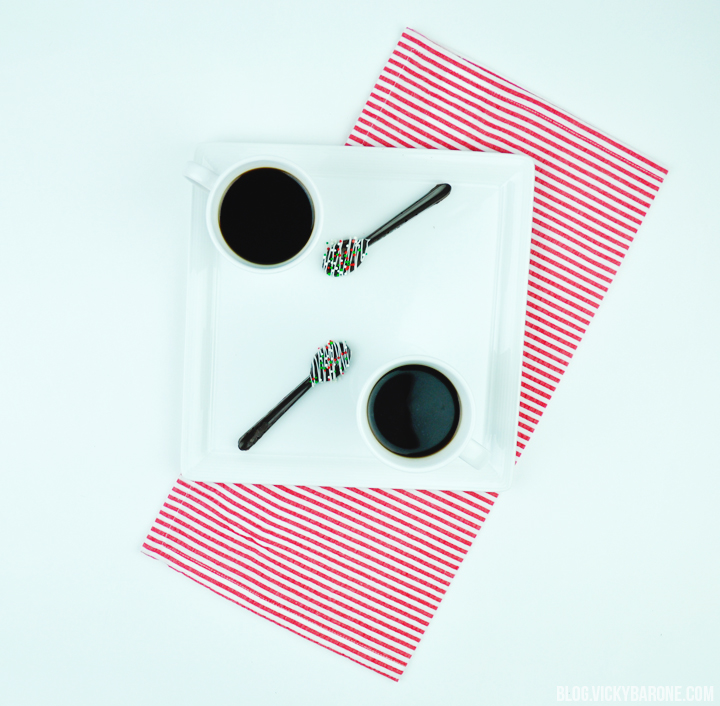
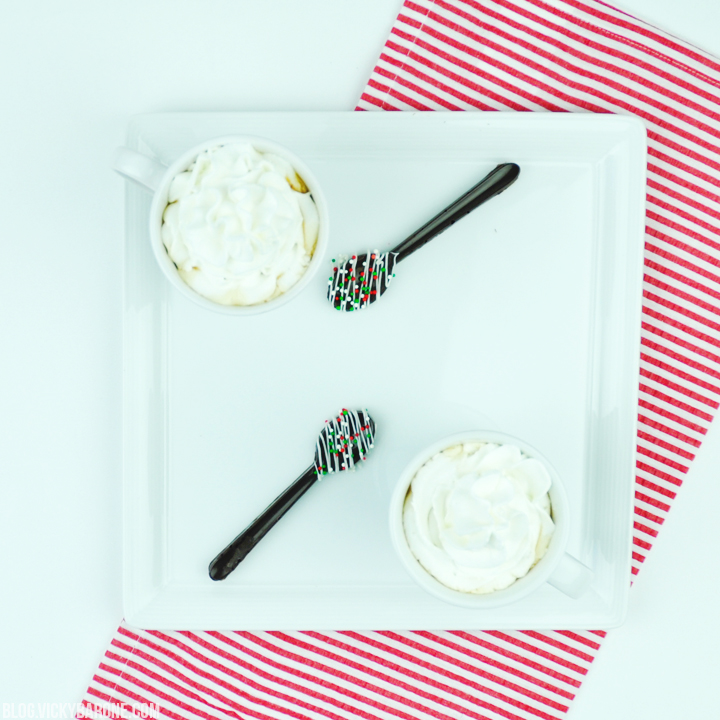
We are SO excited to share all the new Christmas content we’ve been working on! First up, some delicious chocolate spoons to give as gifts, to add to a hot cocoa bar, or just keep for yourself to stir your coffee! Here’s how to make your own…

DIY Wilton Chocolate Spoons | Vicky Barone

Supplies: chocolate candy melts, spoon-shaped candy mold, white candy melts, and sprinkles.

Directions:
1. Thoroughly wash and dry the silicone candy mold before using.
2. Melt chocolate candy melts in a microwave safe bowl for 30 second intervals, stirring frequently until smooth.
3. Scoop melted chocolate directly into each mold OR scoop the chocolate into a Ziploc bag and then pipe it into the molds.**
4. Gently shake and tap the mold to release any air bubbles. Add more chocolate as needed.
5. Place silicone mold in the fridge for the chocolate to harden.
6. Carefully remove spoons from mold. If any snap, you can put them back together by using some melted chocolate as glue and popping them back in the fridge.
7. Melt white candy melts.
8. Scoop white candy melts into a Ziploc bag and cut a very small corner of the bag.
9. Drizzle the white chocolate over the spoons and immediately top with sprinkles.
10. Enjoy with coffee, cocoa, or milk!

**The silicone mold packaging directions suggest breaking the candy melts into small pieces, adding them directly to the mold, and microwaving the chocolate in the mold. We tried it both ways and preferred melting the chocolate before placing it into the mold!

DIY Wilton Chocolate Spoons | Vicky Barone DIY Wilton Chocolate Spoons | Vicky Barone DIY Wilton Chocolate Spoons | Vicky Barone

We hope you’re having a sweet week! Don’t forget to follow Vicky Barone on Instagram for lots more Holiday inspiration, cards, giveaways, and more!

Categories
Holidays Things I Love

Holiday Gift Guide 2016: Etsy Finds

Happy Cyber Monday! In honor of this super-sale occasion, we are kicking off our 2016 Holiday Gift Guides with some of our favorite finds from around Etsy! We love shopping small and supporting local and handmade business, so we gathered some awesome products we think you’ll love. Click the links below to check them out!

Holiday Gift Guide 2016 | Etsy Finds | Vicky Barone

1 | 2 | 3 | 4 | 5 | 6 | 7 | 8 | 9 | 10

Happy shopping! And don’t forget – we have a sale going on in the Vicky Barone Designs Etsy shop. Use the code CELEBRATE15 to save 15% off your total purchase!

Categories
DIY Holidays Things I Love Uncategorized

Thanksgiving Garland Round-Up

Happy Thanksgiving! We hope your day is filled with lots of food, love, and thankfulness! We thought we’d share a little garland round up if you’re looking for some last-minute decor. Click the links below to see how to make each one!

Happy Thanksgiving 2016 | Garland Round Up | Vicky Barone

felt leaves | give thanks | felt pumpkins | pumpkin pie

Categories
DIY

DIY Bleach Pen Napkins

This post contains affiliate links. If purchased, I will receive a commission, but the price stays the same for you!

We are so excited for Thanksgiving tomorrow! Today we’re sharing a fun DIY to personalize your table settings. Here’s how…

DIY Bleach Pen Napkins | Vicky Barone

We have seen the idea for bleach pen napkins all over Pinterest and we just had to try it out for ourselves.

Supplies: fabric napkins (ours were from Target), a bleach pen, and cardboard.

Directions:
1. Test out your bleach pen writing skills on a piece of scrap cardboard before using it on a napkin. Once you feel comfortable with the flow of the bleach, you can get started!
2. Place another piece of cardboard underneath a napkin to catch any bleach that may seep through.
3. Choose the place on your napkin that you want your word or design and carefully draw it on with the bleach pen.
4. Set a timer for 10 minutes and check on your napkin. We found that with the lighter napkins, the bleach worked very quickly, but the darker napkins needed more time.
5. When the bleach has done it’s job, put the napkin under running water to remove the excess bleach.
6. Let the napkins dry and they are ready to go!

DIY Bleach Pen Napkins | Vicky Barone

P.S. Find these DIY pear place cards right here!

Categories
DIY Holidays Parties and Events

DIY Thanksgiving Place Cards

Happy Thanksgiving week! Today we’re sharing a super easy, last-minute place card tutorial to spice up your Thanksgiving tablescape! Here’s how to make your own…

DIY Thanksgiving Place Cards | Vicky Barone

Materials:
– Faux pears (we got ours at Marshalls, but you can find faux fruit at any craft store!)
– An X-acto knife
– White card stock
– A pen or marker (we used Tombow Dual Brush Pens)

DIY Thanksgiving Place Cards | Vicky Barone

Directions:
1. Cut white card stock into small rectangles. Ours were about 2×3″
2. Use the X-acto knife to make a slit in the top of each of the pears.
3. Use a pen or marker to write names on each card (you can also print out name cards with your favorite font!).
4. Insert cards into pears and set on the table!

DIY Thanksgiving Place Cards | Vicky Barone DIY Thanksgiving Place Cards | Vicky Barone DIY Thanksgiving Place Cards | Vicky Barone

We hope you have the most wonderful Thanksgiving! For even more table setting ideas, click here!

For ideas about how to put together a functional and elegant table setting, check this out!

Categories
Recipes

Apple Cider Mimosas

Mimosas are not just for orange juice anymore! This Autumn-inspired mimosa recipe is so simple and delicious you will want to drink it year round. Here’s how to create your own…

Apple Cider Mimosas | Vicky Barone

Ingredients: apple cider and champagne, cinnamon sugar and apples for garnish!

These apple cider mimosas just require TWO ingredients! Simply mix apple cider and champagne and you have yourself a tasty Fall drink for any occasion.

Apple Cider Mimosas | Vicky Barone

To take our mimosas up a notch, we added a cinnamon sugar rim! Mix cinnamon and sugar on a small plate and spread it out into a circle the size of the glass rim. Take an apple slice and rub it around the rim of the glass, then dip the glass into the cinnamon sugar and roll it around to coat.

Apple Cider Mimosas | Vicky Barone Apple Cider Mimosas | Vicky Barone Apple Cider Mimosas | Vicky Barone

As always, please enjoy responsibly. 😉 Happy Fall, everyone!

Categories
Holidays Parties and Events Things I Love

Christmas Cocktail Party with Paperless Post

The holidays are coming up and we are so excited for all the fun festivities! Today we’re sharing a inspiration board with our favorite ideas for holiday entertaining including personalized invitations from Paperless Post! From party attire to cocktail recipes and decor, we are prepared for the perfect low-key cocktail party and thanks to Paperless Post, we’ll have unique invitations to set the tone for our guests.

Christmas Cocktail Party with Paperless Post | Vicky Barone-1

Shoes | Dress | White Cranberry Mimosas
Table Runner | Glasses | Invitations

How are you celebrating the holidays this year? We’d love to hear!

Categories
DIY

DIY Metallic Pumpkin Planters

Before you pack away or toss out your Halloween decorations, how about a little spray paint to transition them into Thanksgiving mode? We took these mini plastic jack-o-lanterns and made them November-ready with a little metallic sheen. Here’s how…

DIY Metallic Pumpkin Planters | Vicky Barone

Supplies: mini plastic jack-o-lantern buckets (we got ours at Target, but they can be found in the Dollar Store too!), metallic spray paint, and fresh flowers.

Directions:
1. Remove the plastic handles and discard.
2. In a well-ventilated area (preferably outside!) spray paint the pumpkins.
3. When they pumpkins are fully coated and dry, add some water and fresh flowers.

DIY Metallic Pumpkin Planters | Vicky Barone DIY Metallic Pumpkin Planters | Vicky Barone DIY Metallic Pumpkin Planters | Vicky Barone

Aren’t they sweet? How will you decorate with your metallic planters?