Categories
DIY Holidays Parties and Events

DIY Thanksgiving Place Cards

Happy Thanksgiving week! Today we’re sharing a super easy, last-minute place card tutorial to spice up your Thanksgiving tablescape! Here’s how to make your own…

DIY Thanksgiving Place Cards | Vicky Barone

Materials:
– Faux pears (we got ours at Marshalls, but you can find faux fruit at any craft store!)
– An X-acto knife
– White card stock
– A pen or marker (we used Tombow Dual Brush Pens)

DIY Thanksgiving Place Cards | Vicky Barone

Directions:
1. Cut white card stock into small rectangles. Ours were about 2×3″
2. Use the X-acto knife to make a slit in the top of each of the pears.
3. Use a pen or marker to write names on each card (you can also print out name cards with your favorite font!).
4. Insert cards into pears and set on the table!

DIY Thanksgiving Place Cards | Vicky Barone DIY Thanksgiving Place Cards | Vicky Barone DIY Thanksgiving Place Cards | Vicky Barone

We hope you have the most wonderful Thanksgiving! For even more table setting ideas, click here!

For ideas about how to put together a functional and elegant table setting, check this out!

Categories
DIY Holidays Parties and Events Things I Love

10 DIY Thanksgiving Name Tags

Need a little last-minute inspiration for your Thanksgiving table? Here are 10 beautiful and simple name tag ideas to add a personalized touch to each place setting.

10 DIY Thanksgiving Name Tags | Vicky Barone1. Turkey Feather | 2. Gold Lettered Leaf | 3. Printable Napkin Ring
4. Neon Pinecone | 5. Metallic Mini Pumpkin
6. Stamped Clay |7. Chalkboard Flatware | 8. Scrabble Names
9. Mini Bunting | 10. Gold Wishbone

Wishing you and yours a FABULOUS Thanksgiving!

We will be back on Friday with some Black Friday through Cyber Monday deals! Follow Vicky Barone on Instagram to stay in the loop!

Categories
DIY Holidays Parties and Events

DIY Leaf Name Tags

Well hello there, Monday. Nice to see you again. Since we are less than three weeks away from Thanksgiving, we’re sharing a glimpse of our tablescape complete with hand lettered name tags. They are truly so easy to make, and add a beautiful metallic touch to your place settings.

DIY Leaf Name Tags | Thanksgiving Table Setting | Vicky Barone

DIY Leaf Name Tags | Thanksgiving Table Setting | Vicky Barone

DIY Leaf Name Tags | Thanksgiving Table Setting | Vicky Barone

Supplies:
– Leaves: Big or small, real or faux, any leaves will do. We pulled these very real leaves off a bush from my backyard!
A gold paint pen

Directions:
1. Make sure you choose a sturdy, living leaf to write on. Dry and crispy (dying) leaves are too brittle and won’t withstand the pressure of the paint pen. If you use fake leaves, you should be just fine.
2. Test out some lettering on a few test leaves until you get a hang of the right pressure and strokes. For hand lettering help, check out Pinterest, or simply copy a pretty font you like.
3. Letter your leaves and let dry.
4. Tie a napkin with twine and place the leaf directly on top.
5. Scatter extra leaves down your table runner.

DIY Leaf Name Tags | Thanksgiving Table Setting | Vicky Barone

Aren’t they pretty? Gold paint pens are so much fun, you’ll want to write your name on everything!

DIY Leaf Name Tags | Thanksgiving Table Setting | Vicky Barone

For more Thanksgiving inspiration, check out our tables from 2014 and 2013!


Categories
DIY Holidays Parties and Events

DIY Stamped Clay Name Tags

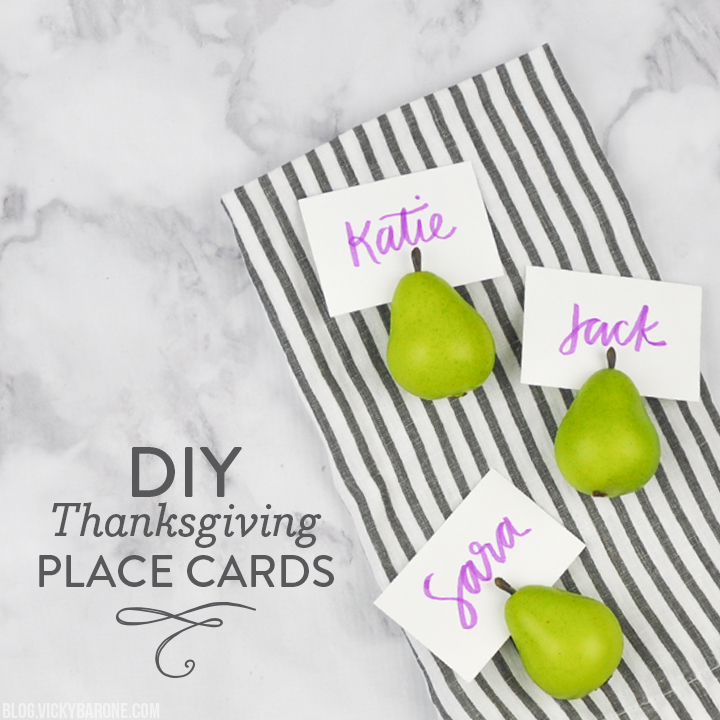
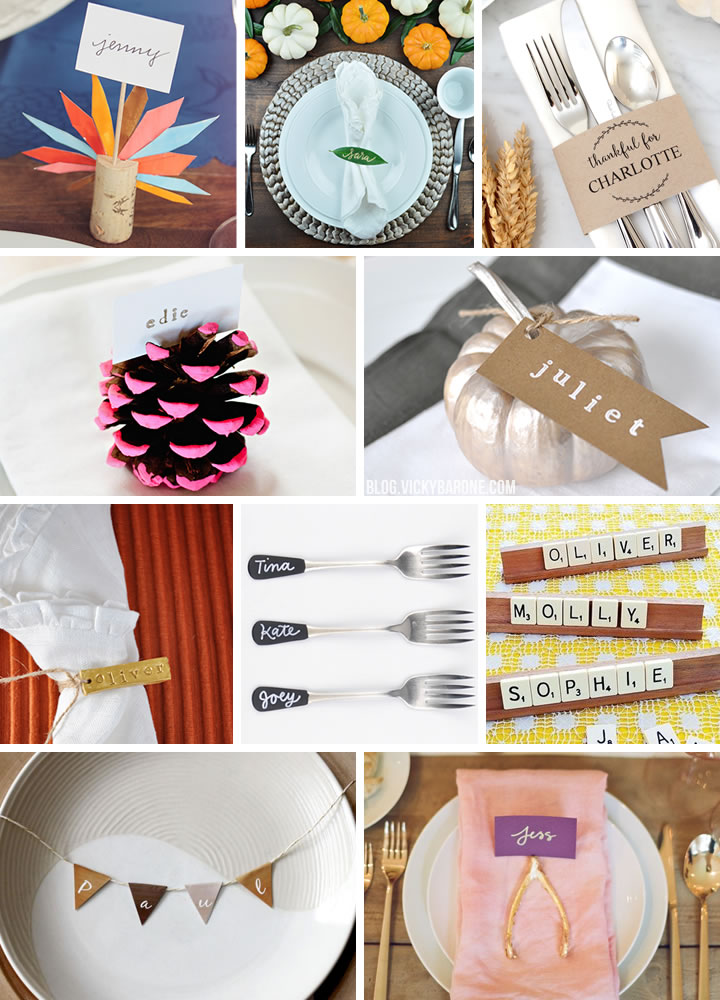
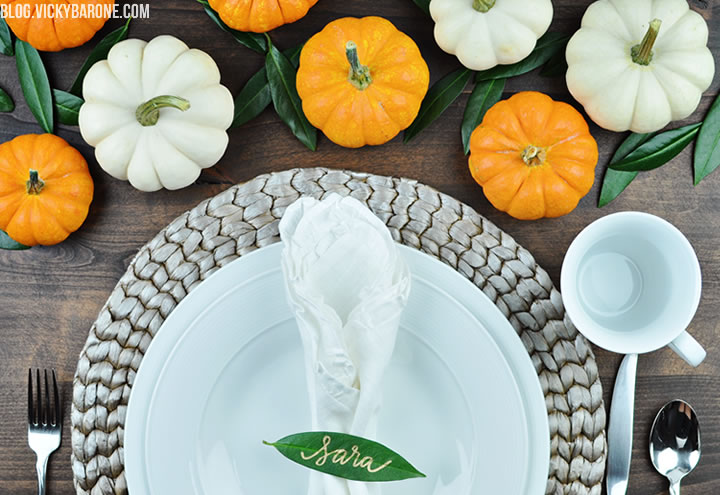
We must admit, it was pretty difficult to top the Pumpkin Place Cards we made for last year’s Thanksgiving table. We tried our very best when creating these stamped clay name tags and we’re so happy with the results!

DIY Stamped Clay Name Tags | Vicky Barone

All you need is some polymer clay, stamps, and some acrylic paint to create these personalized Thanksgiving place settings. Would you like to make your own? Keep reading!

DIY Stamped Clay Name Tags | Vicky Barone
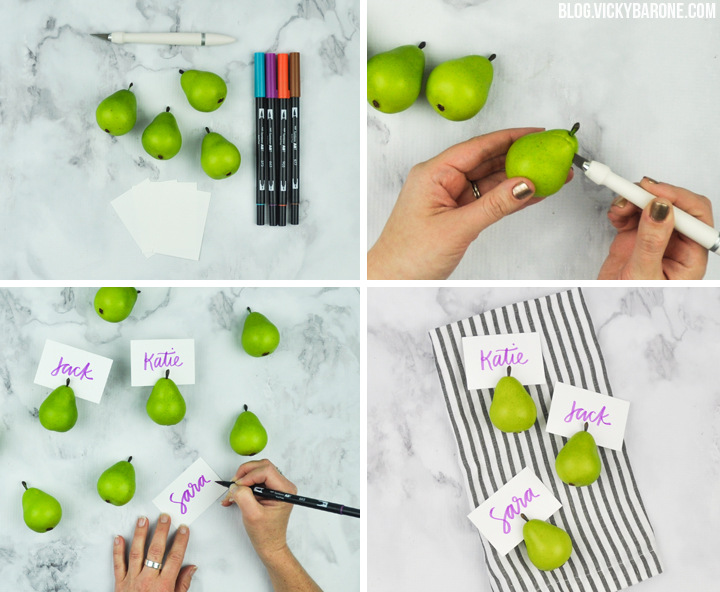
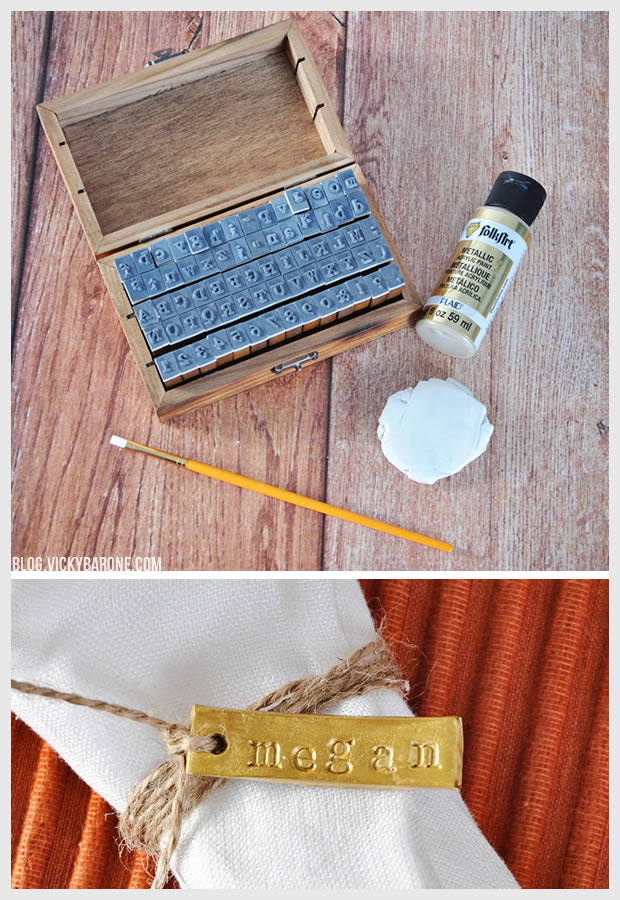
Supplies: polymer clay, rubber alphabet stamps, wax paper, a rolling pin, a knife, aluminum foil, a cookie sheet, fine sand paper, acrylic paint*, and a paint brush.

*Skip the paint and just buy colored clay! We had white clay and added the metallic paint to give it more of a shimmer, but feel free to skip that step.

Directions:
1. Warm the clay in your hands. Place a piece of wax paper on your work surface, place the clay in the center, and add another piece of wax paper* on top of the clay. Roll out the clay with a rolling pin.
2. Remove the top layer of wax paper and gently press the rubber stamps into the clay to spell out your guests’ names.
3. Use a pen or rounded tool to press a hole in the clay to the left or right of the name where the twine will go through.
4. When you are happy with the names (practice makes perfect!), use a knife* to cut the clay into rectangular name tags.
5. Line a cookie sheet with aluminum foil* and place each name tag on it flat.
6. Bake the name tags according to the directions on the clay packaging (we did 300 degrees for 15 minutes…long enough to bake the clay, but still keep it a little flexible).
7. When the tags have cooled completely, sand the edges and wipe them down with a paper towel.
8. Paint the tags (optional) and let dry!

*When working with clay, do not use tools you normally use with food!

DIY Stamped Clay Name Tags | Vicky Barone

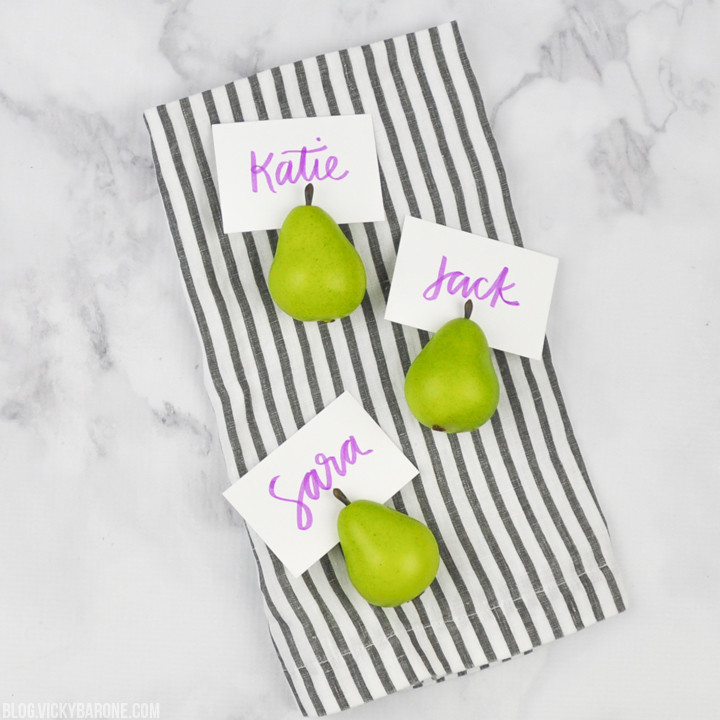
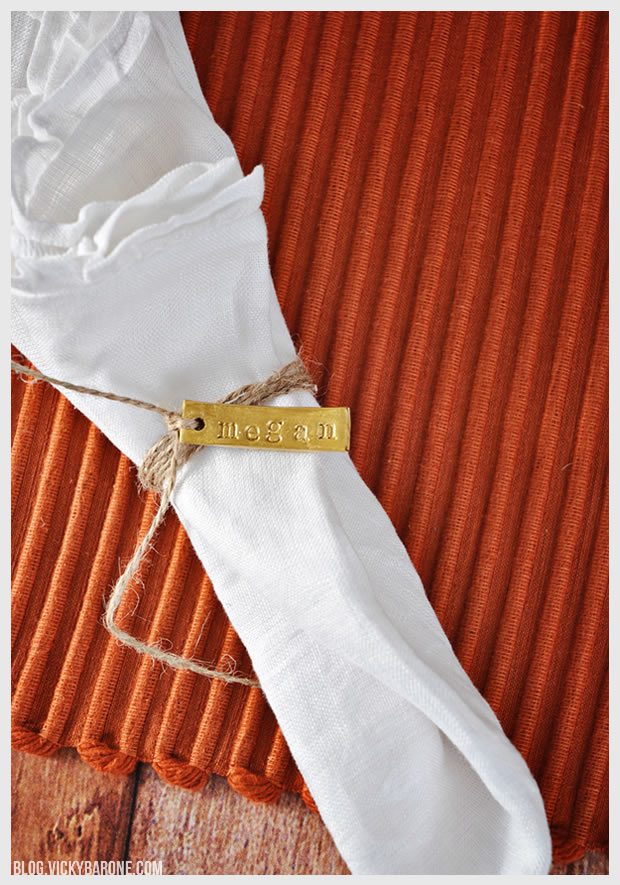
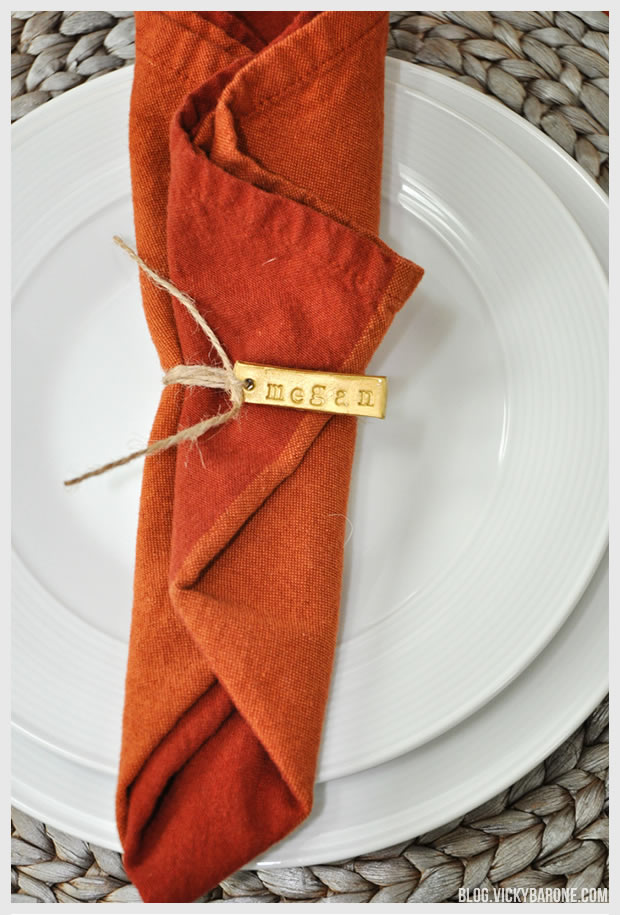
We used twine to create a simple and rustic looking napkin ring and then tied on the tags. Aren’t these Pottery Barn ruffled linen napkins beautiful?

DIY Stamped Clay Name Tags | Vicky BaroneHere is a sneak peek of our Thanksgiving table! We can’t wait to show you the rest!

Subscribe to Vicky Barone via email in the box to the right of this post to stay in the loop! You can also follow on Instagram and like on Facebook 🙂