Categories
Kids Recipes

Gummy Bear Popsicles

This post contains affiliate links. If purchased, I will receive a commission, but the price remains the same for you!

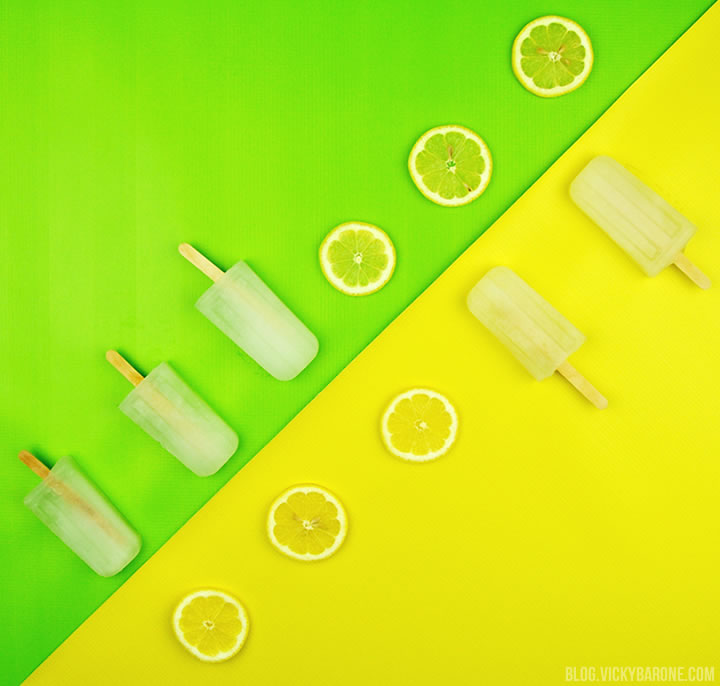
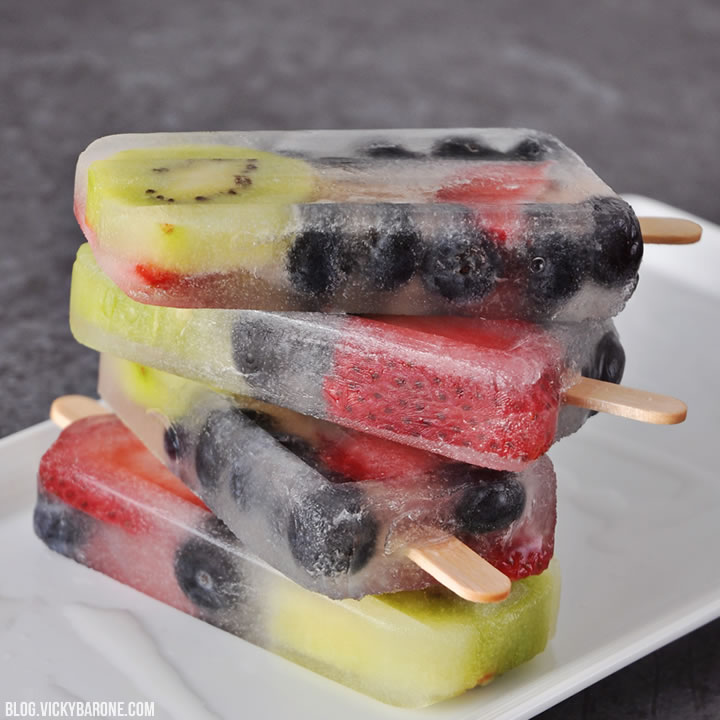
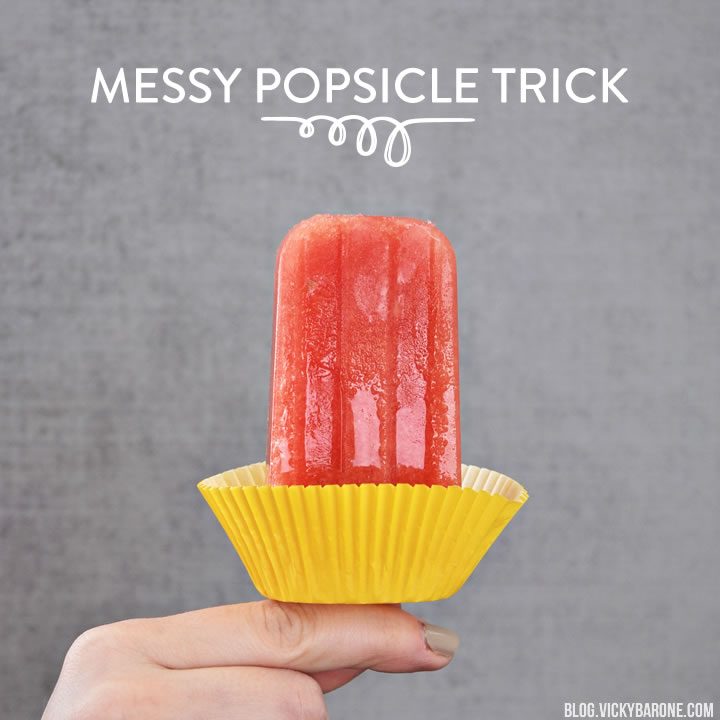
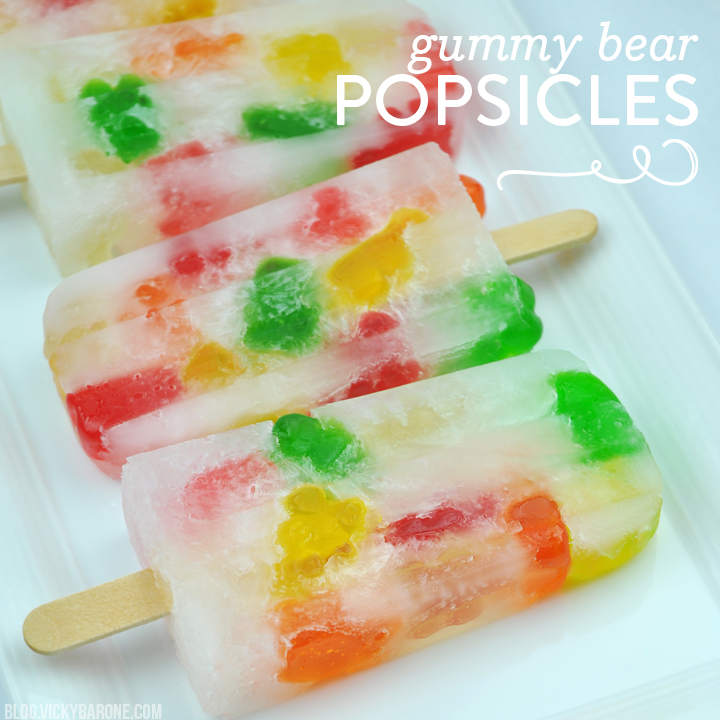
Happy Friday! To celebrate the weekend, we are sharing an easy Popsicle recipe your kids will love. These 2-ingredient Popsicles are sweet and delicious and have the cutest little gummy bears peeking out! Here’s how to make your own:

Gummy Bear Popsicles | Vicky Barone

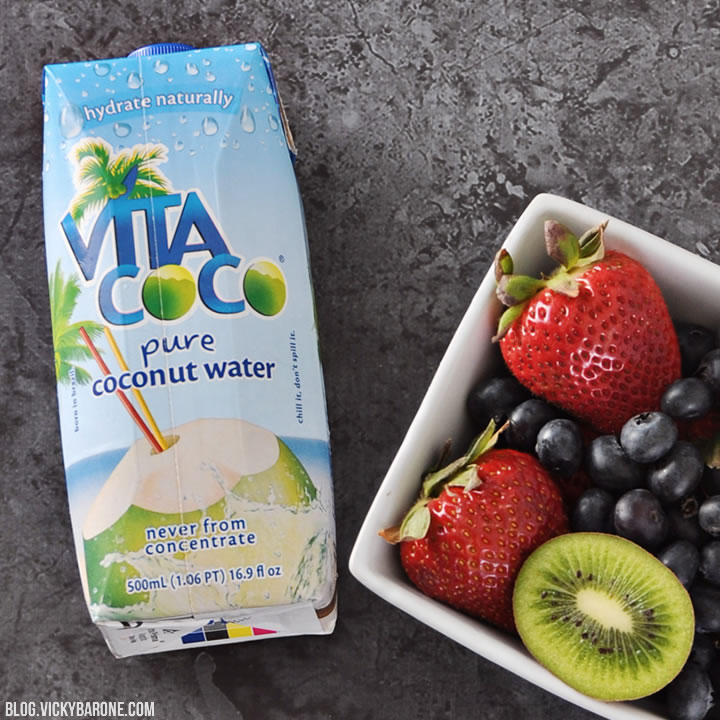
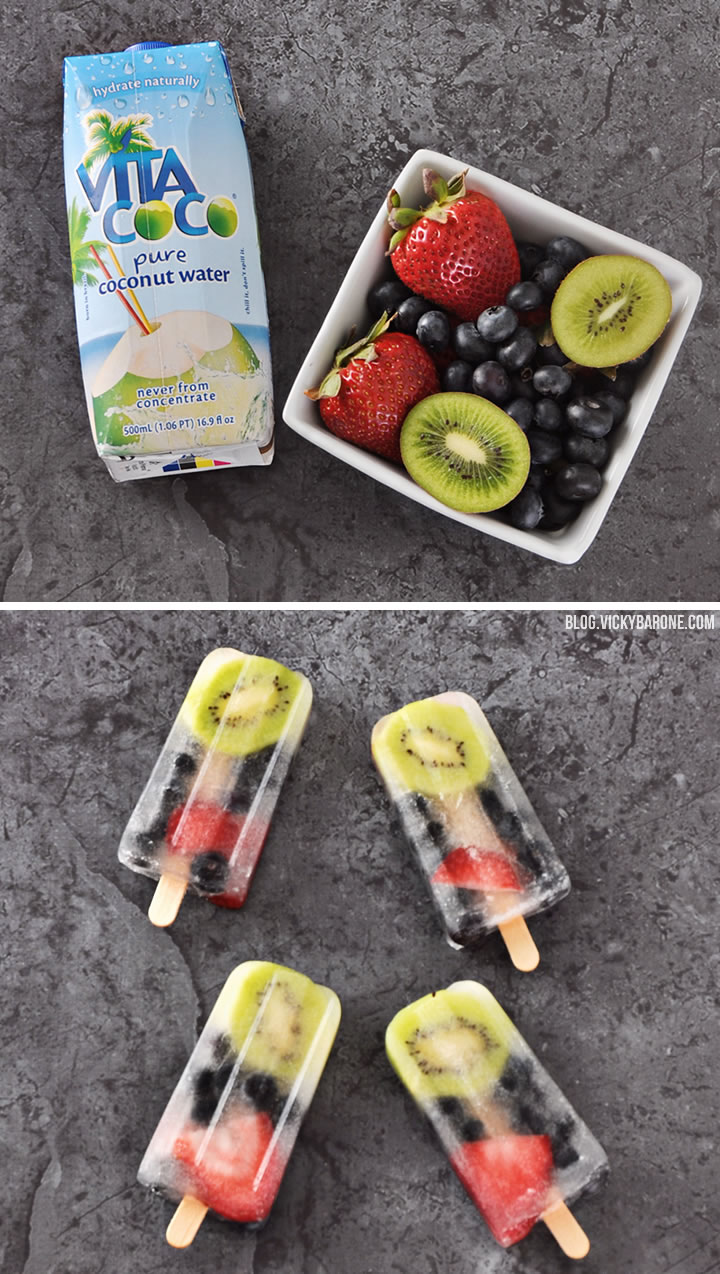
Supplies: a Popsicle mold, Popsicle sticks, gummy bears, and a clear beverage of your choice (try Sprite, flavored sparkling water, or coconut water!).
The above supplies contain affiliate links. If purchased, I will receive a commission, but the price remains the same for you!

Directions:
1. Add three or four gummy bears to the bottom of a Popsicle mold.
2. Insert the Popsicle stick and hold in place as you add more gummy bears on the sides (the gummy bears will help steady the Popsicle stick).
3. When all the molds are full of gummy bears, carefully pour the beverage you chose into each mold until it reaches the top.
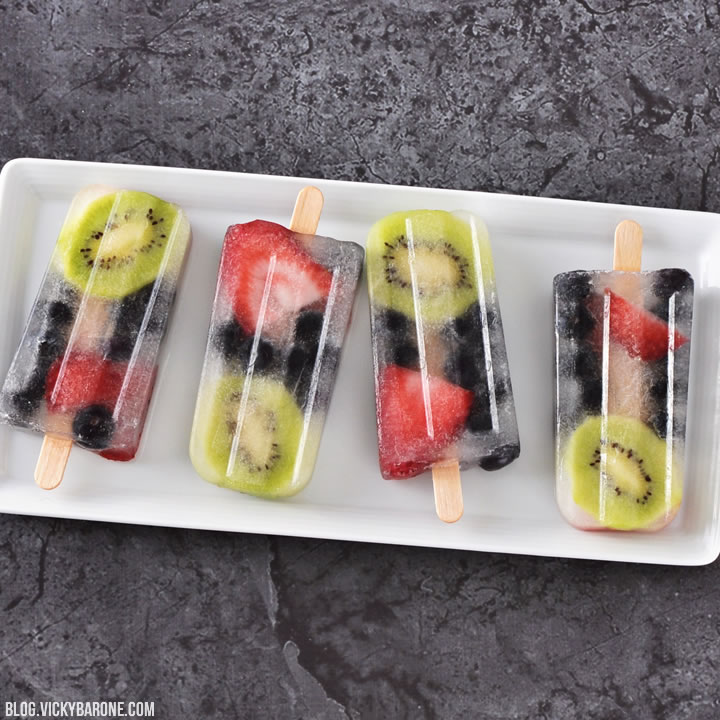
4. Let set in freezer at least four hours.

Gummy Bear Popsicles | Vicky Barone Gummy Bear Popsicles | Vicky Barone Gummy Bear Popsicles | Vicky Barone

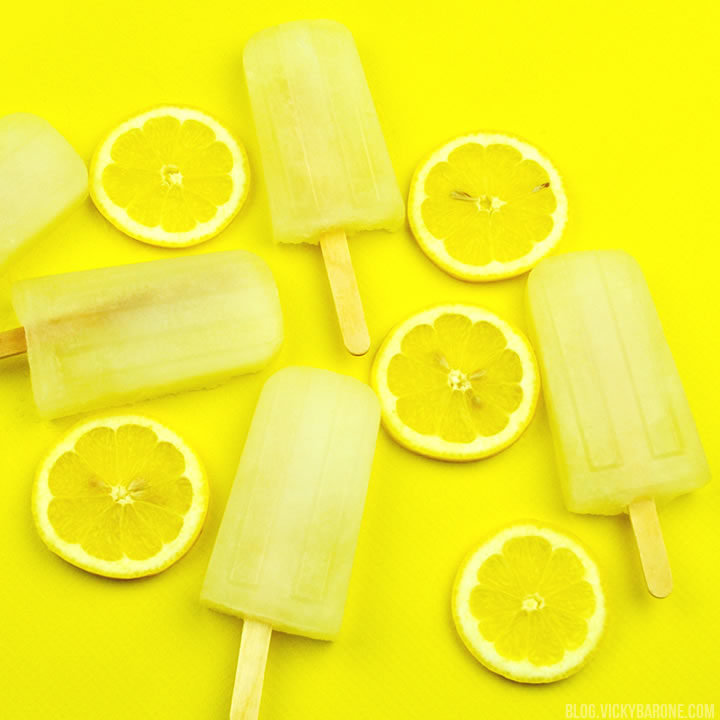
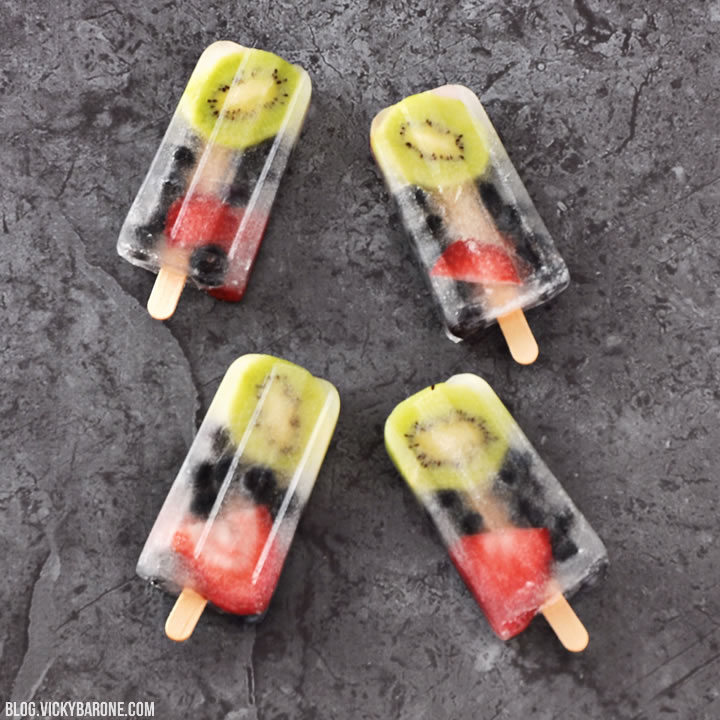
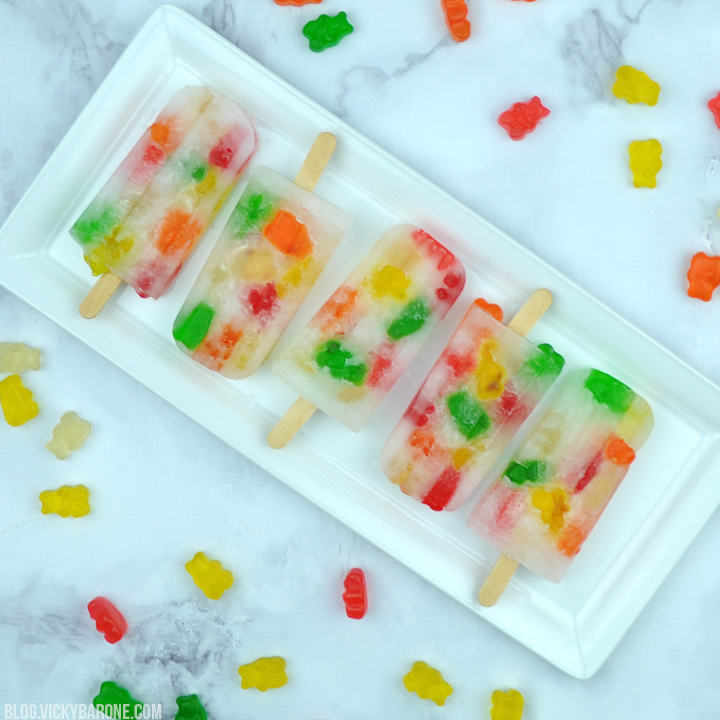
YUM! Such a tasty treat for a hot Summer day. Hope you enjoy and have a wonderful weekend!

Categories
Recipes

Chocolate Covered Cheesecake on a Stick

This post contains affiliate links. If purchased, I will receive a commission.

We thought you all might be having a tough week back (didn’t yesterday feel like a Monday??) so we made you a little treat. Just when you thought cheesecake couldn’t get any better…

Chocolate Covered Cheesecake on a Stick | Vicky Barone

Talk about a cure for the Wednesday blues, right? Here is how to make your own:

Chocolate Covered Cheesecake on a Stick | Vicky Barone

Supplies: plain cheesecake, candy melts (we used milk chocolate and dark chocolate), Popsicle sticks, a cookie sheet, wax paper, sprinkles, and crushed candy of your choice (we used a Butterfinger!).

The supplies above contain affiliate links. If purchased, I will receive a commission.

Directions:
1. Cut the cheesecake into thin slices.
2. Insert Popsicle sticks into the base of each slice.
3. Lay the cheesecake pops on a cookie sheet lined with wax paper and place in the freezer for an hour or two.
4. Melt the chocolate according to directions on package.
5. Crush a candy bar in a Ziploc bag using a rolling pin or a glass jar. Pour crushed pieces into a bowl. Pour sprinkles into another bowl.
6. When the cheesecake is frozen, dip a slice into the melted chocolate (you may need to use a spoon to cover more of the slice).
7. Quickly dip the cheesecake pop into the sprinkles or the crushed candy.
8. Sit the cheesecake pop back onto the cookie sheet. The frozen cheesecake should help set the chocolate on its own, but if you need to, pop the cookie sheet into the fridge.
9. Serve immediately or keep in an airtight container in the fridge until ready to serve.

Chocolate Covered Cheesecake on a Stick | Vicky Barone Chocolate Covered Cheesecake on a Stick | Vicky Barone Chocolate Covered Cheesecake on a Stick | Vicky Barone

What do you think? Will you make these fancy sweet treats for your next gathering? Or maybe just for yourself tonight because you deserve it? Either way, enjoy!

Find more recipes using candy melts here and more Popsicle ideas here. 🙂

Categories
Recipes

Lemonade Popsicles

This post contains affiliate links. If purchased, I will receive a commission.

Happy Thursday, party people! We are one day away from a 3-day weekend and we couldn’t be more excited. Today we’re sharing the easiest Popsicle recipe (can we even call it a recipe?) in the world. These Popsicles require just one ingredient (two, if you’d like them boozy!) and are super delicious and refreshing.

Lemonade Popsicles | Vicky Barone

Supplies: Simply Lemonade, a Popsicle mold, and Popsicle sticks.
The supplies above may contain affiliate links. If purchased, I will receive a commission.

That’s it! Just shake up the bottle of Simply Lemonade and pour it into the Popsicle mold. For an adult version, add about 2 oz of your favorite liquor to 3 cups of lemonade.

Lemonade Popsicles | Vicky Barone

Jazz them up even more with some fresh fruit or even pink lemonade!

Lemonade Popsicles | Vicky BaroneLemonade Popsicles | Vicky Barone

Click here for more Popsicle recipes! And here for 4th of July ideas!

Categories
DIY

Popsicle Stick Trick

Today we’re sharing a simple life hack that will change your Popsicle game this Summer:

Popsicle Stick Trick | Vicky BaroneSo easy, right? No more tin foil contraptions or rouge Popsicle sticks. Just perfect Popsicles to keep you cool on a hot Summer day. Enjoy!


Categories
Kids Recipes

Fruit Popsicles

We are on a serious Popsicle kick this Summer and we’re not about to stop. Today we’re sharing our most refreshing recipe yet. Grab some coconut water and your favorite fruit and you’ll be cooling down in no time.

Fruit Popsicles | Vicky Barone

Fruit Popsicles | Vicky Barone

Fruit Popsicles | Vicky Barone

Supplies: coconut water (these come in lots of different flavors!), fresh fruit, Popsicle sticks, and a Popsicle mold.

Directions:
1. Slice fruit and add to Popsicle mold.
2. Add Popsicle sticks.
3. Pour coconut water over fruit until it fills the mold.
4. Freeze for 4 hours or overnight.

Fruit Popsicles | Vicky Barone

Fruit Popsicles | Vicky BaroneFruit Popsicles are a great healthy alternative to sugary Summer snacks. Kids will love to assemble them and add their favorite fruit! We hope you enjoy these as much as we do.


Categories
DIY Kids Things I Love

Messy Popsicle Trick

Summertime feels like it’s already here, so we’re stocking up on Popsicle recipes to keep cool. Did you catch our Watermelon Popsicles last week? They were sweet, delicious, and (like all melting Popsicles) MESSY! Today we’re sharing the easiest trick to keep melting Popsicles from getting all over your hands.

All you need is a cupcake liner and a knife to keep those sticky hands at bay. Cut a small slit in the center if the cupcake liner and slip the Popsicle stick through. Hold the stick from underneath the cupcake liner and it will catch all those sticky drips!

This is a GREAT trick for kids so you don’t have to spend your afternoon chasing them around with wipes. We hope you enjoy this easy Summer life hack! Happy eating 🙂

Categories
Kids Recipes

Orange Banana Popsicles

These orange banana Popsicles are made with fresh fruit and Greek yogurt. That’s it! They are a simple, healthy treat your kids will absolutely love.

Orange Banana Yogurt Popsicles | Vicky Barone[Yields about 6 Popsicles]

Ingredients:
1 banana
1 orange
1/2 cup Greek yogurt ( we used vanilla, but you can use any flavor you’d like!)

Directions:
1. Peel banana and orange and cut into pieces. Remove the seeds from the orange.
2. Combine banana, orange, and yogurt in a blender and blend.
3. Scoop or pour into Popsicle molds.
4. Add sticks and freeze overnight (we used tongue depressors instead of Popsicle sticks so that they would be easier to hold in little hands).

We hope you enjoy this sweet treat!


Categories
Kids Recipes

Frozen Banana Pops

Frozen banana pops are one of our favorite Summer treats. While an entire chocolate covered banana is delicious, these little pops are a lot less messy and they’re the perfect size for kiddos!

Frozen Banana Pops | Vicky Barone

Ingredients: ripe bananas, melting chocolate, sprinkles, and Popsicle sticks.

Directions:
1. Peel a banana and cut it into about four of five pieces.
2. Put each piece of banana onto a Popsicle stick.
3. Melt the chocolate and dip the banana pops into it. We only covered half of each banana piece with chocolate, but you can dunk the whole thing!
4. Dip into sprinkles.
5. Place on a cookie sheet lined with waxed paper and place in freezer 1 hour or until completely frozen.

Frozen Banana Pops | Vicky Barone

Instead of sprinkles, crush up your favorite candy. Reese’s Pieces and Butterfinger make great toppings as well!

Frozen Banana Pops | Vicky BaroneOnce frozen, transfer the banana pops to an airtight container and keep in the freezer. Or eat them all in one sitting. We wouldn’t blame you.