Categories
DIY Holidays

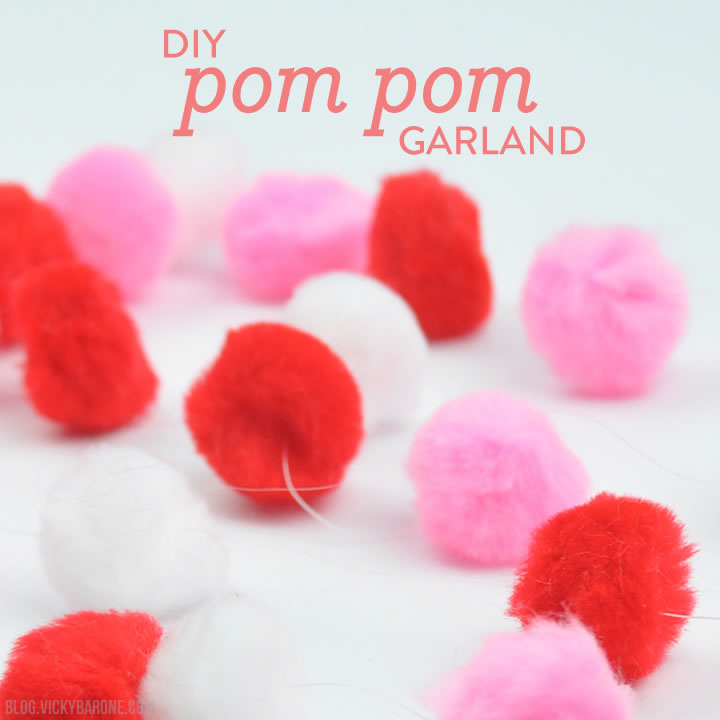
DIY Pom Pom Garland

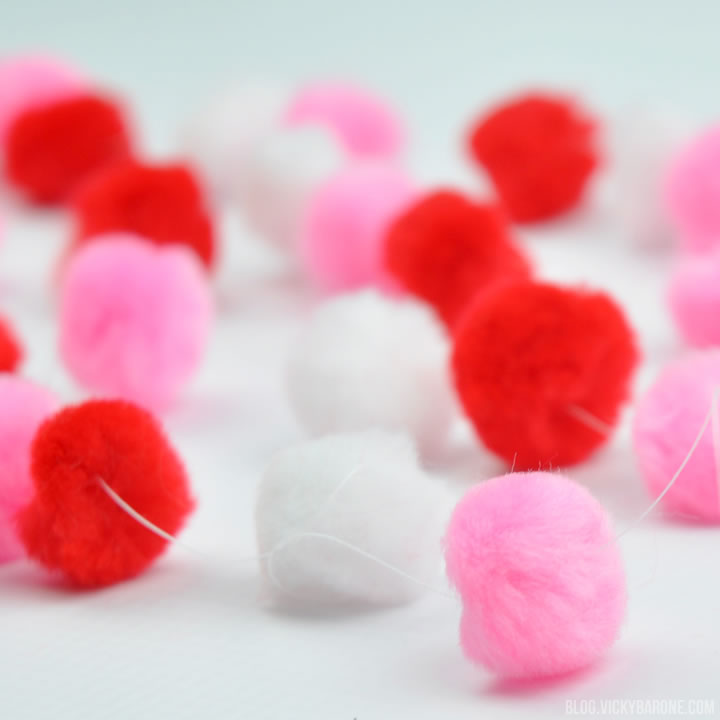
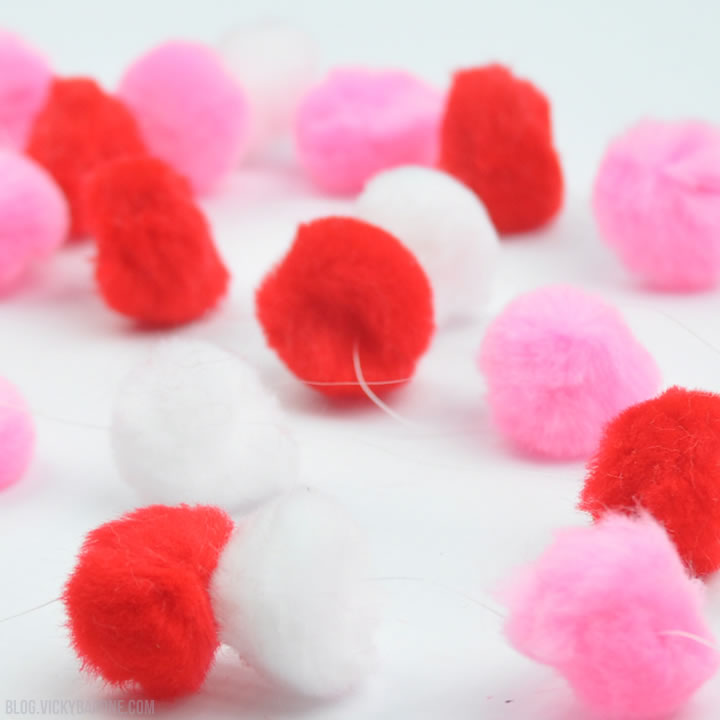
Only three more days until Valentine’s Day! If you’re looking for some last-minute decor, this pom pom garland is a breeze (and rings it at a little over $1!).

DIY Pom Pom Garland | Valentine's Day Decor | Vicky Barone

All you need to create this garland is a needle, thread, and a bag of pom poms. We got our pom poms from the good ole Dollar Tree, but most craft stores carry them as well.

Just thread a needle, and start stringing the pom poms. You will have a festive garland in no time!

DIY Pom Pom Garland | Valentine's Day Decor | Vicky Barone

DIY Pom Pom Garland | Valentine's Day Decor | Vicky Barone DIY Pom Pom Garland | Valentine's Day Decor | Vicky Barone DIY Pom Pom Garland | Valentine's Day Decor | Vicky Barone

DIY Pom Pom Garland | Valentine's Day Decor | Vicky Barone DIY Pom Pom Garland | Valentine's Day Decor | Vicky Barone

DIY Pom Pom Garland | Valentine's Day Decor | Vicky Barone

Need some more inspiration? Follow Vicky Barone on Instagram!

Categories
DIY Holidays Parties and Events

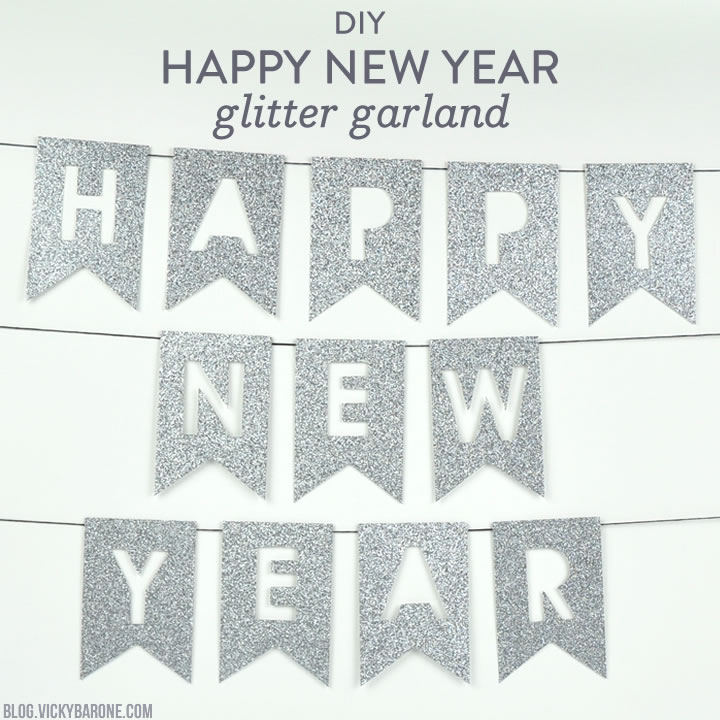
DIY Happy New Year Glitter Garland

New Year’s Eve is just three days away! If you’re looking for festive ways to decorate, we have the perfect DIY garland for you!

DIY Happy New Year Glitter Garland | Vicky Barone

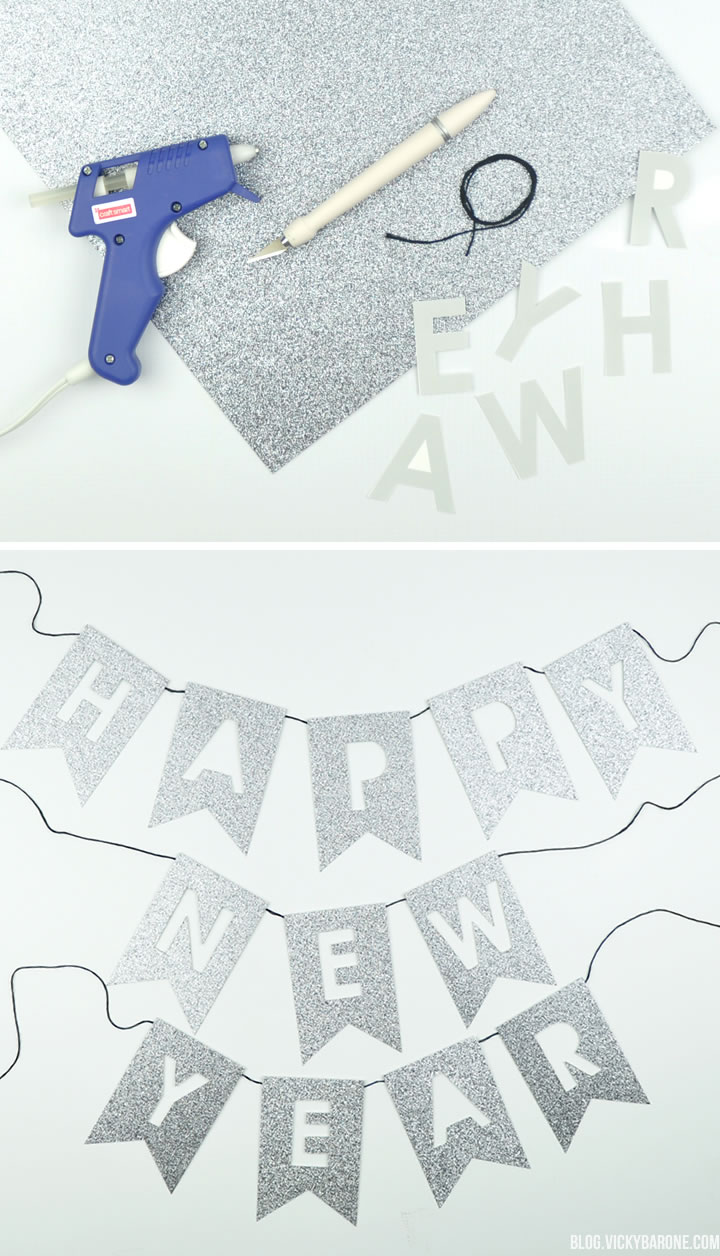
Supplies: glitter scrapbook paper, a paper cutter or scissors, an X-acto knife, a cutting mat, letter stencils, string, and hot glue.

Directions:
1. Using a paper cutter or scissors, cut glitter paper into rectangles. Ours were about 3.5×5″
2. On a cutting mat, use the X-acto knife to cut out triangles from the base of each rectangle to create flags.
3. Use stencils and the X-acto knife to cut out letters from each flag. We printed our letters and cut them out of card stock to create our own stencils in the font we liked.
4. Use hot glue to attach string to the back of each flag.
5. Hang your garland and enjoy!

DIY Happy New Year Glitter Garland | Vicky Barone

DIY Happy New Year Glitter Garland | Vicky Barone

How will you celebrate the New Year?

P.S. Places for Faces is offering a holiday coupon for 50% off templates! You can make personalized cupcake toppers, drink stirrers, centerpieces, and so much more. Use the code MERRY2015 at checkout and add some personality to your New Year’s Eve Party!

Categories
DIY Holidays

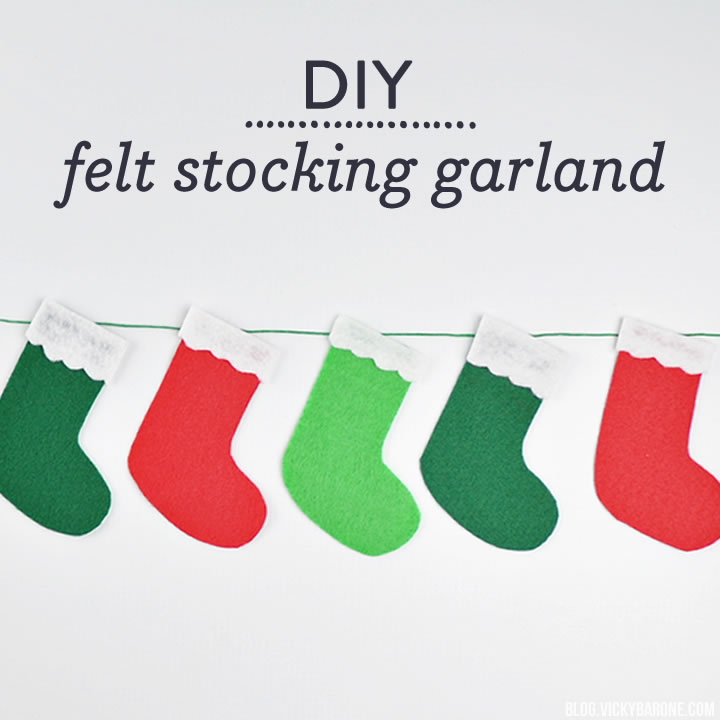
DIY Felt Stocking Garland

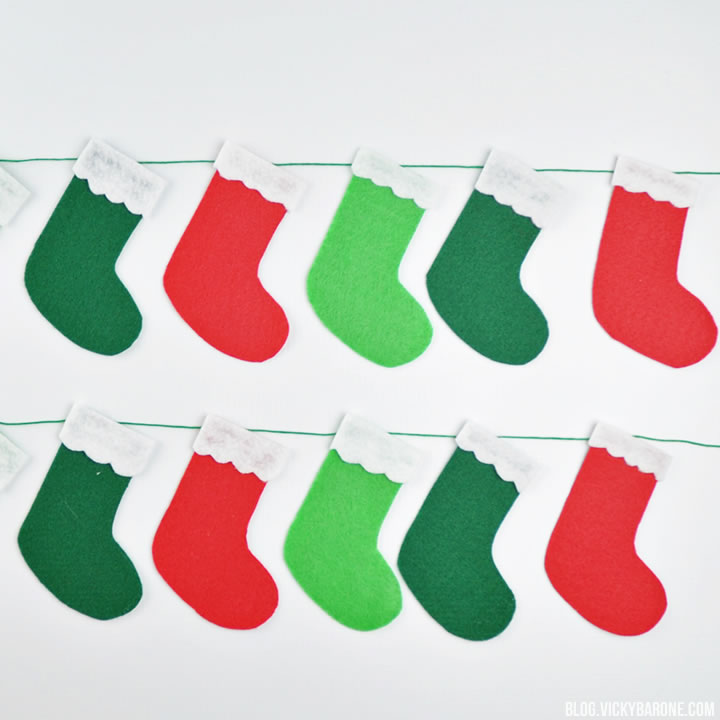
Can you believe Christmas is TOMORROW?! We’re wrapping presents and putting last minute touches on the house, like this felt stocking garland! Perfect for the mantle, as a table runner, or draped around the Christmas tree, this garland will add just a bit more festive flair to your decor. And did we mention that it’s NO-SEW?! Talk about easy last-minute decor 😉

DIY No-Sew Felt Stocking Garland | Vicky Barone | last minute Christmas decor

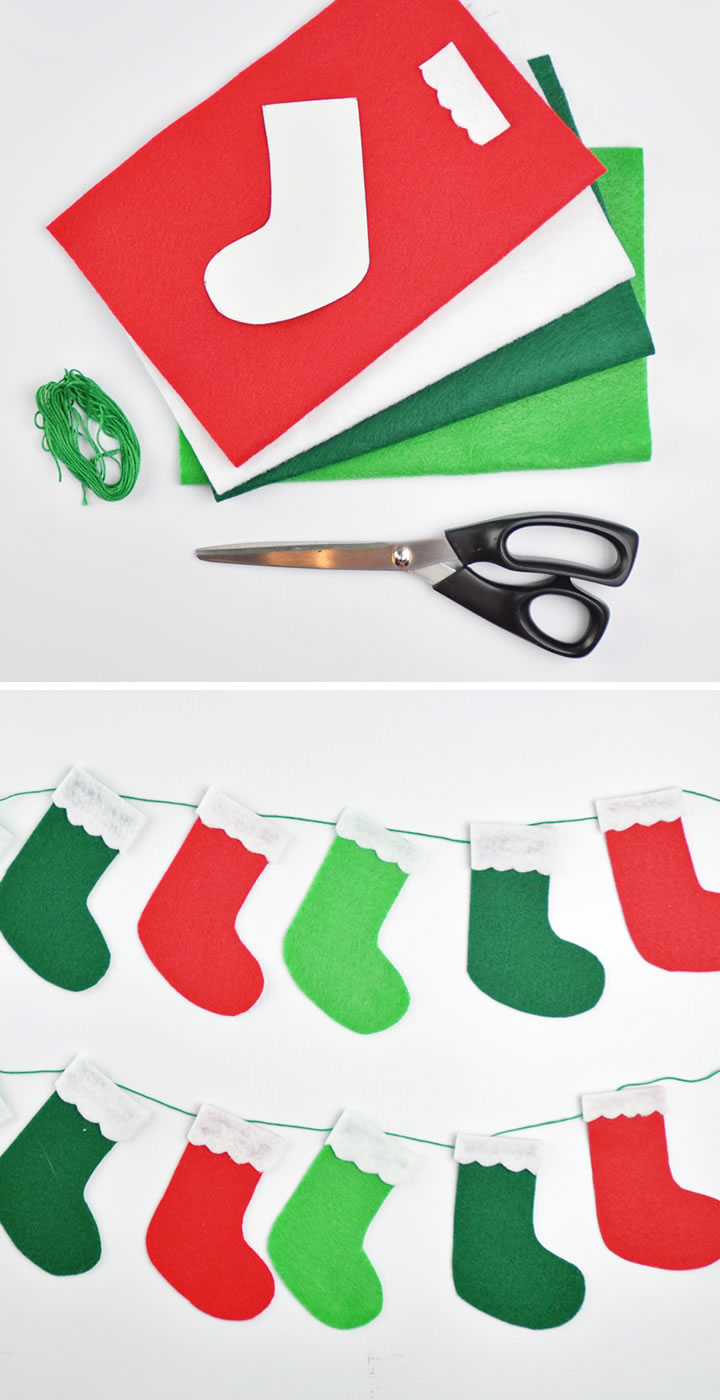
All you need for this no-sew garland is felt, fabric scissors, string, and hot glue. Do you already have all of those things? Great! Let’s get started!

DIY No-Sew Felt Stocking Garland | Vicky Barone | last minute Christmas decor

Supplies: red, green, and white felt, fabric scissors, string, a piece of card stock, a hot glue gun, and hot glue sticks.

Directions:
1. To make each stocking roughly the same shape and size, you will first want to make a stencil. We drew a little stocking on a piece of card stock and cut it out. Trace around the stencil onto the felt and then cut each shape out.
2. Take a piece of white felt and begin cutting a scalloped design across the base about 1/4 inch thick. Cut this scalloped strip of felt into pieces that match the width of the top of each stocking.
3. Attach the white felt to each stocking using a line of hot glue.
4. Flip the stockings over and spread out a piece of string across your work surface. Put a dot of hot glue in the upper right corner of each stocking and quickly press the string on the glue dot. Hold the string on either side of the glue dot and press down, keeping the string taught. This will keep you from touching the hot glue dot with your fingers!
5. Hang your garland and enjoy!

DIY No-Sew Felt Stocking Garland | Vicky Barone | last minute Christmas decor

DIY No-Sew Felt Stocking Garland | Vicky Barone | last minute Christmas decor

DIY No-Sew Felt Stocking Garland | Vicky Barone | last minute Christmas decor

Merry Christmas Eve!

Categories
DIY Holidays

DIY Jingle Bell Garlands

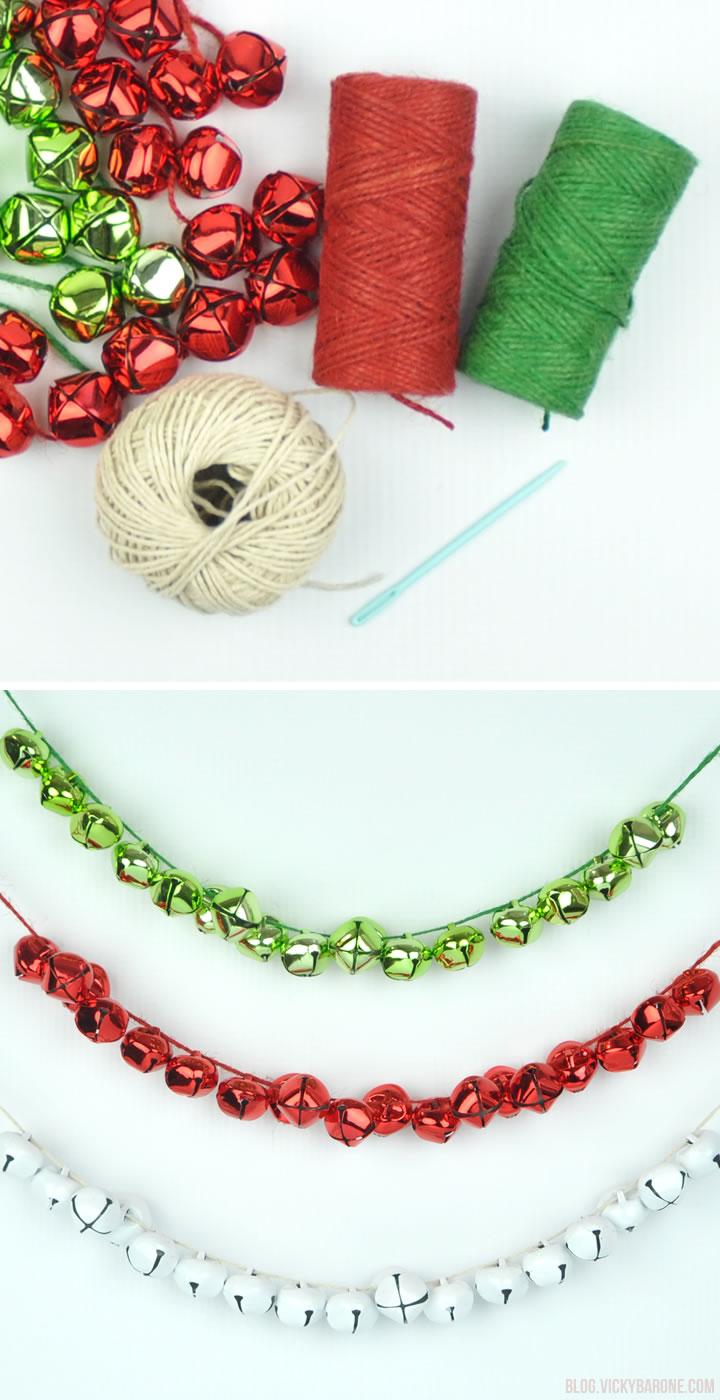
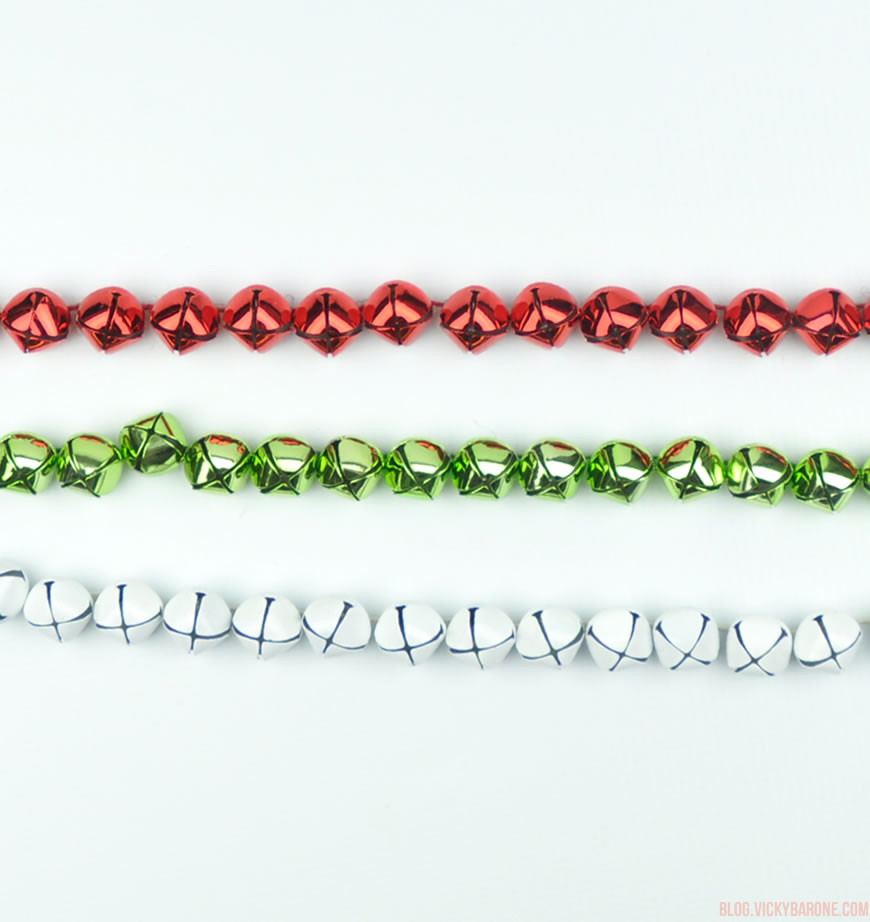
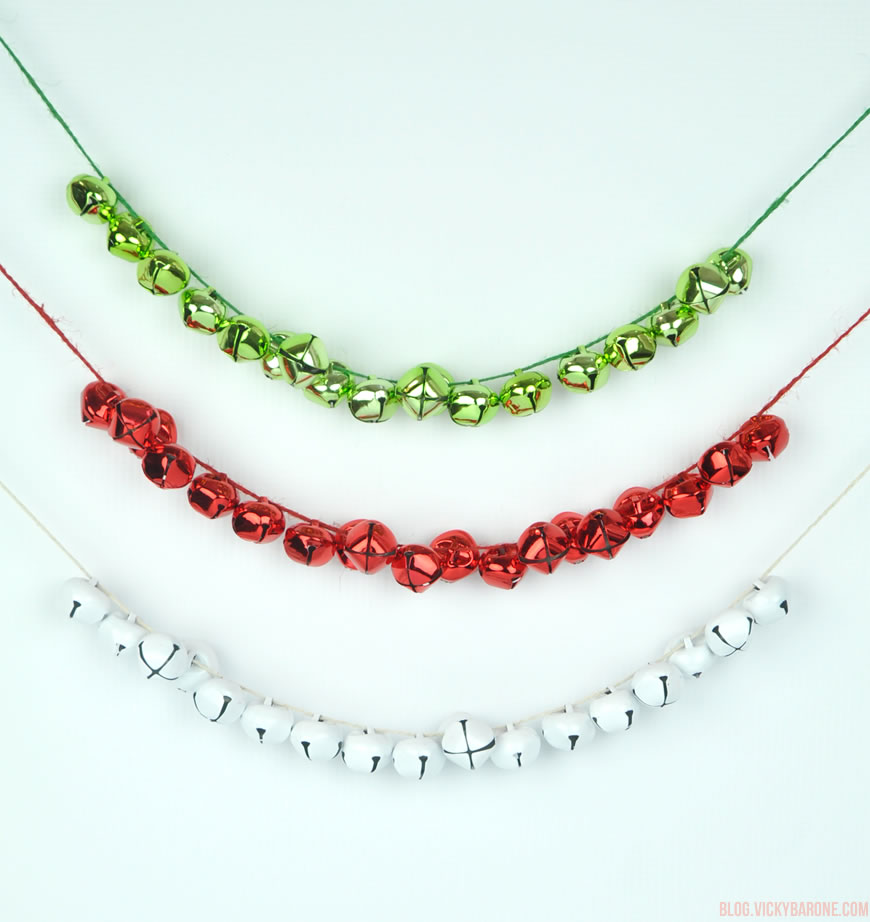
Today’s holiday DIY is so simple, it barely needs an explanation! These jingle bell garlands take no time to throw together and add a pop of color (and music!) to any room of the house.

DIY Jingle Bell Garlands | Vicky Barone

Supplies: jingle bells, twine, and a plastic needle.

Directions:
1. Thread the needle with twine and string on jingle bells.
2. Hang and enjoy!

DIY Jingle Bell Garlands | Vicky Barone

DIY Jingle Bell Garlands | Vicky Barone

DIY Jingle Bell Garlands | Vicky Barone

Do you have any super easy DIYs for the holiday? We’d love to hear them!

Categories
DIY Holidays

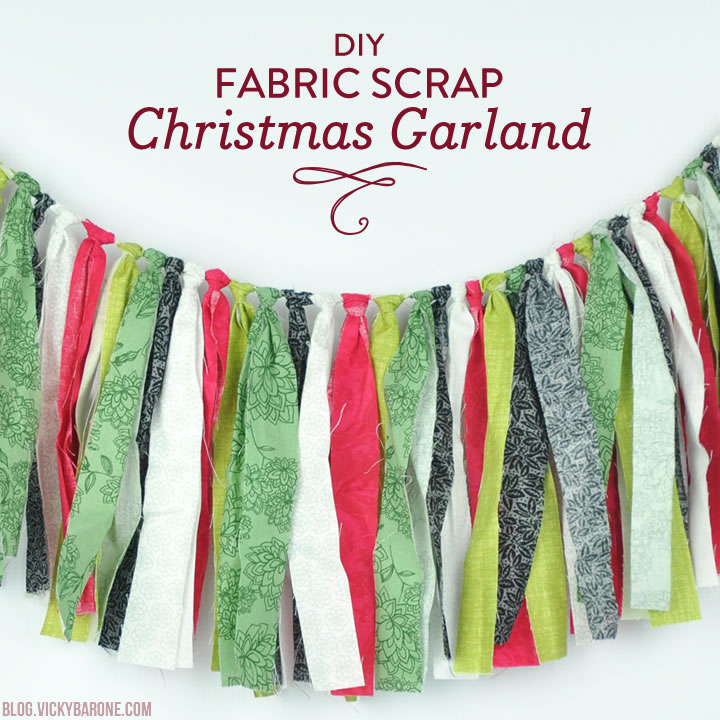
DIY Fabric Scrap Christmas Garland

Only 17 days left until Christmas! We are so excited and having so much fun decorating and celebrating this happy season. Today we’re sharing an easy Christmas garland for your mantle, your tree, or anywhere in your house that could use a little Christmas! All you need is some fabric (leftover scraps from past projects work GREAT!), a pair of scissors, and some twine. Let’s get started!

DIY Fabric Scrap Garland | Vicky Barone

Directions:
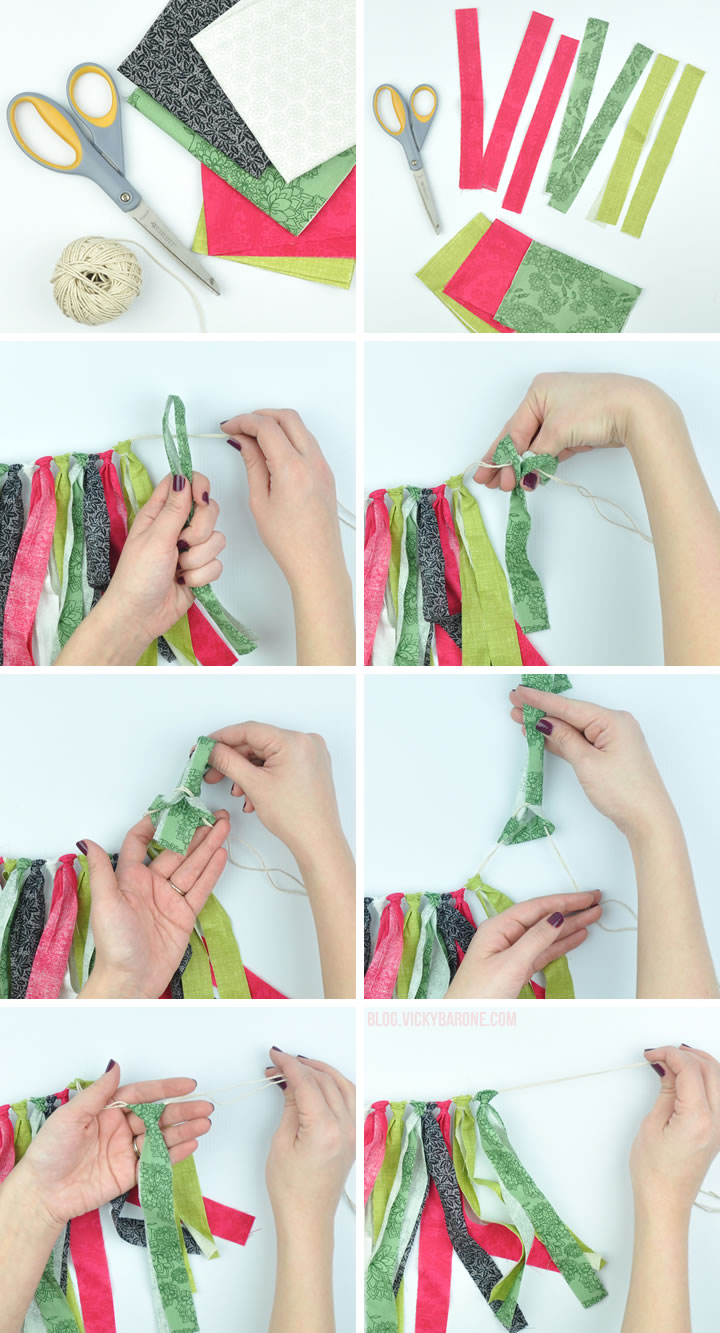
1. Gather your supplies. We used fat quarters from Joann’s Fabrics and Crafts in red, greens, black, and white. Unfold the fat quarters and iron as necessary. We then folded them back up lengthwise and ironed a crease on the fold. Our folded fabric was about 21″ long by 9″ wide.
2. Cut fabric into strips. Start the scissors on the folded edge and cut across the width of the folded fabric. Our strips were about an inch thick and 9 inches long (18 inches long when unfolded).
3. One piece of fabric at a time, you will create “Lark’s Head Knots” around the twine. We placed our fabric (folded side at the top) on top of the twine.
4. Reach inside the top of the loop and around the twine and grab the ends of the fabric.
5. Pull the ends up through the loop.
6. Tighten the knot you just created.
7. Flip the knot back down and adjust as necessary.
8. Slide the knot down the twine next to its buddies and grab another piece of fabric to continue!

DIY Fabric Scrap Garland | Vicky Barone

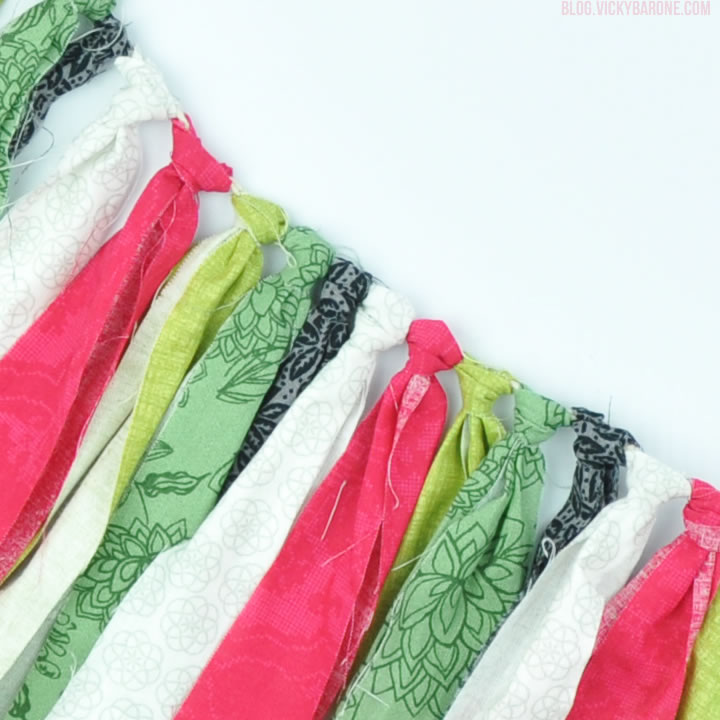
Soon you’ll have a garland full of knotted fabric strips!

DIY Fabric Scrap Garland | Vicky Barone

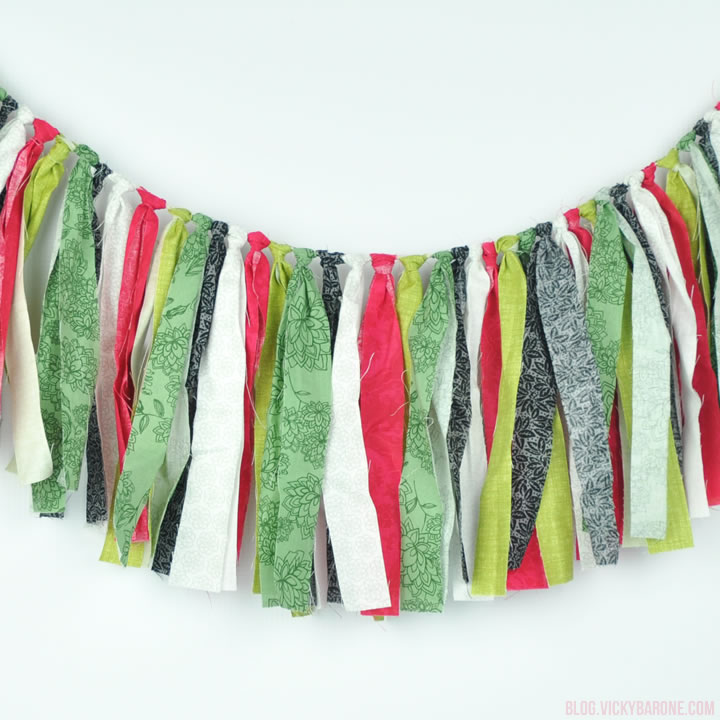
Hang your garland wherever you’d like! Ours is across the entryway table in the foyer. Find our Christmas Countdown Plate here. 🙂

DIY Fabric Scrap Garland | Vicky Barone

Follow Vicky Barone on Instagram for more holiday ideas and decor or check us out on Pinterest for lots of fun projects and inspiration!

Categories
DIY

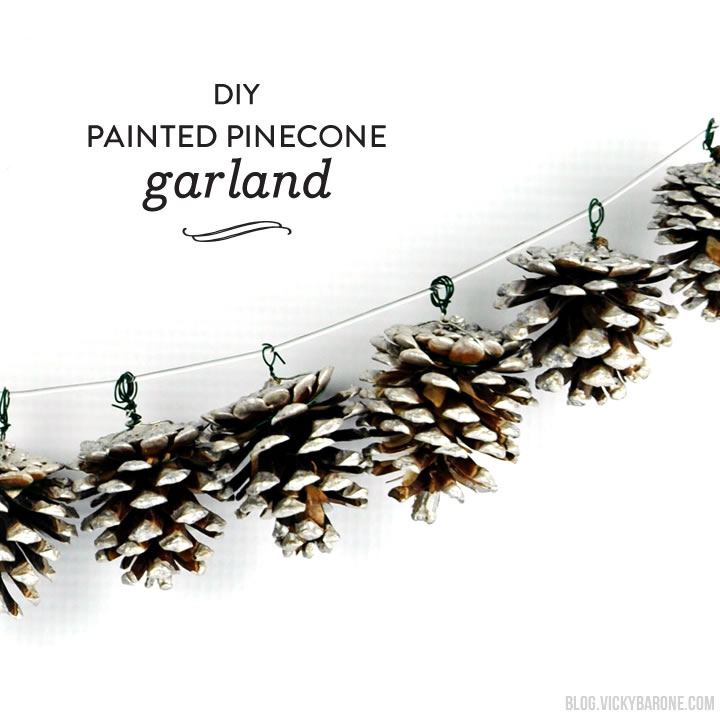
DIY Painted Pinecone Garland

What a rainy week it has been. We thought we’d never see the sun! Fortunately, we know that the key to combating the weather is to create! Today we’re sharing the perfect rainy or chilly day activity: painted pinecones. Keep reading to see how we turned them into a garland that’s perfect for Fall and Winter…
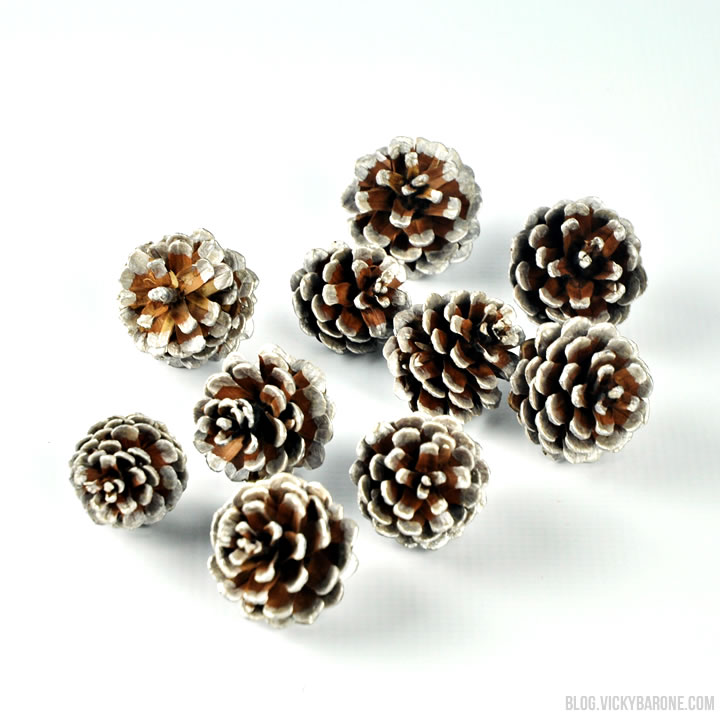
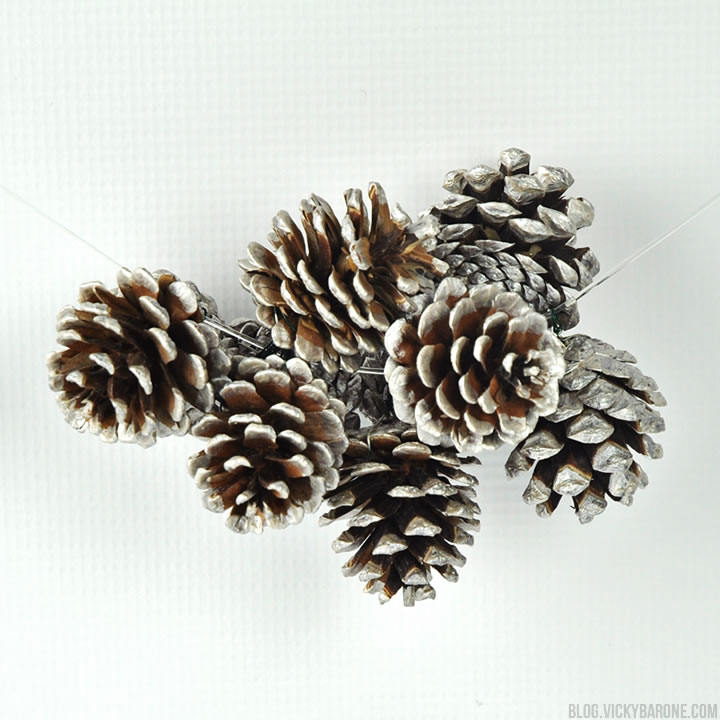
pinecones_3Painting pinecones, believe it or not, is a very calming activity. A faster way to decorate pinecones is by dipping the entire thing in paint and letting it dry. The outcome is super cute, but we were looking for just a touch of metallic, while still keeping an earthy feel.

pinecones_5

Supplies: pinecones, floral wire, metallic acrylic paint, a paint brush, and clear cord.

Directions:
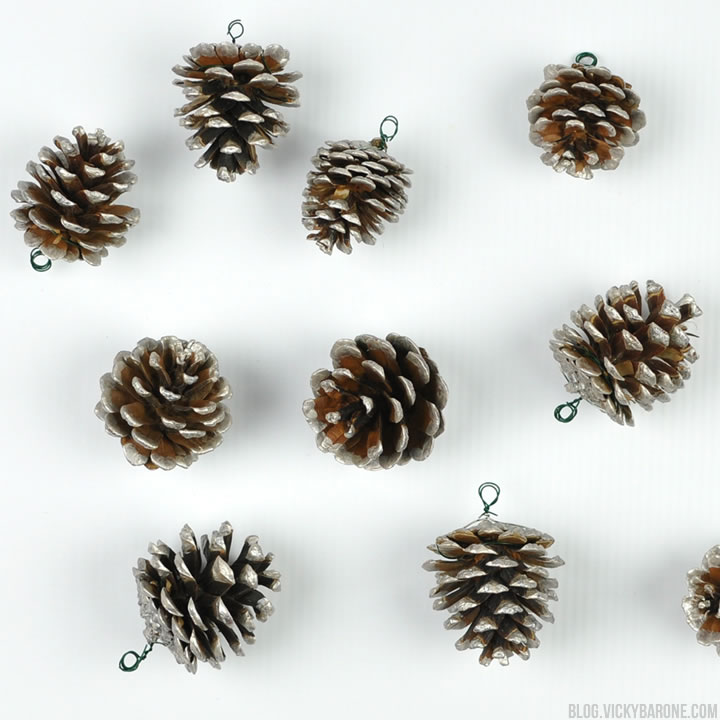
1. Cut about 6-8 inches of floral wire. Wrap it around the base of a pinecone (between the bottom layer and the second-from-the-bottom layer) once. Cross the two ends of wire as they pass each other and bend them up towards the base of the pinecone, opposite each other. Twist the ends together on the center of the base. Create a loop with the ends of the wire by wrapping them around a pen as many times as they’ll go. Slide the loop off the pen.
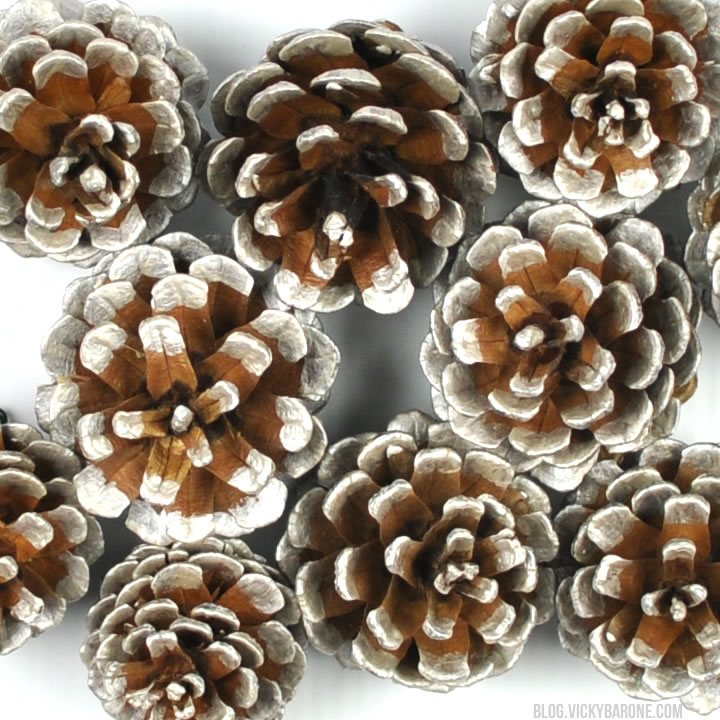
2. Now that you have loops on all the pinecones, you have a place to grip them while you paint!  We painted the entire bottom of the pinecone, but only the outer tips of each scale, top and bottom.
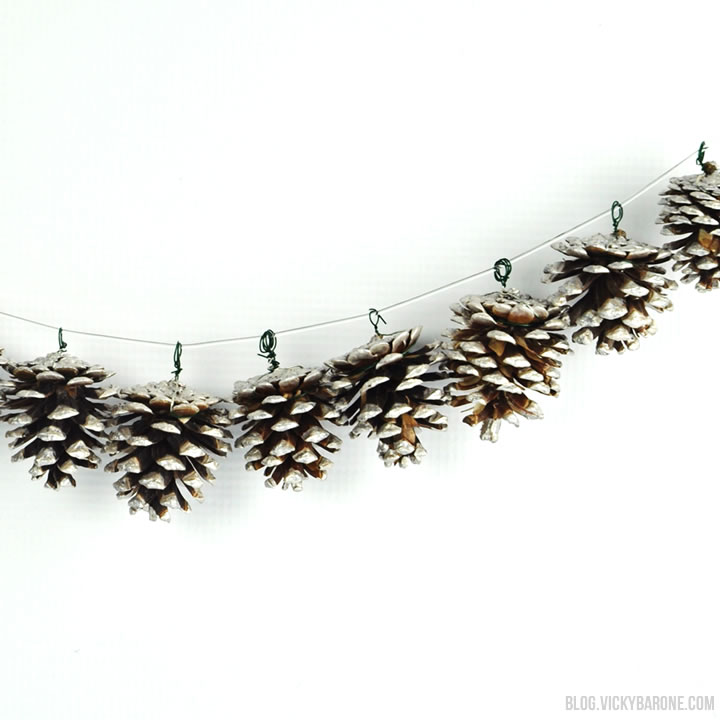
3. When the paint is dry, string the pinecones onto the clear cord and hang your garland!
DIY Metallic Painted Pinecone Garland | Vicky Barone

DIY Metallic Painted Pinecone Garland | Vicky Barone

DIY Metallic Painted Pinecone Garland | Vicky Barone

DIY Metallic Painted Pinecone Garland | Vicky Barone

To make a cluster of pinecones, we pushed them to the center of the cord, letting them rest on top of one another (see above photo).

DIY Metallic Painted Pinecone Garland | Vicky Barone

DIY Metallic Painted Pinecone Garland | Vicky Barone

Hang this garland on your mantle or wrap it around your Christmas tree – the possibilities are truly endless. You could even just paint the pinecones and not add floral wire. They would look great scattered down the table runner on your Thanksgiving table or in a pretty bowl in the center of your coffee table.

Categories
DIY Holidays

DIY No-Sew Felt Thanksgiving Garland

Happy November, friends! We are so excited for this new holiday season and all the fun Thanksgiving crafts and decor we’ll be sharing. We’re also extra excited that it’s finally appropriate to talk about Christmas! Personalized Holiday ornaments are now available in the Etsy shop if you’re in the mood to start your holiday shopping now. 😉

DIY No-Sew Give Thanks Garland | Vicky Barone

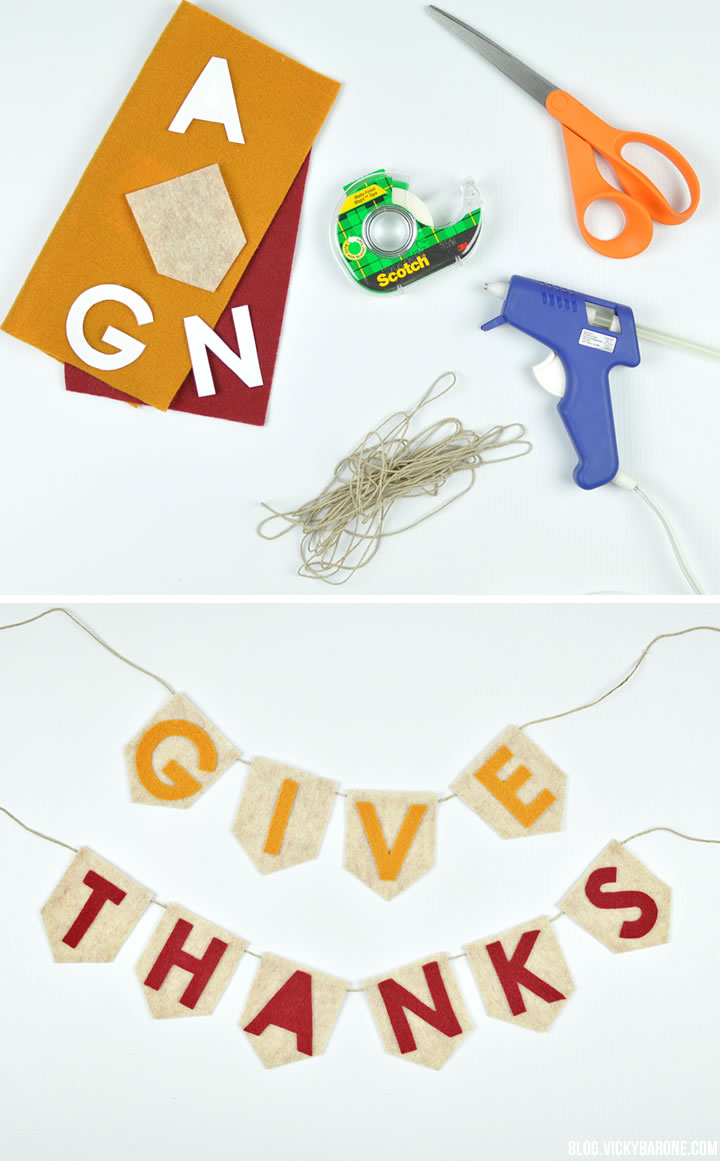
Our “Give Thanks” garland from a few years ago has always been such a hit, that we’ve come up with a new design using felt. This new “Give Thanks” banner requires absolutely no sewing, so grab your hot glue gun and follow us!

DIY No-Sew Give Thanks Garland | Vicky Barone

Supplies: felt, fabric scissors, regular scissors, letter stencils/template, hot glue, and twine.

Directions:
1. Choose a font you like and print out the letters you’ll need for the garland. Cut out each of the letters using regular scissors (You can also use a stencil for this, or just free hand the letters).
2. Tape the paper letters to the colored felt and cut them out using fabric scissors.
3. Cut little flags for each letter out of a neutral colored felt.
4. Glue each letter to a flag and let cool.
5. Line up the flags in reverse order and flip each one over. Put two hot glue dots on the back of each flag and press twine into the dots. Hold in place until the glue cools.
6. Flip the banner over and hang where you’d like!

DIY No-Sew Give Thanks Garland | Vicky Barone

DIY No-Sew Give Thanks Garland | Vicky Barone

We hope everyone has a happy happy Monday and a wonderful week!

Categories
DIY Holidays

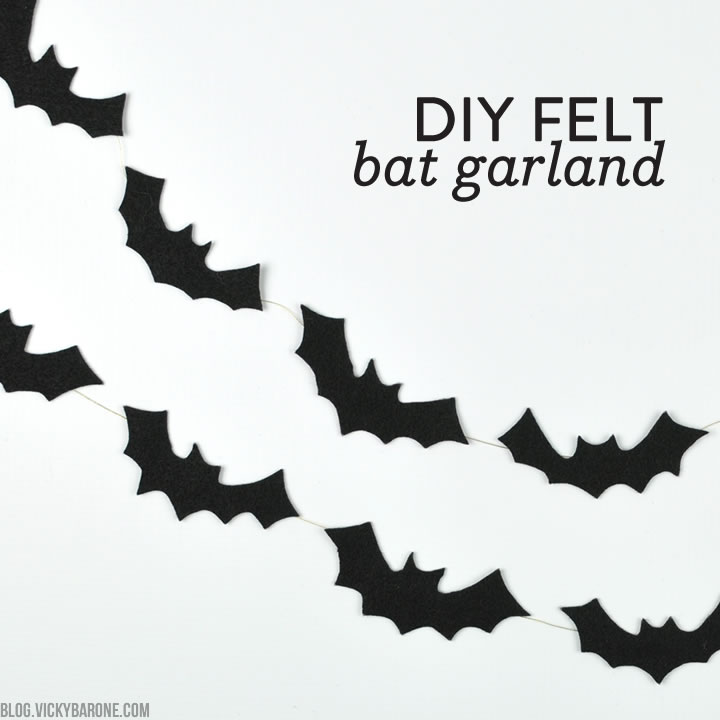
DIY No-Sew Felt Bat Garland

Happy Monday, friends! It is getting mighty chilly on the east coast, which makes all of these Halloween (and Christmas?!) decorations feel a lot more appropriate. Sure, we’d love a few more Summery days, but this Autumn air is all too welcome.

DIY No-Sew Felt Bat Garland | Vicky Barone

Today we’re sharing a bat garland that requires absolutely NO sewing! Grab your felt, scissor, and hot glue, and follow us…

DIY No-Sew Felt Bat Garland | Vicky Barone

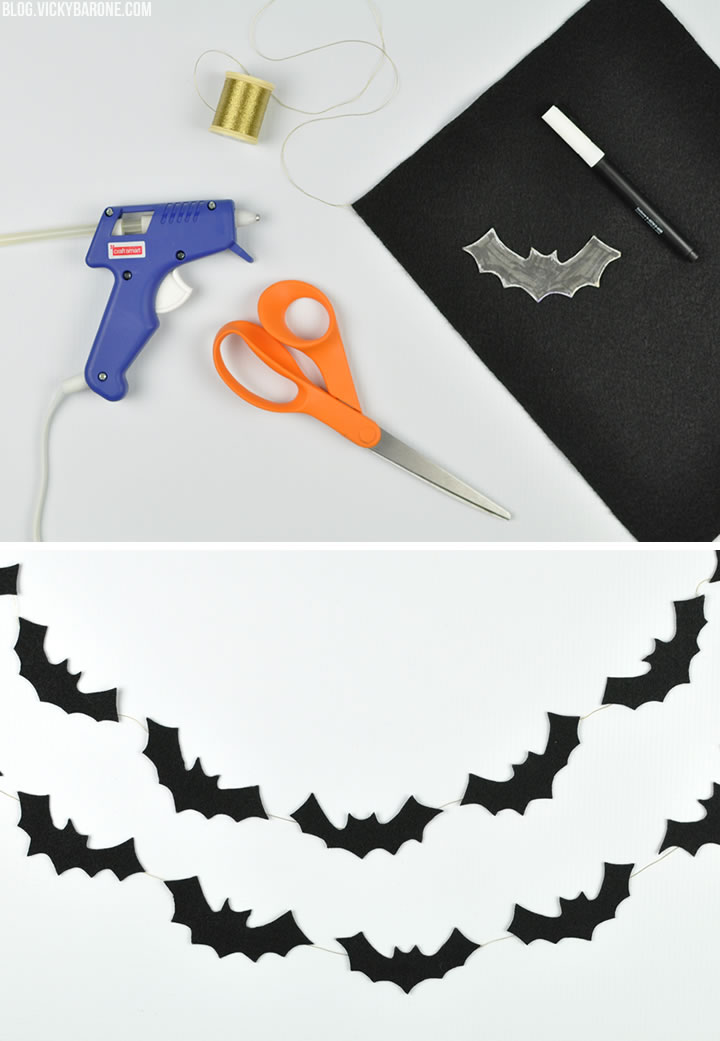
Supplies: black felt, fabric scissors, chalk or a white marker, string, and hot glue.

Directions:
1. Hand draw or print out a bat shape onto a piece of paper. When you like the size and shape, trace it onto a small piece of card stock or thin cardboard and cut it out. This will be your template!
2. Trace around the template onto a piece of black felt using chalk or a white marker.
3. Cut the bat shapes out of the black felt.
4. Cut out a length of string for your garland. We used thin gold thread.
5. Heat up your hot glue gun and make two or three glue dots onto the back of a bat shape. We made three dots of glue – one on each wing and one in the center so the string made a V-shape when glued down (this way the string wouldn’t show between the wings when hung).
6. Quickly press the string to the glue dots.

DIY No-Sew Felt Bat Garland | Vicky Barone

Hang your spooky garland and enjoy!

DIY No-Sew Felt Bat Garland | Vicky Barone

Looking for more garlands? You’re in luck! Click here to see more.