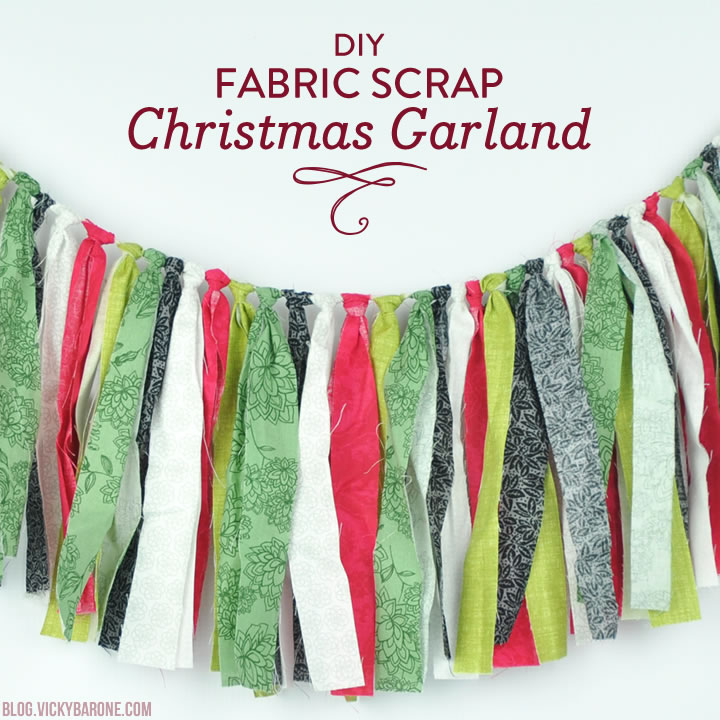
Only 17 days left until Christmas! We are so excited and having so much fun decorating and celebrating this happy season. Today we’re sharing an easy Christmas garland for your mantle, your tree, or anywhere in your house that could use a little Christmas! All you need is some fabric (leftover scraps from past projects work GREAT!), a pair of scissors, and some twine. Let’s get started!

Directions:
1. Gather your supplies. We used fat quarters from Joann’s Fabrics and Crafts in red, greens, black, and white. Unfold the fat quarters and iron as necessary. We then folded them back up lengthwise and ironed a crease on the fold. Our folded fabric was about 21″ long by 9″ wide.
2. Cut fabric into strips. Start the scissors on the folded edge and cut across the width of the folded fabric. Our strips were about an inch thick and 9 inches long (18 inches long when unfolded).
3. One piece of fabric at a time, you will create “Lark’s Head Knots” around the twine. We placed our fabric (folded side at the top) on top of the twine.
4. Reach inside the top of the loop and around the twine and grab the ends of the fabric.
5. Pull the ends up through the loop.
6. Tighten the knot you just created.
7. Flip the knot back down and adjust as necessary.
8. Slide the knot down the twine next to its buddies and grab another piece of fabric to continue!

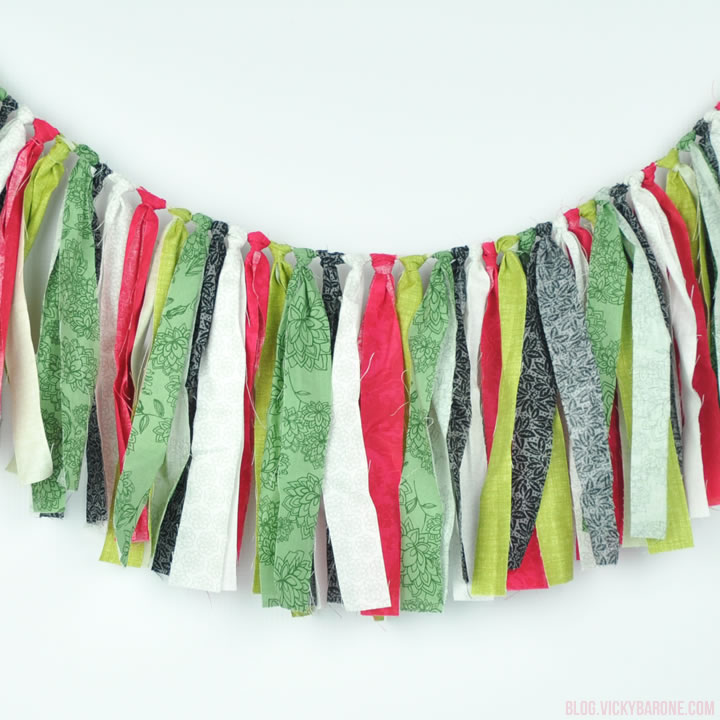
Soon you’ll have a garland full of knotted fabric strips!
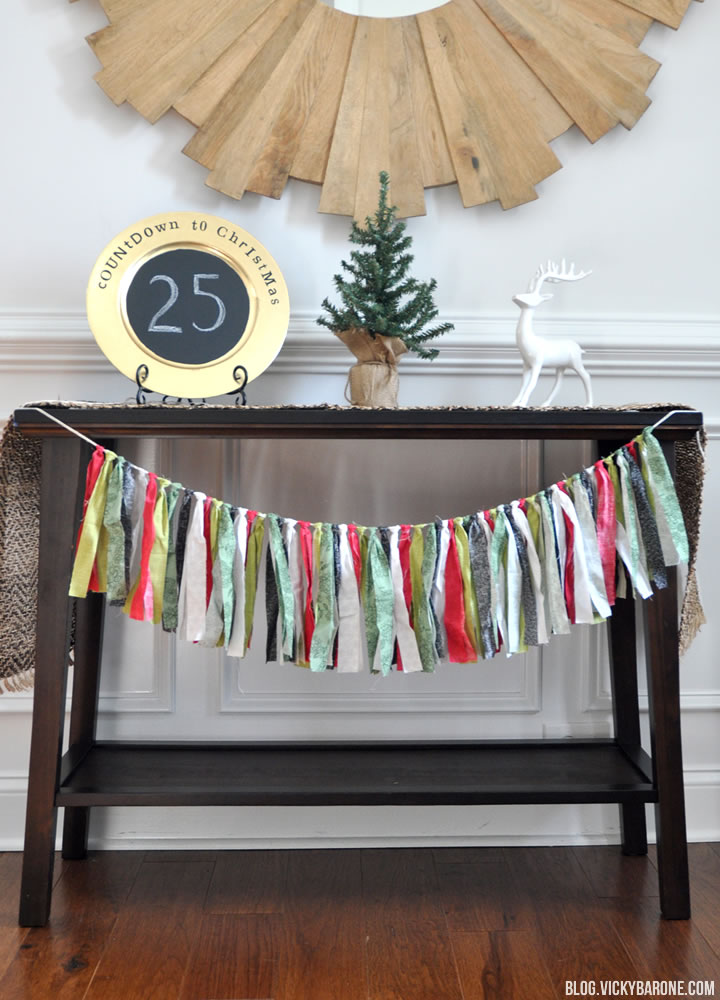
Hang your garland wherever you’d like! Ours is across the entryway table in the foyer. Find our Christmas Countdown Plate here. 🙂
Follow Vicky Barone on Instagram for more holiday ideas and decor or check us out on Pinterest for lots of fun projects and inspiration!