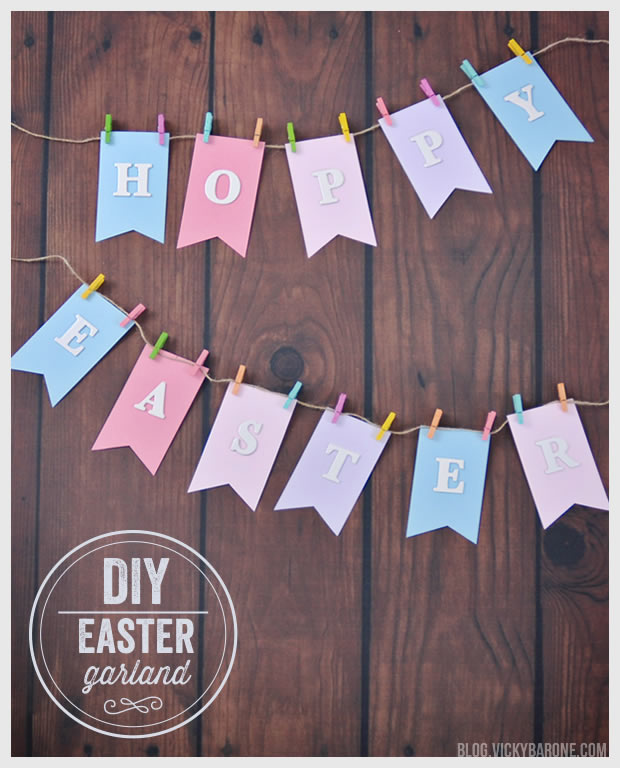
We’ve mastered the art of paper buntings (seeing as how we’ve made one for nearly every holiday), and decided to create this Easter garland to add to our collection. And while we had enough chipboard As, we thought the Easter bunny would appreciate our creative spelling. 🙂

Materials: Scrapbook paper in Spring colors, adhesive chipboard alphabet letters, a paper cutter and/or scissors, mini clothespins, and twine. You can find all of these materials in your local craft store!
Directions:
1. Using a paper cutter, cut scrapbook paper into 2.5 x 5 inch rectangles.
2. Cut a triangle out of the bottom of each paper rectangle using scissors. We made a stencil out of scrap paper to make sure each triangle cut was the same.
3. Remove the backing from the letters and attach to each paper flag.
4. Cut one long piece of twine (or two medium length pieces) and attach each flag with two mini clothespins, leaving equal space between the flags and extra twine on each end for hanging.
Follow Vicky Barone on Bloglovin’ for more fun Easter ideas!


One response to “DIY Hoppy Easter Garland”
[…] [Garland tutorial here] […]