Skip to content
Get Your Free Guide to get more done with AI →
Search
DIY Projects
DIY
Holidays
Parties and Events
Kids
Things I Love
Recipes
About
Website
Shop
Category:
My Projects
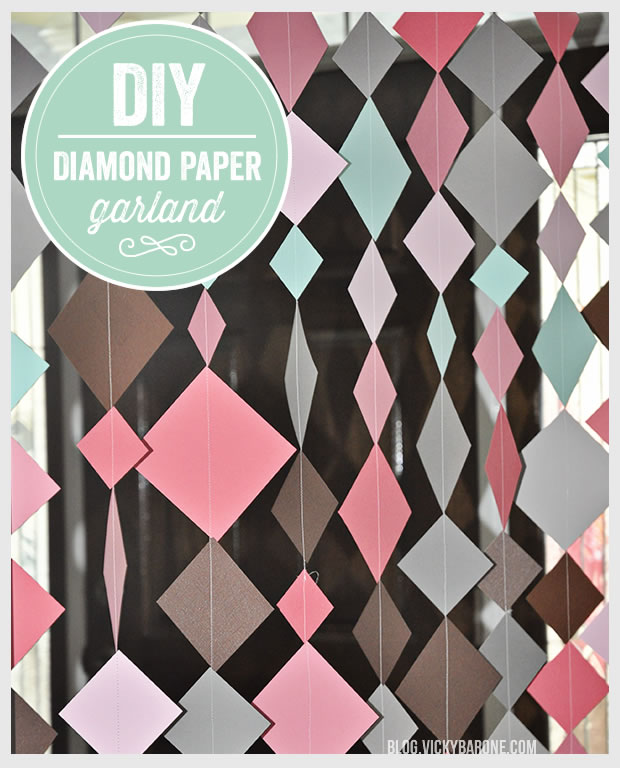
DIY Diamond Paper Garland
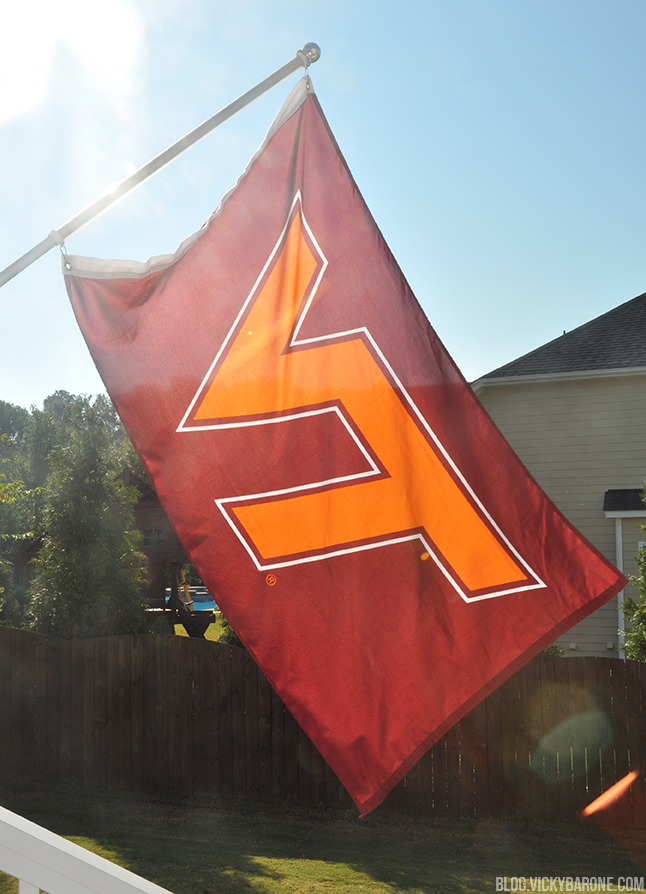
Virginia Tech Homecoming 2013
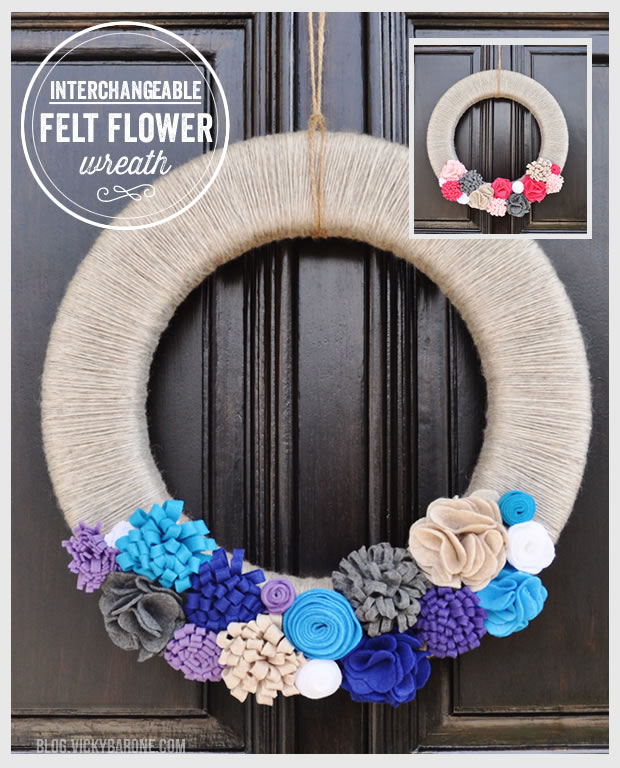
Interchangeable Felt Flower Wreath
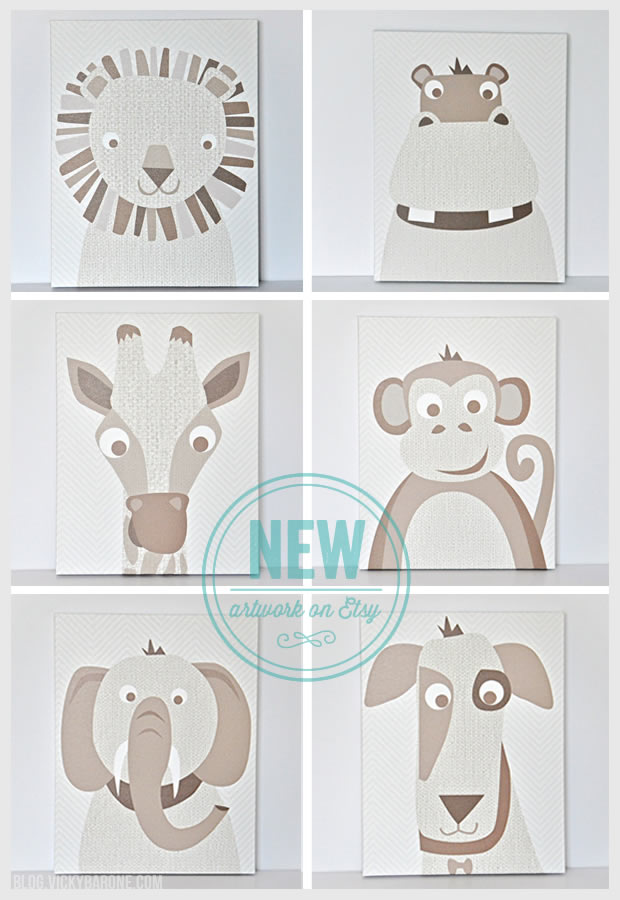
New Artwork on Etsy: Natural Animals
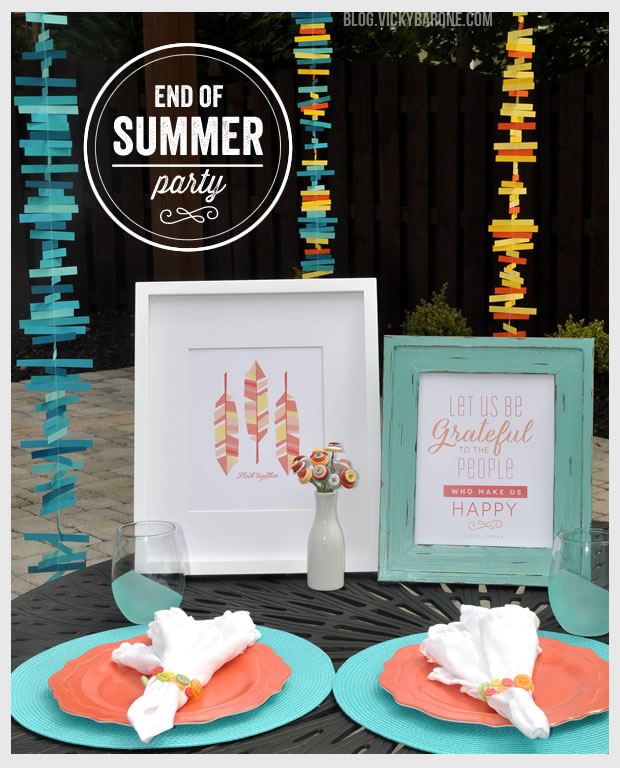
End Of Summer Party Featuring New Art Prints
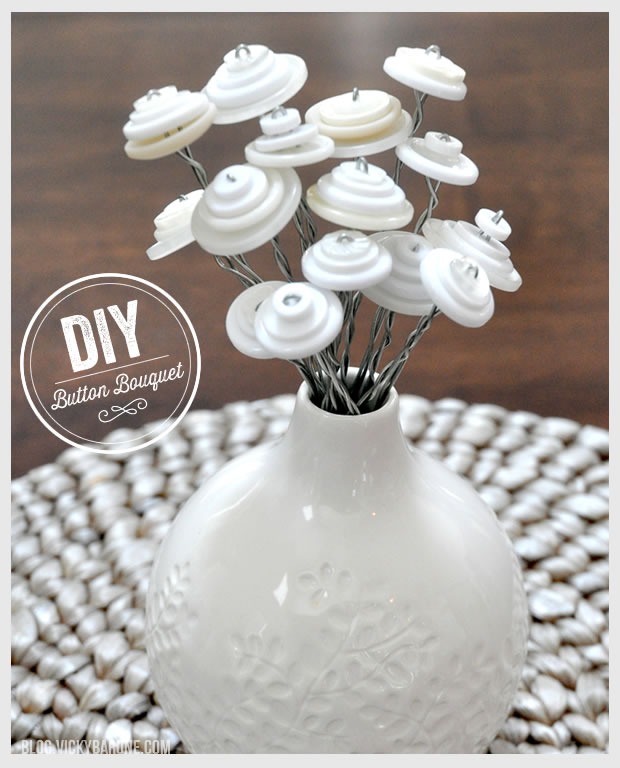
DIY Button Bouquet
Things I Love: Summer Parties
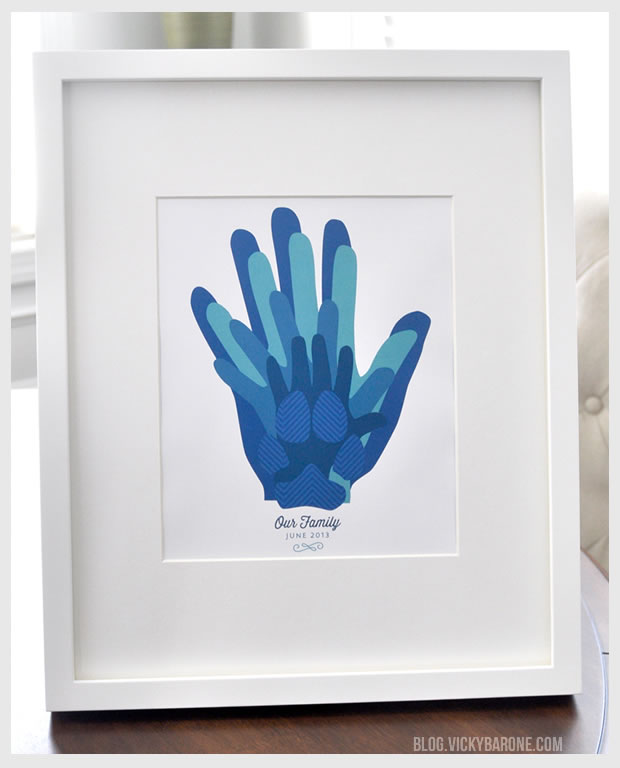
Father’s Day Hand Print Collage
Previous Page
Next Page
Loading Comments...
Write a Comment...
Email (Required)
Name (Required)
Website