Categories
DIY Family Freebies Kids Lifestyle My Projects Printables Projects Thoughts Toddler Wisdom

Happy Things Jar + A Free Printable!

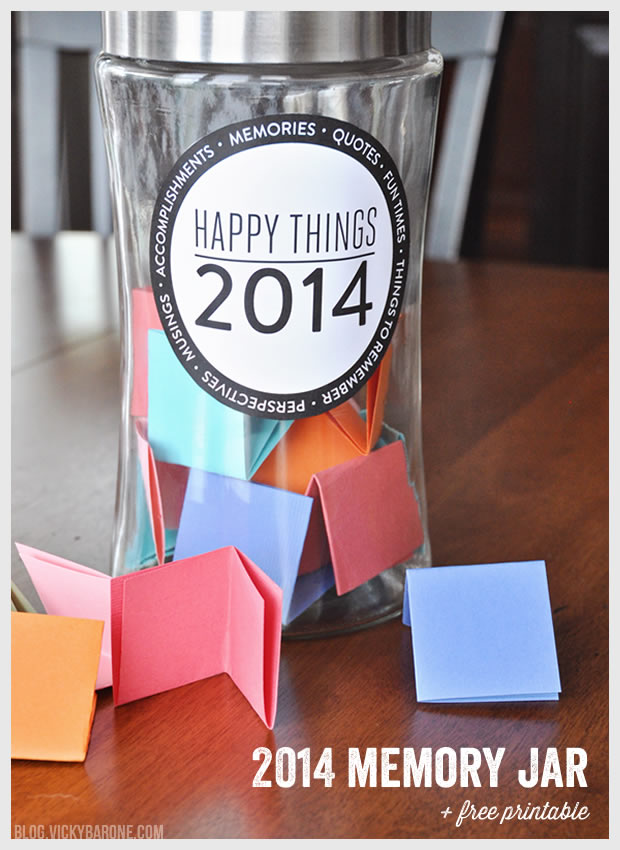
One of my New Year’s resolutions is to be more present in the moment so that I can fully experience each day.  Sometimes time seems to fly by and I don’t want to miss a second of it.  This year, to better capture some of the highlights, I’ve created a “Happy Things” jar.  When something happens that makes me smile, I’m going to write it down so that when 2014 has come to pass, I can look back at the memories and treasure them always.
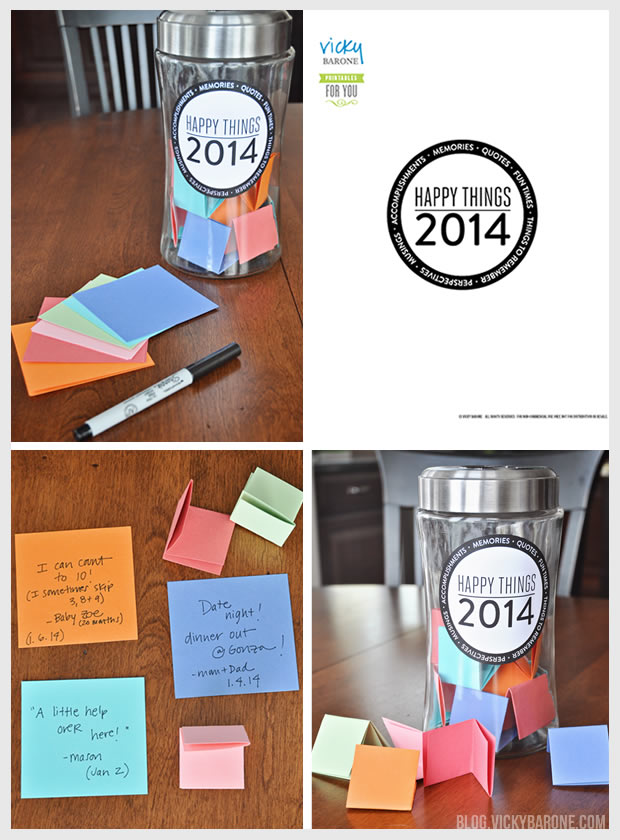
Happy Things Memory Jar + A Free PrintableMaterials: A decorative glass jar (we got ours at Marshall’s for $3.99!), colorful paper, a marker or pen, scissors, and my free “Happy Things | 2014” printable!


Directions:
1. Download the Happy Things free printable and print!
2. Cut out the circular printable and attach to the jar. We used double stick tape so we can easily re-use the jar for something else, but you could also print the printable on adhesive label paper.
3. Cut squares out of colorful paper to make your jar look extra happy! We used a paper cutter and made 3.5″ x 3.5″ squares our of scrapbook paper.
4. Using a marker or pen, write happy things on pieces of paper, fold up, and place in your jar.
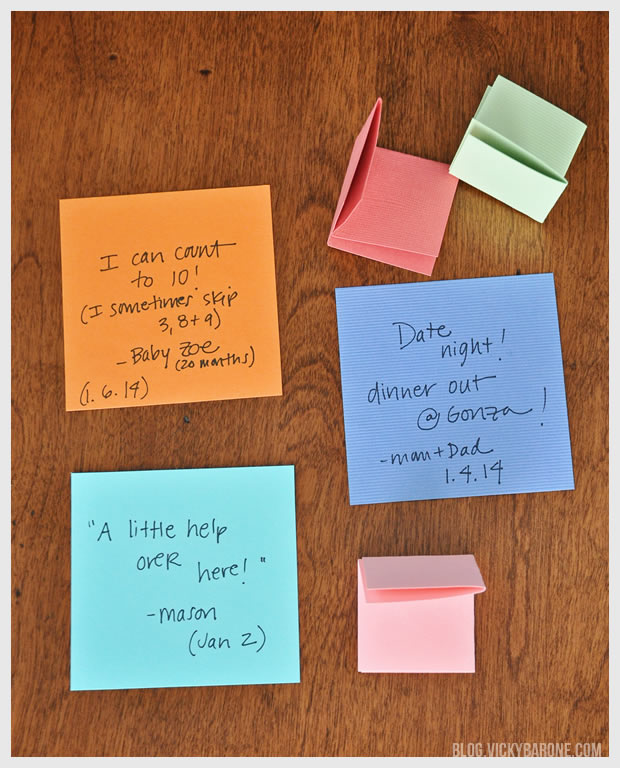
Happy Things Memory Jar + A Free PrintableLet your kids write their own memories if they can, or ask them what their favorite part of the week was! Their answers, milestones, and cute phrases will make perfect memories for the Happy Things jar.

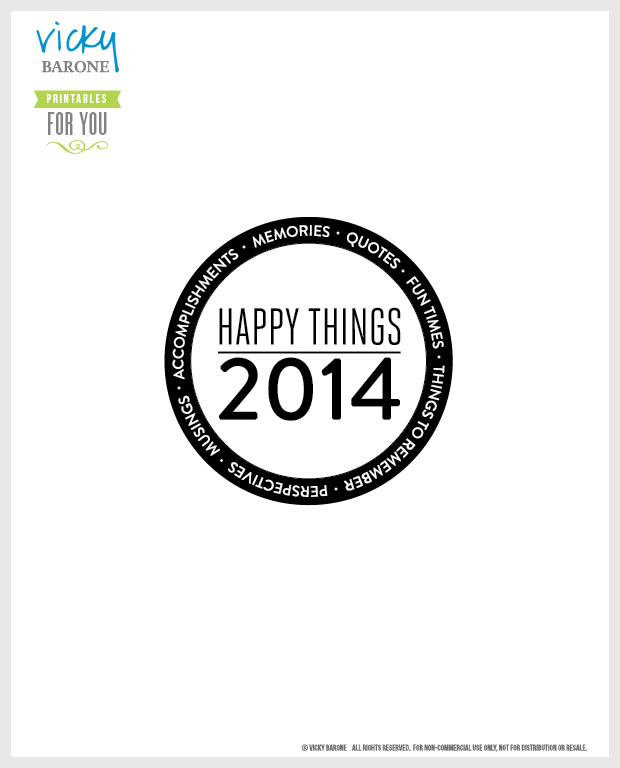
Click here or on the image below to download your own “Happy Things | 2014” label!

Happy Things Memory Jar FREE PRINTABLE by Vicky Barone

This memory jar is perfect for the whole family. Open the jar at the end of the year and reminisce over all of the wonderful times you all had together!

If you make your own memory jar, please send us a picture or a link! We’d absolutely love to see it. Enjoy!

***UPDATE***

Each year we hear more requests for an updated Happy Things Printable and we are here to deliver! Click below to download the newest printables!
2016
2017
2018
2019
2020

Categories
DIY Holidays My Projects Projects

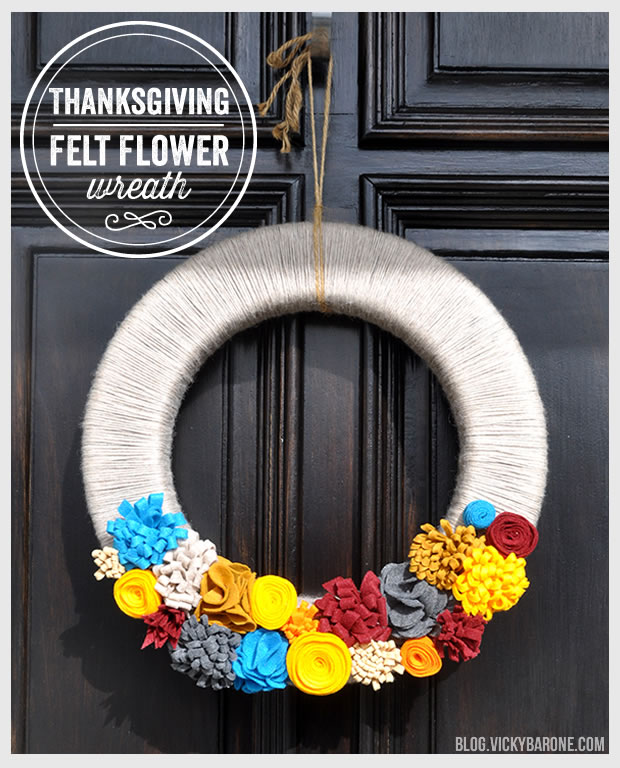
Thanksgiving Felt Flower Wreath

Thanksgiving is just a week away! Here is the last touch to this year’s Thanksgiving decor: our ever-changing felt flower wreath! We decided to brighten up the traditional fall color palette to match our vibrant table setting!

Click here to see the full felt flower wreath tutorial! Happy decorating!

P.S. Keep up with all of our crafts by following Vicky Barone on Bloglovin’ or by subscribing to the blog via email in the right side bar!

Categories
DIY Holidays Lifestyle My Projects Parties and Events Projects

Thanksgiving Pumpkin Place Cards

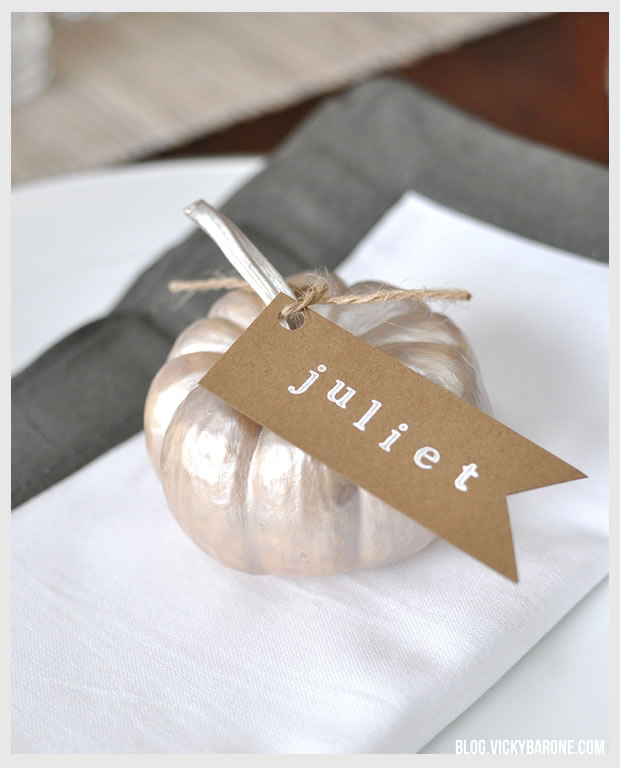
Here’s our favorite detail from our Thanksgiving Table this year! We painted the tiniest pumpkins we could find at the farmer’s market, added our own kraft paper tags et voila! Everyone gets their own baby pumpkin on their plate!

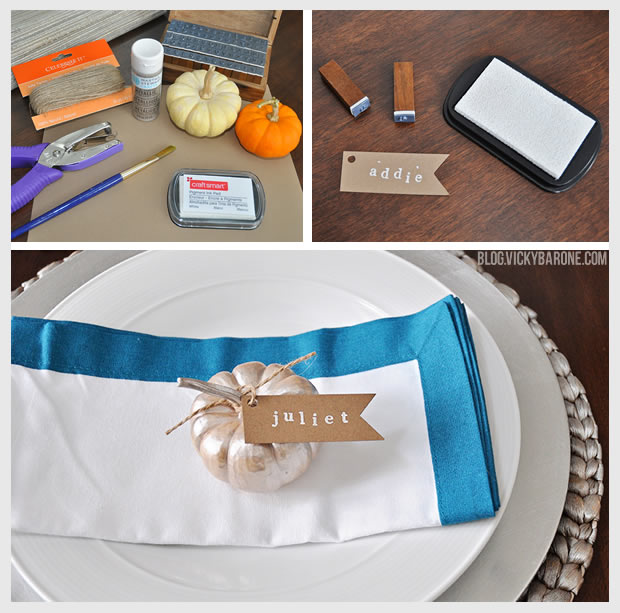
DIY Thanksgiving Pumpkin Place CardsMaterials: Mini pumpkins, metallic acrylic paint, a paint brush, kraft paper, scissors, hole punch, white stamp pad, alphabet stamps, and twine.

Directions:
1. Clean pumpkins with a wet paper towel and dry off completely.
2. Paint pumpkins with acrylic paint and let dry completely (We used white pumpkins so we only needed one coat of paint to cover them! You might need two or three coats with an orange pumpkin).
3. Cut kraft paper into tags and hole punch a little hole in the top left corner for the twine.
4. Using the stamps and stamp pad, add names to each tag. Let dry.
5. Thread twine through the hole in the tag and tie around pumpkin stem loosely.

DIY Thanksgiving Pumpkin Place Cards

DIY Thanksgiving Pumpkin Place Cards

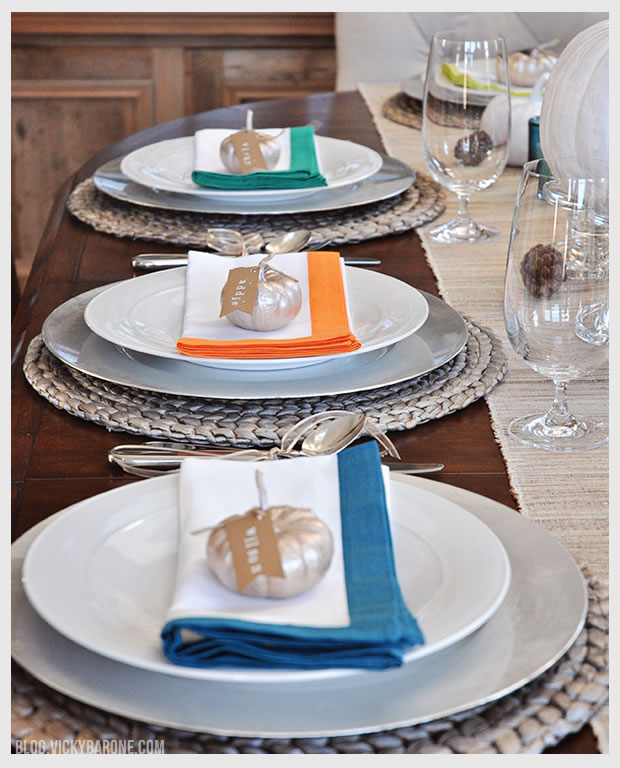
Don’t they look pretty on our multicolored napkins?
We hope everyone is having fun with their Thanksgiving plans! Check out our table set up for more ideas!

Categories
DIY Holidays Kids Lifestyle My Projects Parties and Events Projects

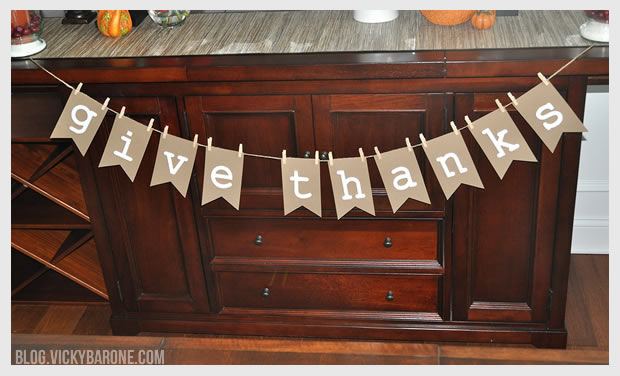
DIY Thanksgiving Garland

Thanksgiving is only 22 days away! Today we have a garland project that is perfect to make ahead of time. It’s also interchangeable so it’s great for any holiday!

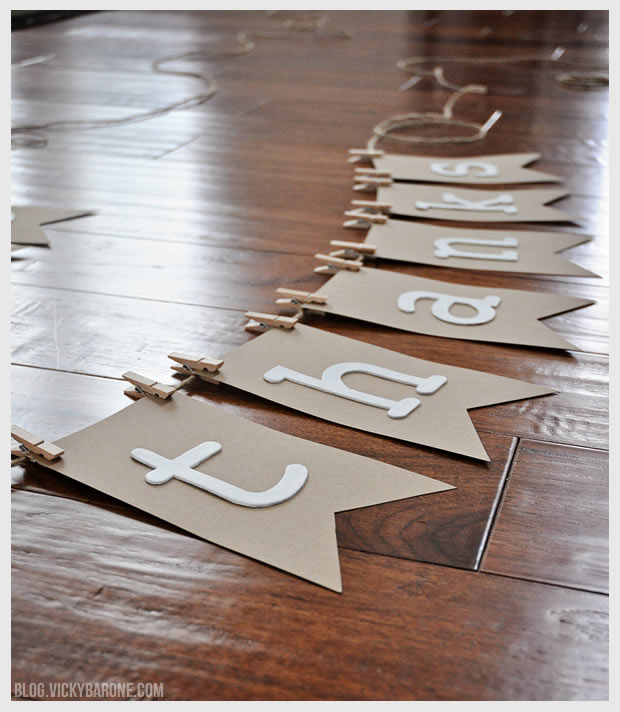
DIY Thanksgiving GarlandMaterials: Kraft paper, adhesive chipboard alphabet letters, white acrylic paint, a paint brush, scissors, mini clothes pins, and twine (the gold acrylic paint pictured was for the clothes pins, but we decided later to keep them unpainted).
You can find all of these materials at your local craft store!

Directions:
1. Paint each letter white with the acrylic paint (My oldest son helped paint! It was an easy project for him and he enjoyed being a part of the Thanksgiving preparations!).
2. Cut kraft paper into 4×7 inch rectangles using a paper cutter.
3. Using scissors, cut a triangle out of the bottom of each paper rectangle. We made a stencil out of scrap paper to make sure each triangle cut was the same.
4. Once the letters are dry, remove the backing and attach one to each piece of kraft paper (the adhesive wasn’t very sticky on ours so we placed heavy books on top of each until they set).
5. Cut one long piece of twine and attach each flag with two mini clothespins, leaving equal space between the flags and extra twine on each end for hanging.

DIY Thanksgiving Garland

DIY Thanksgiving GarlandWe first made the garland on one long strand of twine to hang on the bar in the dining room as well as the mantle in the living room.

DIY Thanksgiving GarlandYou can also  put each word on its own piece of twine to create multiple levels!

DIY Thanksgiving Garland

We love our “Give Thanks” garland and we hope you do too! Subscribe to blog.vickybarone.com by email or on Bloglovin’ to see more of our Thanksgiving coming soon!

P.S. Our Thanksgiving Table Setting!

Categories
DIY Family Holidays Kids Lifestyle My Projects Projects

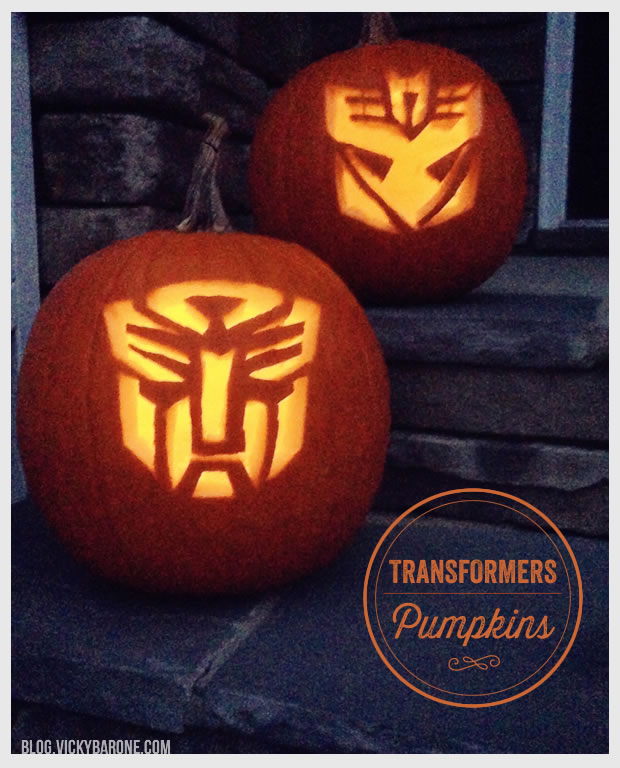
Transformers Pumpkins

It’s almost Halloween! Time to carve the pumpkins!  For the last couple of years I got away with carving a goofy face. However, this year I had a special request from our 4-year-old who is obsessed with Transformers.  I guess saying I got away with carving a goofy face isn’t exactly accurate because last year I splurged and purchased a Pumpkin Carving Kit from Williams Sonoma since I almost lopped off my own finger the year before trying to use a cheaper version.  I attempted a Mickey Mouse face last year and after hours of carving, I produce a masterpiece that my then 3-year-old said he liked and then moved on.  He probably would have been just fine with the goofy face, but this year, after having a little taste of last year’s extravagantly-carved pumpkin, he requested Transformers.

Now I’m worried that they won’t last until tomorrow night, but for now, here they are in all their glory: The Autobots and The Decepticons.

To carve these designs, I created my own template on a piece of paper so that I didn’t have to freehand the logos.  It was much quicker and turned out more symmetrical.  Once I had the template, I traced the logos onto the pumpkins in pencil so the carving would go quickly.  If you search the web, you can find lots of Transformers images that would work great for tracing and carving your own!

Now I’m extremely worried about what my son’s request will be next year. I may have to take an actual carving class!

Categories
My Projects Parties and Events Recipes

Sprinkle Rimmed Glasses DIY

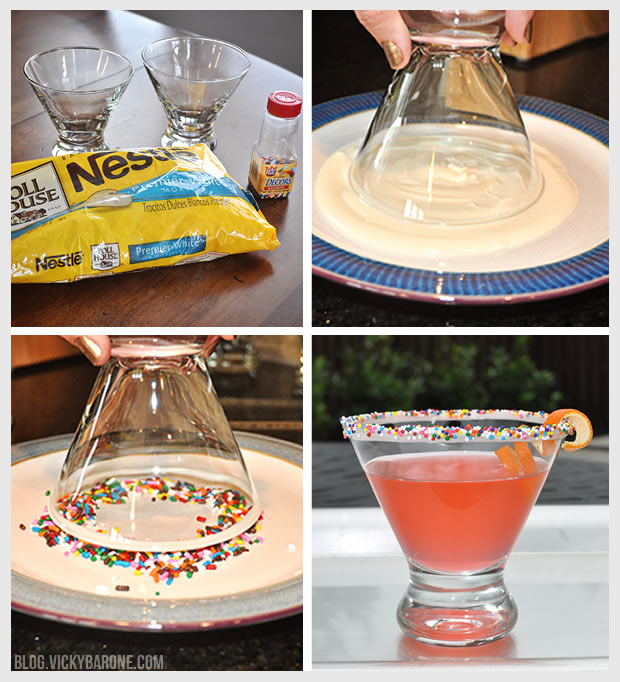
This is the easiest DIY for a party that will make you feel like the fanciest host ever! These sprinkle rimmed cocktail glasses were so perfect for our Pizza and Champagne Party and they only required two ingredients!

Sprinkle Rimmed Glasses DIYWhat you need:
1. Cocktail glasses. You can use any kind of drink wear including shot glasses!
2. Chocolate bits or melting chocolate. We used Nestle Premier White Morsels.
3. Sprinkles! We used rainbow sprinkles for our first round of glasses and nonpareils for the main picture you see at the top! They both worked great.

Directions:
1. Melt about 1/4 cup of chocolate bits in a small bowl in the microwave, stirring every 30 seconds until completely melted.
2. Spread the melted chocolate onto one small plate and pour sprinkles onto another small plate.
3. Dip a glass into the melted chocolate and carefully lift it back up. Slowly turn the glass clockwise and counterclockwise to catch any drips onto the rim and not down the side of the glass!
4. Immediately dip the glass into the sprinkles on the other plate. You can lift the glass up and down to pick up more sprinkles until the melted chocolate rim is covered.
5. Let the glasses set before serving. We put ours into the freezer to set faster.
6. Add your favorite cocktail (or mocktail!) and serve!

We hope this fancy touch will add some flair to your next party! Don’t forget to check out the rest of the DIY details from our Pizza and Champagne Party!


Categories
DIY Holidays My Projects Projects

Halloween Wreath

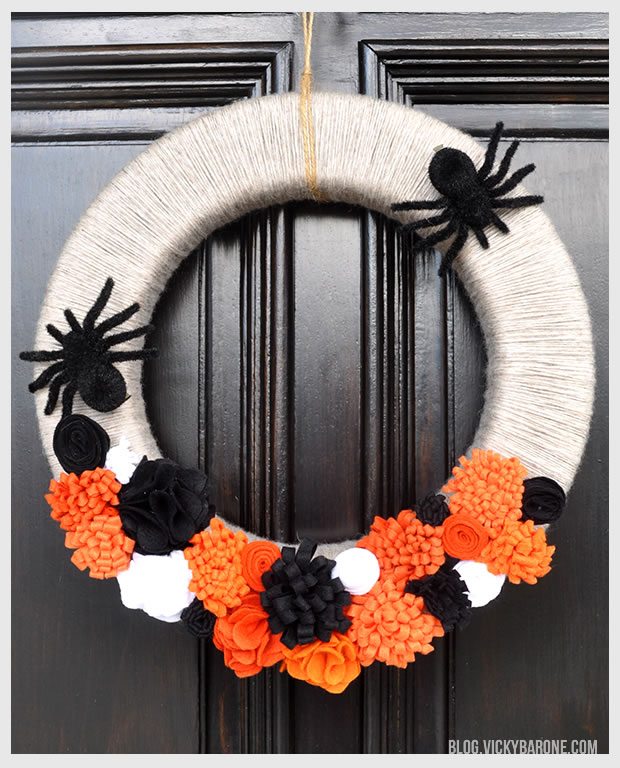
The best part about our felt flower wreath is that it’s seasonal! Here is what it looks like this week, complete with fuzzy clip-on spiders from Michael’s.

We used some of the different orange flowers from our Virginia Tech wreath, and added some white and black flowers to make it Halloween-themed. You can add any other elements to your wreath to make it festive! The spiders we bought came with metal clips on the back, but you can attach bobby pins or clips to any object and attach it your wreath as well. Don’t forget to read this wreath post for full directions!

Happy crafting!


Categories
DIY Holidays Kids My Projects Parties and Events Projects Recipes

Halloween Spiderweb Cupcakes

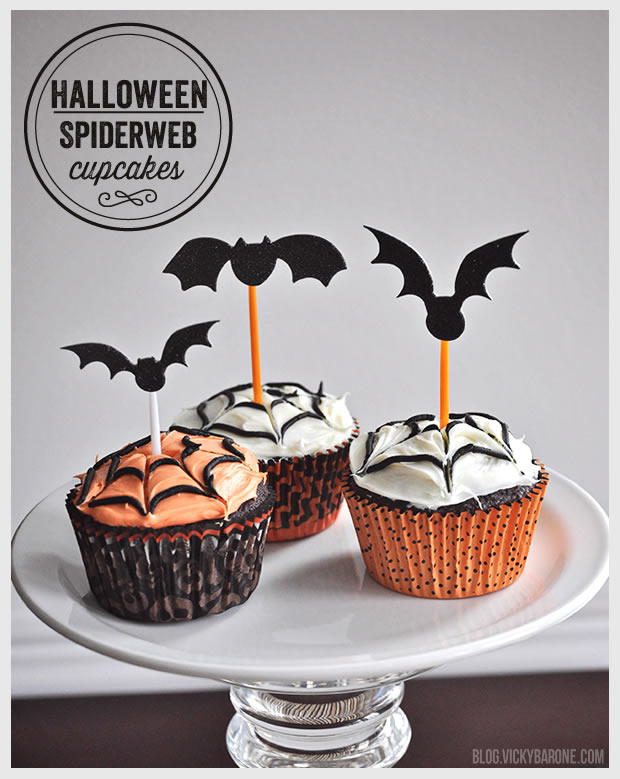
Here’s an easy Halloween treat that everyone is sure to love! Spiderweb cupcakes with bat cupcake toppers! We did a DIY post for these easy spiderweb cupcakes in the Spring for this Spider-Man Birthday Party and they were a hit! So, we thought we’d do them again with Halloween colors. Here’s how we made them:

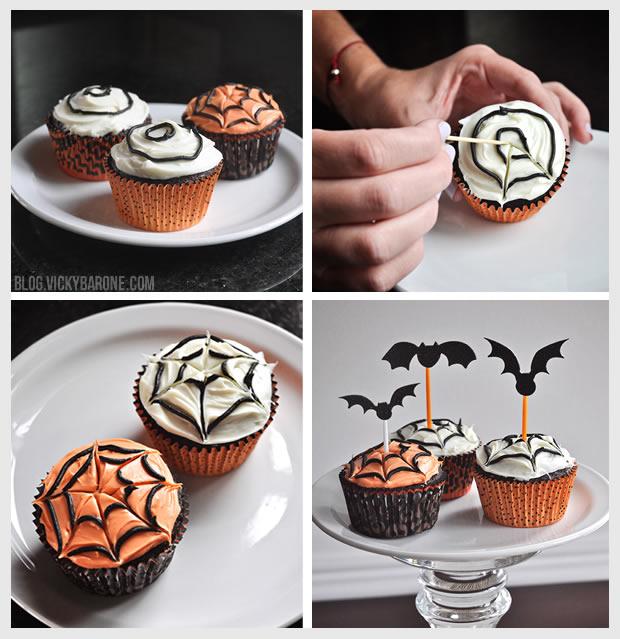
Halloween Spiderweb Cupcakes
Directions:
1. Frost cupcakes with white and orange icing (we just added food coloring to half of our white icing to make the orange!).
2. Using black icing with a decorator’s tip, pipe two or three concentric circles on top (The black icing we used here was thicker than the red icing from the Spider-Man cupcakes. They are the same brand, but the black doesn’t pull as smoothly with the toothpick as the red).
3. Drag a clean toothpick from the center of the cupcake to the outside six or seven times to create the webbed look.
4. Add fun Halloween stickers to some colorful toothpicks or cocktail picks to create spooky cupcake toppers!

We used these treat wrappers, treat cups, and bat stickers!

We hope you enjoy this easy and sweet Halloween treat!