Get Your Free Guide to get more done with AI →
Search
DIY Projects
DIY
Holidays
Parties and Events
Kids
Things I Love
Recipes
About
Website
Shop
Tag:
vase
DIY Fruit Vases
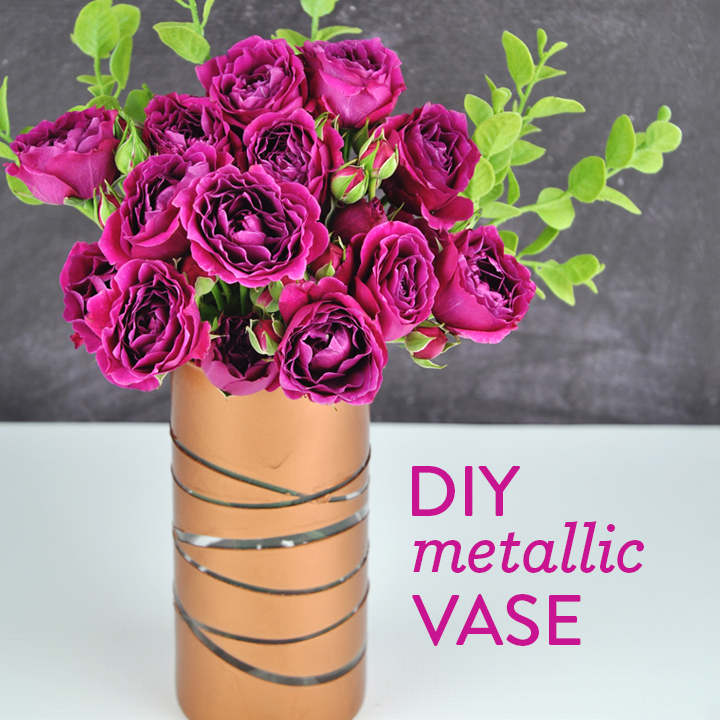
DIY Metallic Vase
DIY Candy Cane Vase
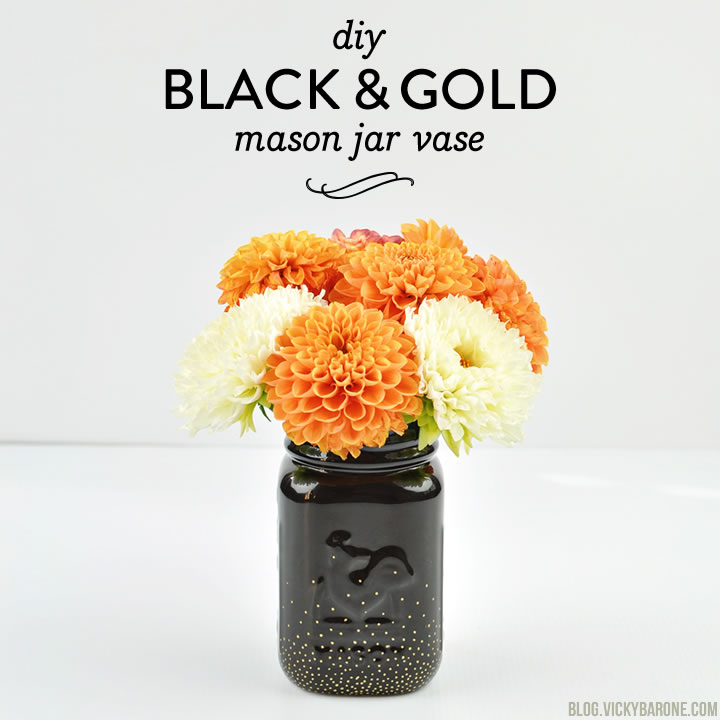
DIY Black & Gold Mason Jar Vase
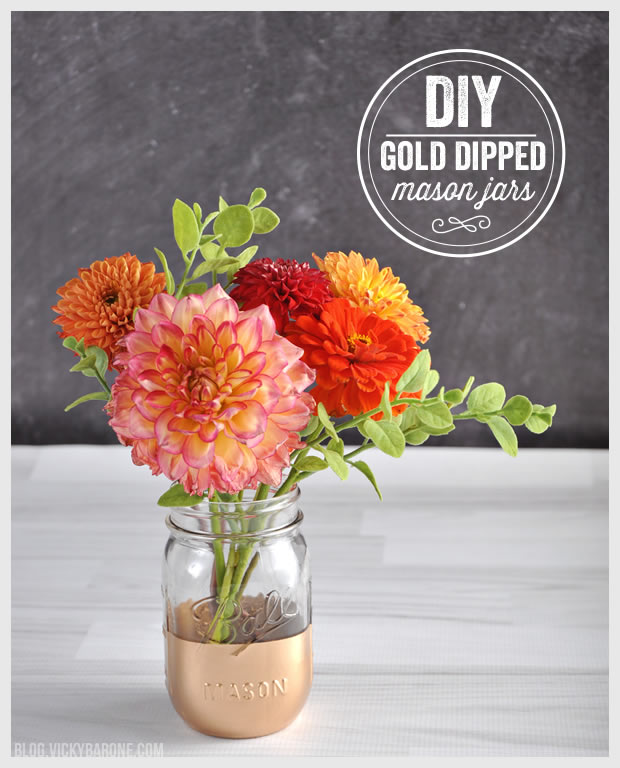
DIY Gold Dipped Mason Jars
Loading Comments...
Write a Comment...
Email (Required)
Name (Required)
Website