-
 Continue reading →: Don’t miss the recent Redfin article I was featured in: “20 Easy Fall DIY Decor Ideas that You’ll Absolutely Love”
With leaves on the ground and pumpkin spice lattes in hand — there’s no doubt that fall is in full swing. One of our favorite things about this time of year is all the traditions that come with it, like roasting marshmallows by your backyard fire pit or watching scary movies.…
-
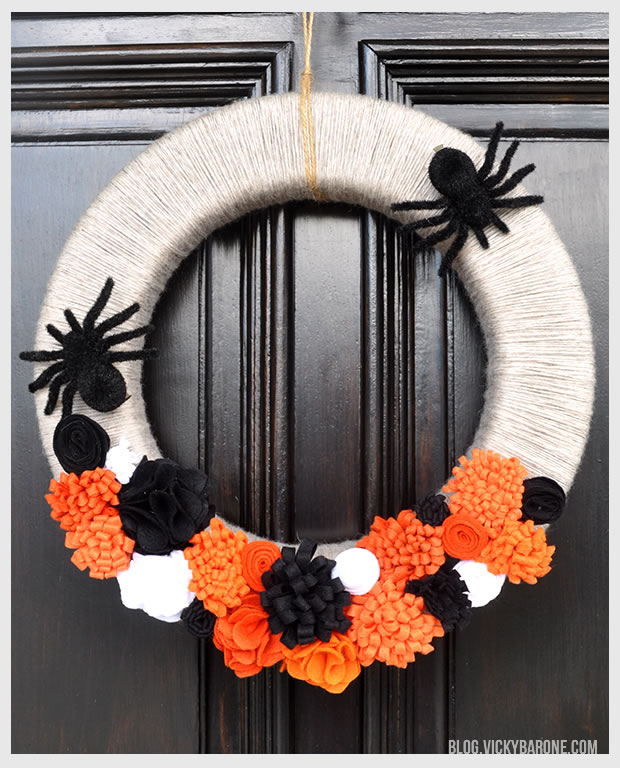
 Continue reading →: HALLOWEEN PARTY IDEAS – 2020
This year Halloween is going to look very different. Most of us will probably opt out of the traditional trick-or-treating for obvious reasons. So if you are looking for some fun ways to still celebrate with your kids, maybe you can consider an outside Halloween Party! Check out these fun…
-
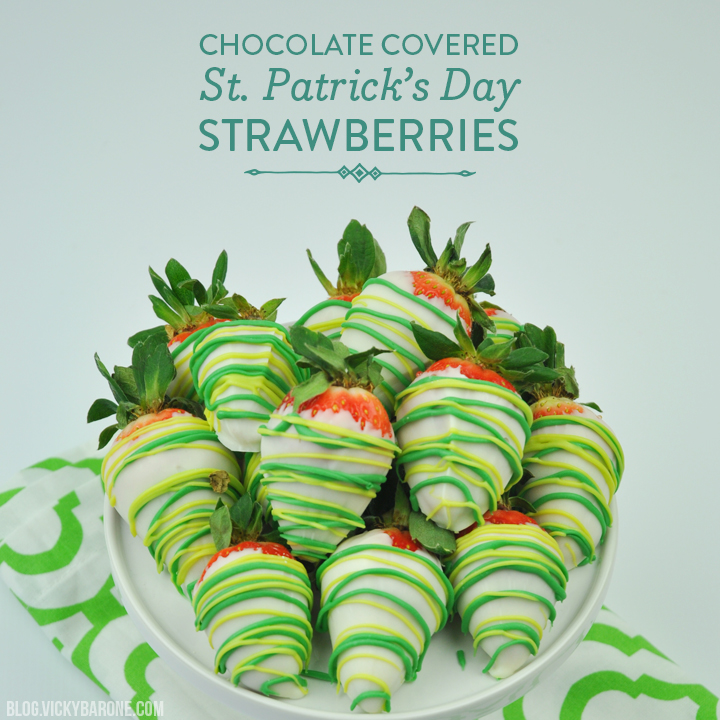 Continue reading →: Chocolate Covered St. Patrick’s Day Strawberries
This post contains affiliate links. If purchased, I will receive a commission, but the price stays the same for you! Happy Wednesday, everyone! Today we’re sharing a sweet cure for the mid-week blues! These St. Patrick’s Day-inspired strawberries are so easy to make and even easier to devour. Here’s how to…
-
 Continue reading →: St. Patrick’s Day Felt Garlands
Looking for a fun DIY project to make this weekend? Today we’re sharing some fun and festive felt garlands that are perfect for St. Patrick’s Day. You can even swap the colors out to make them match your party decor or keep them as every day garlands! Here’s how to…
-
 Continue reading →: DIY Paper Plate Shamrocks
We are so sad that Valentine’s Day is over, but what luck that St. Patrick’s Day is just around the corner! Today we’re sharing a fun and simple kids craft to get you in the lucky spirit. Supplies: green paper plates, scissors, a pencil, a single hole punch, white yarn,…
-
 Continue reading →: Valentine Pretzel Treats
This post contains affiliate links. If purchased, I will receive a commission, but the price stays the same for you! If you’ve been reading blog.vickybarone.com for any length of time, you’ll know much we LOVE these chocolaty pretzel treats. This year, we decided to mix them up a bit by…
-
 Continue reading →: DIY Candy Tic Tac Toe
Happy Friday! Today we’re sharing a sweet treat you can make (and play with!) this weekend. These tic-tac-toe boards are completely edible and so much fun to make and use. Here’s how… Supplies: graham crackers, pink candy melts, red candy melts, candy conversation hearts, wax paper, a cookie sheet, and…
-
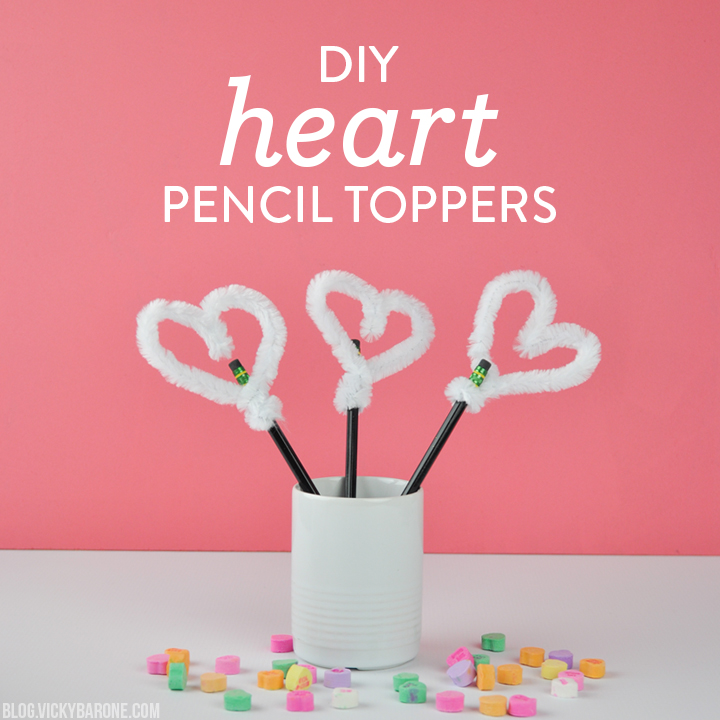 Continue reading →: DIY Heart Pencil Toppers
Today we’re sharing the easiest of all Valentine crafts! All you need are some pencils and some pipe cleaners! You may love this little detail so much you’ll leave it in your pencil cup all year round… First, bend the pipe cleaner in half and curve the two halves around…
Hello,
I’m Vicky

Welcome to my creative corner of the internet! I’m all about blending humor, heart, and design to bring you fresh ideas, witty inspiration, and a dash of artistic magic. Whether it’s crafting the perfect greeting card, celebrating creativity, or finding ways to make your brand shine, this is where fun and imagination meet. Let’s create something unforgettable together!