Categories
DIY Holidays Parties and Events

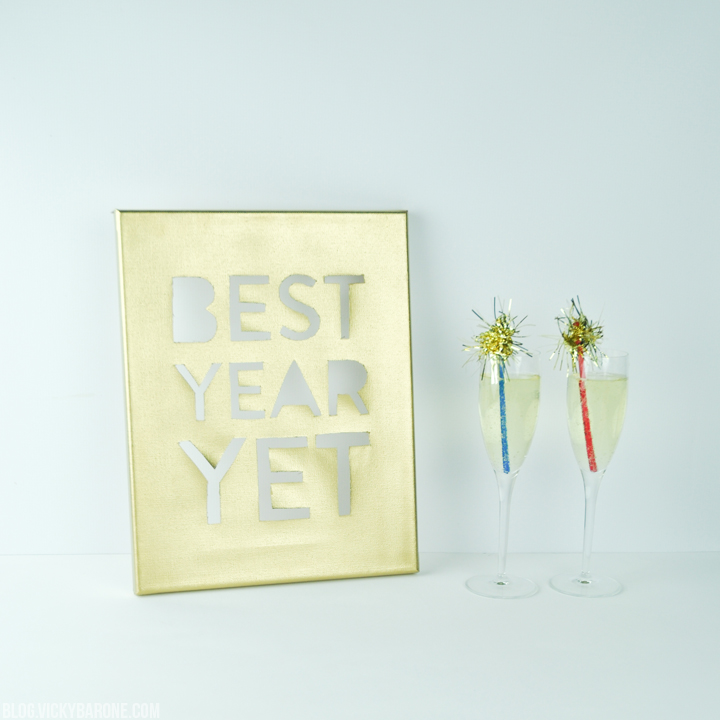
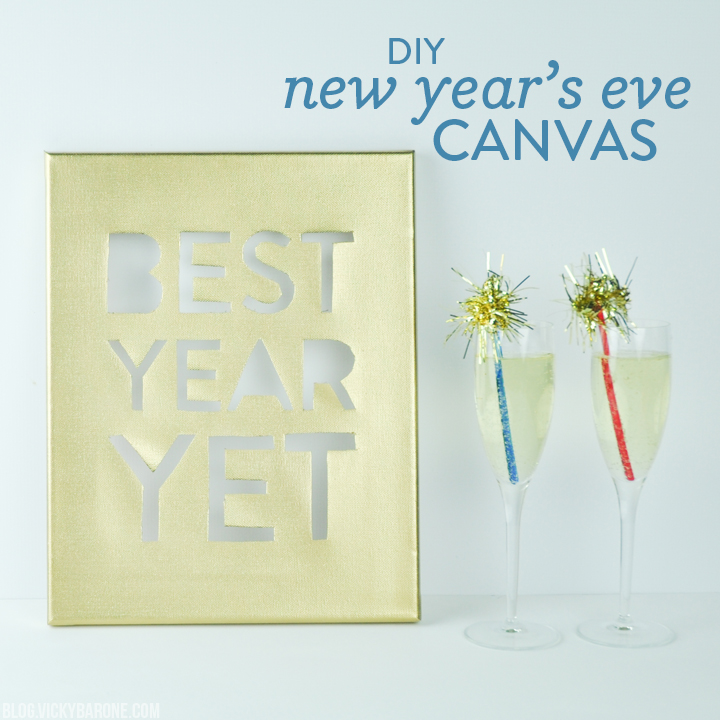
DIY New Year’s Eve Canvas

We think 2017 is going to be our best year yet! Here’s how to make a gold cut-out canvas to display at your New Year’s Eve party to celebrate that sentiment…

DIY New Year's Eve Canvas | Best Year Yet | Vicky Barone

Supplies: a canvas, an X-acto knife, a printed quote, self-healing mat, and gold spray paint.

Directions:
1. Create a design or quote you’d like on your canvas and print it backwards (this will create a stencil that you will use on the back of the canvas!).
2. Place the canvas on a self-healing mat, face down.
3. Tape the stencil to the inside of the canvas.
4. Use the X-acto knife to cut away the letters or design (you will be cutting through the paper stencil and the canvas)
5. Neaten up the canvas with an X-acto knife or small scissors.
6. In a well-ventilated area (preferably outside!) cover the canvas with gold spray paint and let dry.
7. Decorate with your new canvas and celebrate the new year!

DIY New Year's Eve Canvas | Best Year Yet | Vicky Barone DIY New Year's Eve Canvas | Best Year Yet | Vicky Barone

For even more NYE ideas, click here!

Categories
DIY Holidays Parties and Events

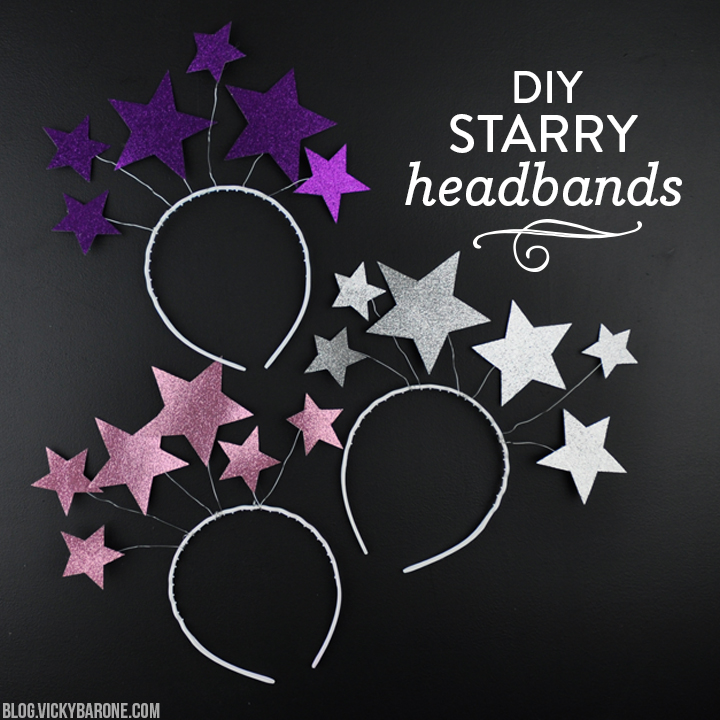
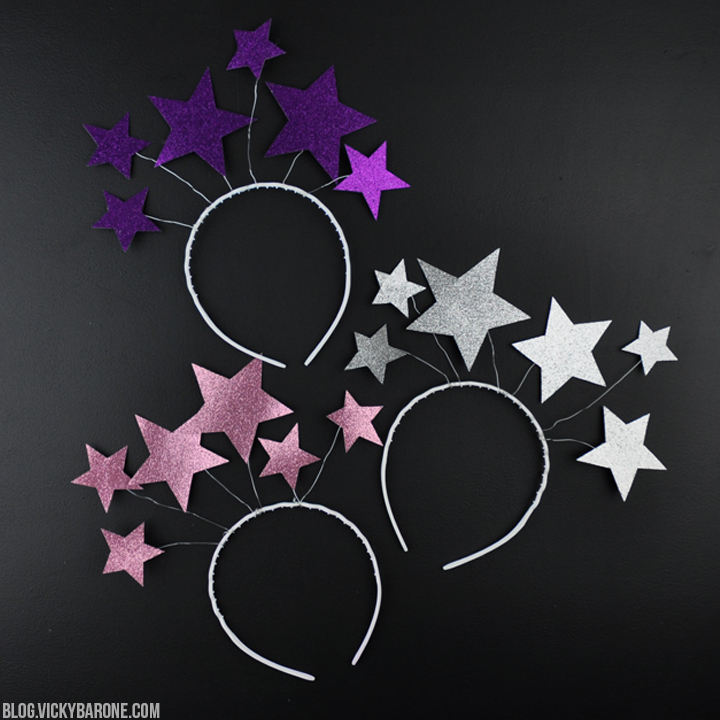
DIY Starry Headbands

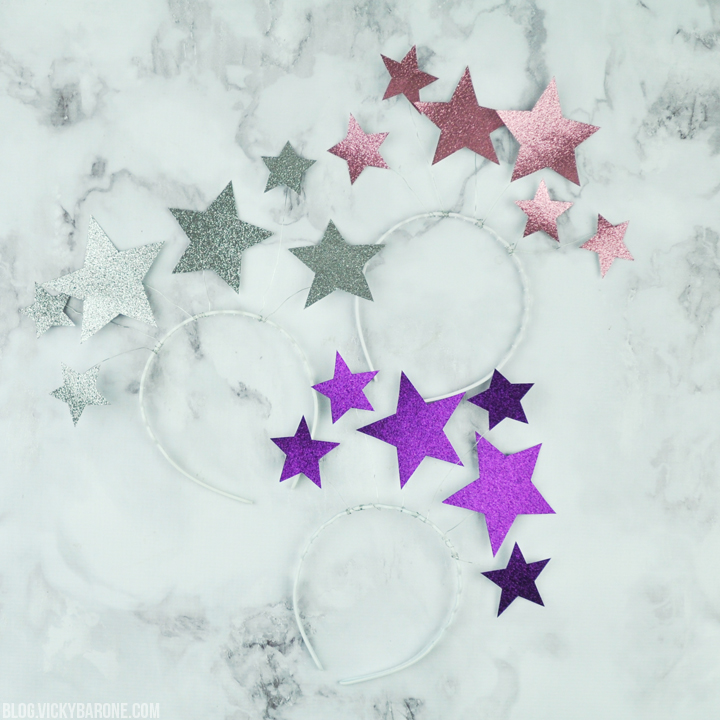
It’s not even Christmas yet, but we are already getting so excited for New Year’s Eve! To celebrate, we created these sparkly headbands to wear while you watch the ball drop. Here’s how to make your own…

DIY Starry Headbands | Vicky Barone

Supplies: plastic headbands, wire, scissors, glittery paper, and hot glue.

Directions:
1. Cut different sized star shapes out of glitter paper.
2. Cut a length of wire and roll the end of it into a flat coil (this will give more surface area for the hot glue to stick to).
3. Attach a star to the coil using hot glue. Repeat until all of the stars are glued to pieces of wire.
4. Wrap the other end of the wire to the headband until the star is at the desired height.
5. Repeat with the rest of the stars until the headband is full.
6. Wear and enjoy!

DIY Starry Headbands | Vicky Barone DIY Starry Headbands | Vicky Barone

What are your plans for ringing in the new year? We’d love to hear!

Categories
DIY

DIY Felt Holly Coffee Sleeve

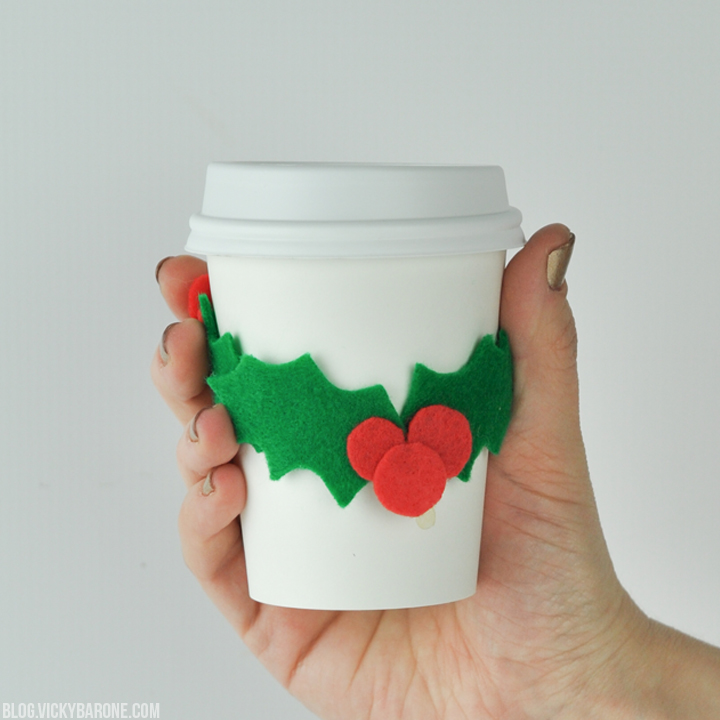
Christmas is just 11 days away, can you believe it?! Today we’re sharing a holly coffee sleeve to get you and your coffee into the Christmas spirit!

DIY Felt Holly Coffee Sleeve | Vicky Barone

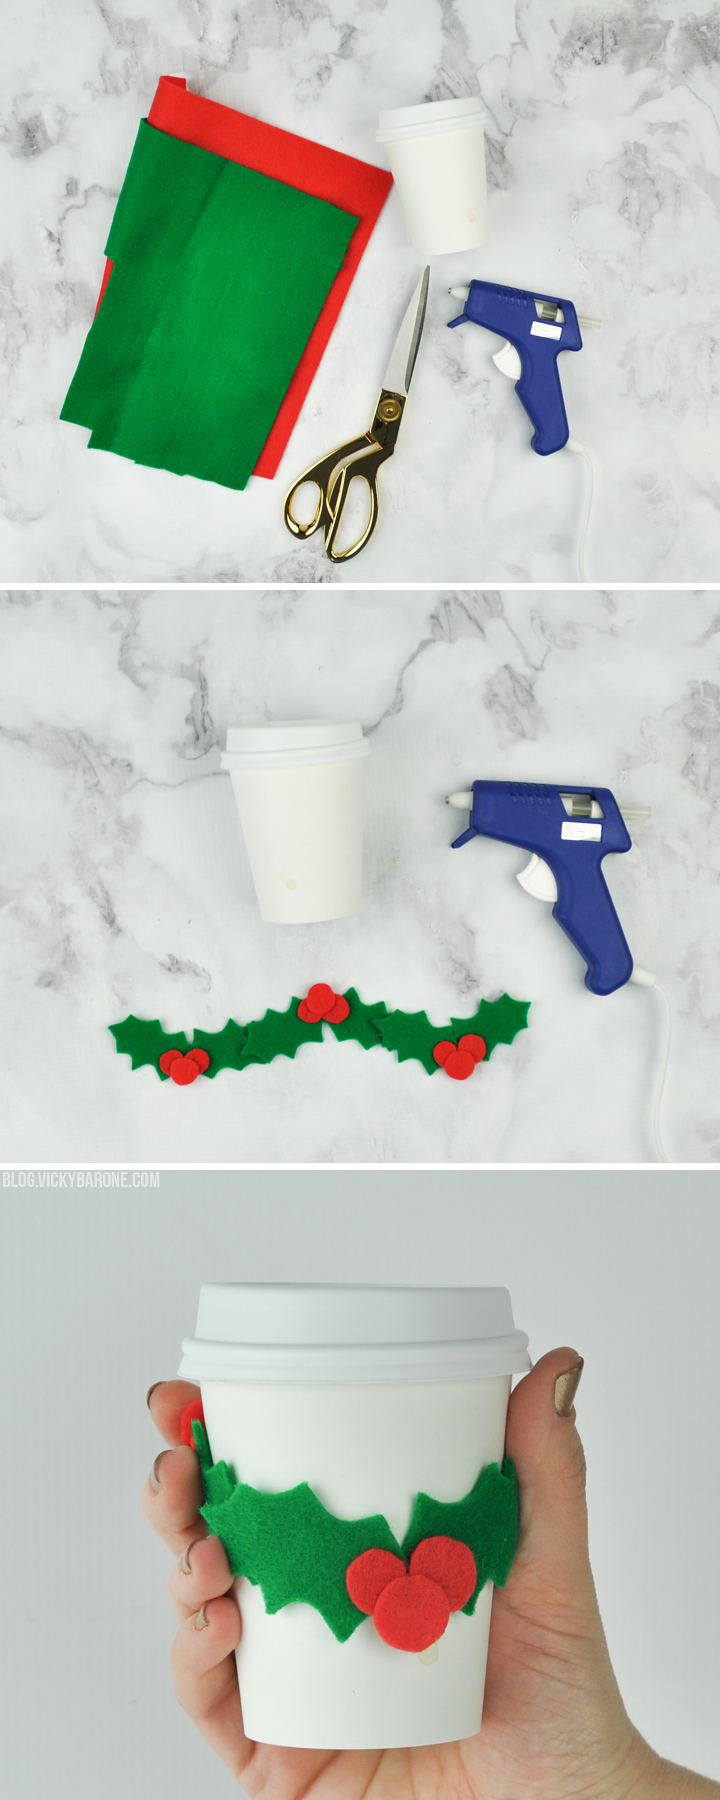
Supplies: red and green felt, scissors, and hot glue.

Directions:
1. Cut holly leaves out of the green felt. We sketched up a holly leaf we liked on card stock and cut it out to make a stencil so each of the leaves were identical.
2. Cut holly berries out of the red felt.
3. Glue holly pieces together in sections. Glue two holly leaves together and add berries on top until you have three holly shapes.
4. Measure around your to-go cup to see how much length you will need.
5. Glue holly shapes together, overlapping them if necessary to make the circle the right size for the cup.
6. Slide the holly sleeve over your cup and enjoy!

DIY Felt Holly Coffee Sleeve | Vicky Barone DIY Felt Holly Coffee Sleeve | Vicky Barone

These would make great last minute DIY gifts for friends and family! We hope you’re having a wonderful week and getting excited for the holidays!

Categories
DIY Holidays Recipes

Rice Krispie Christmas Characters

This post contains affiliate links. If purchased, I will receive a commission, but the price stays the same for you!

Today we’re sharing a mid-week treat we are sure you’ll just adore. Inspired by our Halloween Rice Krispie Characters and our love for candy eyes, we created some sweet chocolate covered characters that are perfect for Christmas! Here’s how to make your own…

Rice Krispie Christmas Characters | Vicky Barone

Supplies: rice krispie treats (store bought or homemade), cake pop sticks, candy eyes, pretzels, M&Ms, silver nonpareils, candy corn, vanilla cake frosting, and candy melts in light cocoa, dark cocoa, white, and red.
Rice Krispie Christmas Characters | Vicky Barone

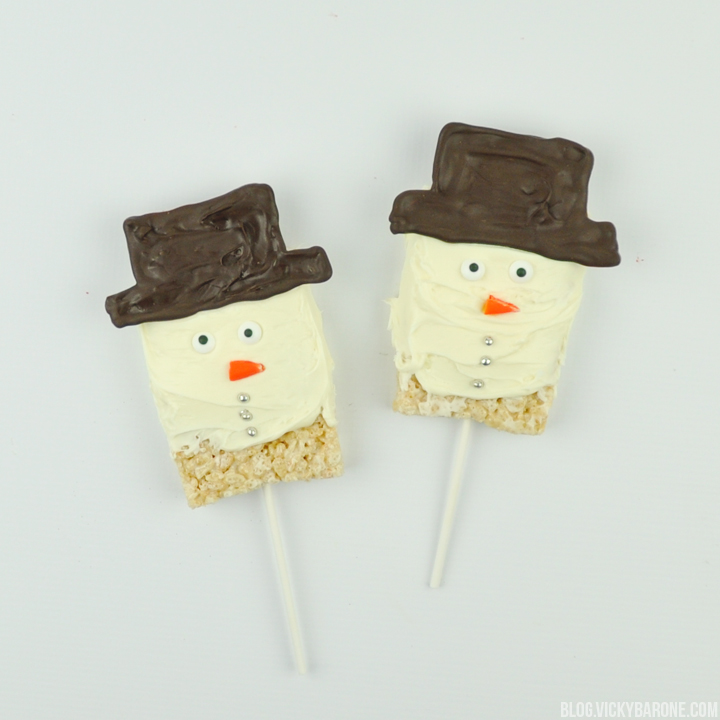
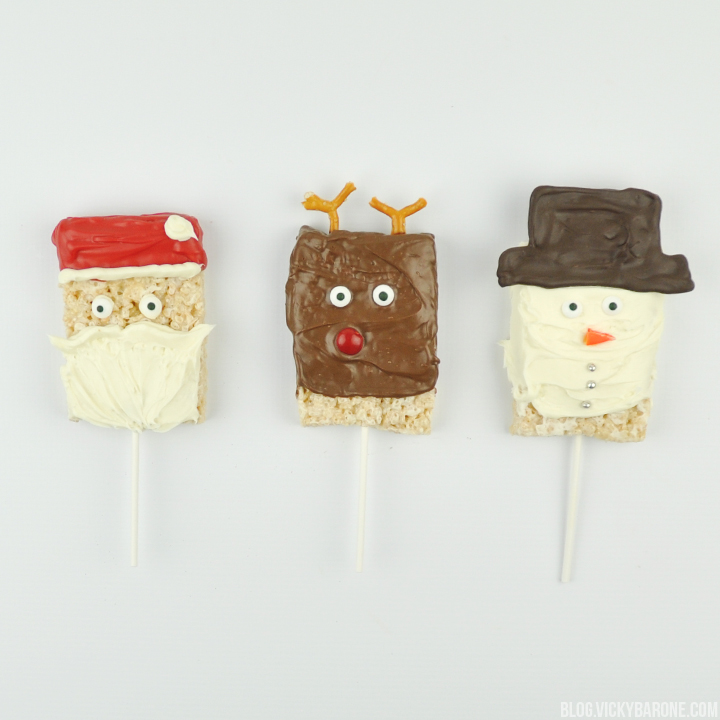
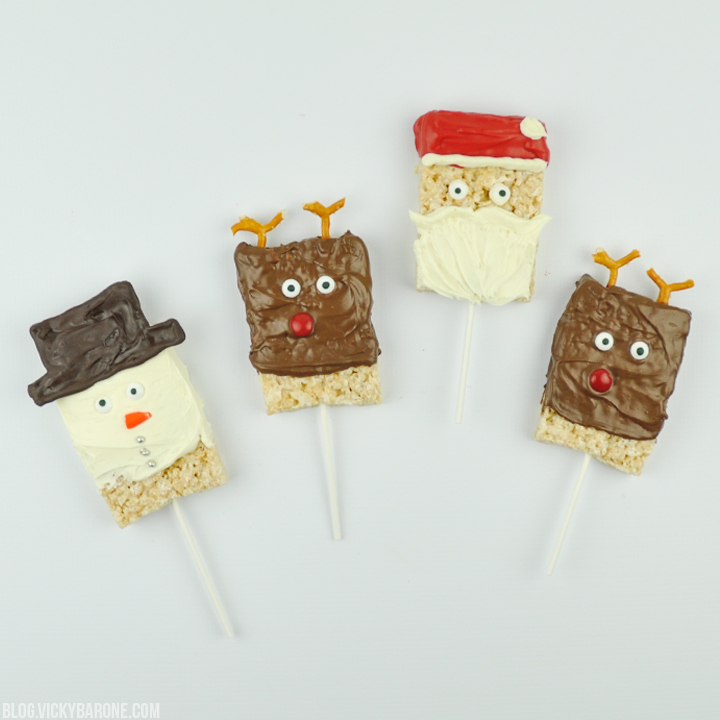
Snowmen: Add a cake pop stick to the center of a rice krispie treat. Spread vanilla frosting on the rice krispie treat using a knife or a spoon (you can also substitute white candy melts for frosting!). Melt dark cocoa candy melts, scoop into a Ziploc bag, and cut a corner. On a cookie sheet lined with wax paper, pipe the chocolate into a top hat shape. Let cool in the fridge until hardened. When the hat is ready, press it gently onto the top of the snowman. Cut a triangle out of a candy corn to create the carrot nose and press it into the frosting. Add candy eyes and silver nonpareils for buttons.

Rice Krispie Christmas Characters | Vicky Barone

Reindeer: Melt a bowl of light cocoa candy melts. Add a cake pop stick to the center of the rice krispie treat and dip the top of the treat into the melted chocolate. Use a spoon to help spread the chocolate around. Place treat on a cookie sheet lined with wax paper. Immediately add candy eyes and a red M&M before the chocolate hardens. Break off pieces of pretzels and stick them into the top for antlers. Place in fridge to harden chocolate.
Rice Krispie Christmas Characters | Vicky Barone

Santa: Add a cake pop stick to a rice krispie treat. Melt a bowl of red candy melts, scoop into a Ziploc bag, and cut off a corner. Pipe the red chocolate onto the top of the rice krispie treat to create a hat. Let sit in fridge to harden. Remove from fridge and spread white frosting onto the bottom of the treat to create a beard. Scoop more frosting into a Ziploc bag and cut off a corner. Pipe this frosting onto the base of the hat to create trim and add a pom pom to the top. You can also use this frosting to create a mustache. Add two dots of frosting to attach candy eyes.

Rice Krispie Christmas Characters | Vicky Barone Rice Krispie Christmas Characters | Vicky Barone

We hope you enjoy this delicious treat as much as we did! Don’t forget to follow Vicky Barone on Instagram and use #vickybaroneblog if you try out any of our projects! We’d LOVE to see!


Categories
DIY Holidays Recipes

DIY Chocolate Spoons

This post contains affiliate links. If purchased, I will receive a commission, but the price stays the same for you!

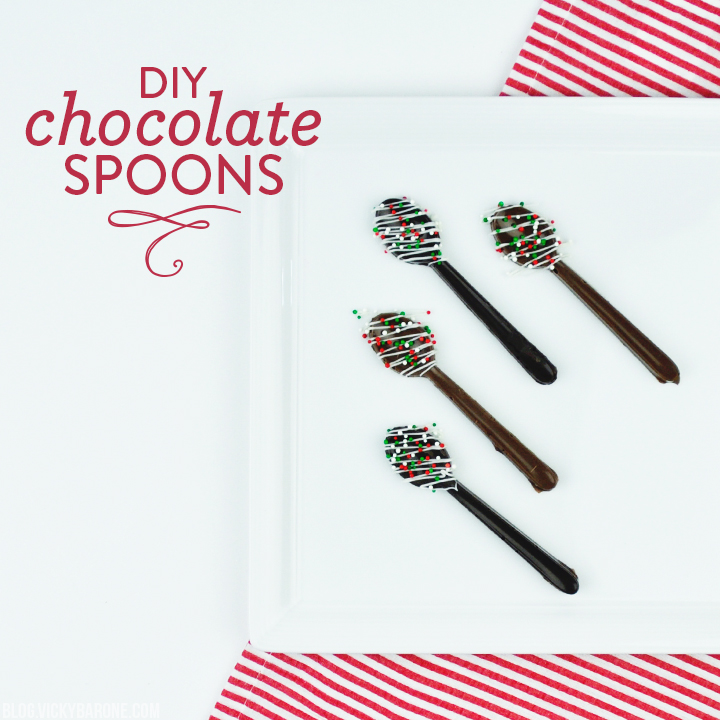
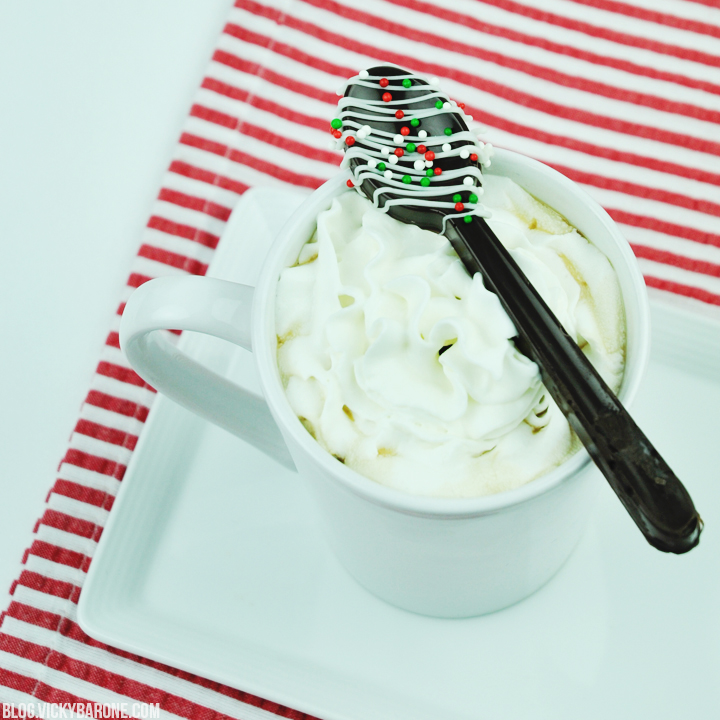
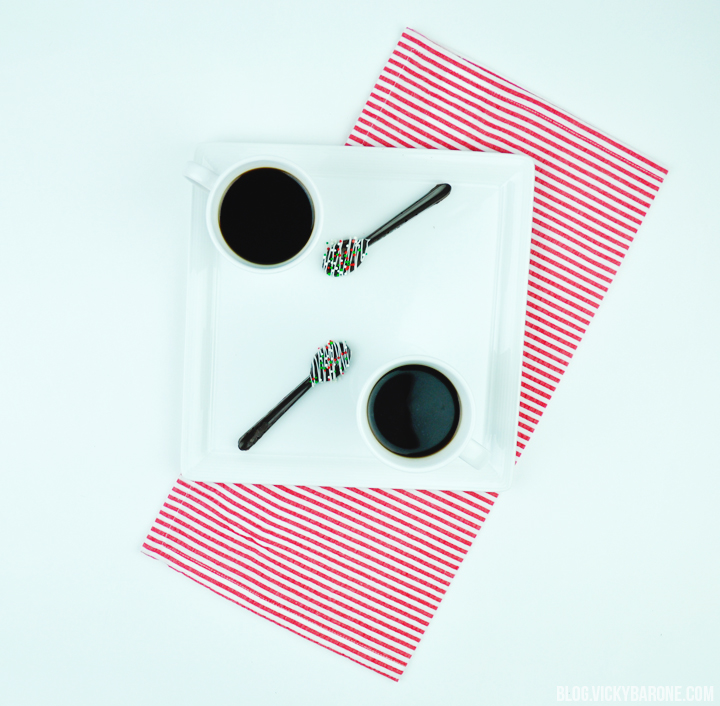
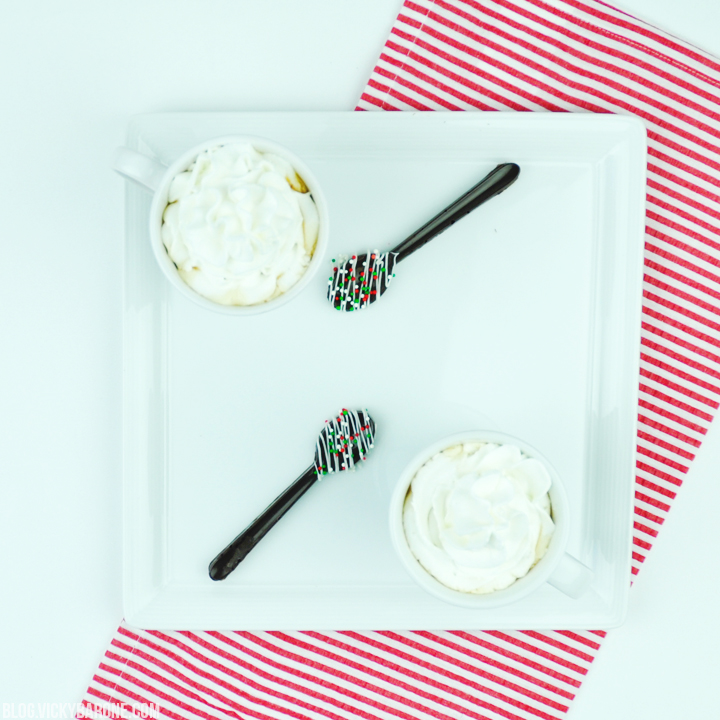
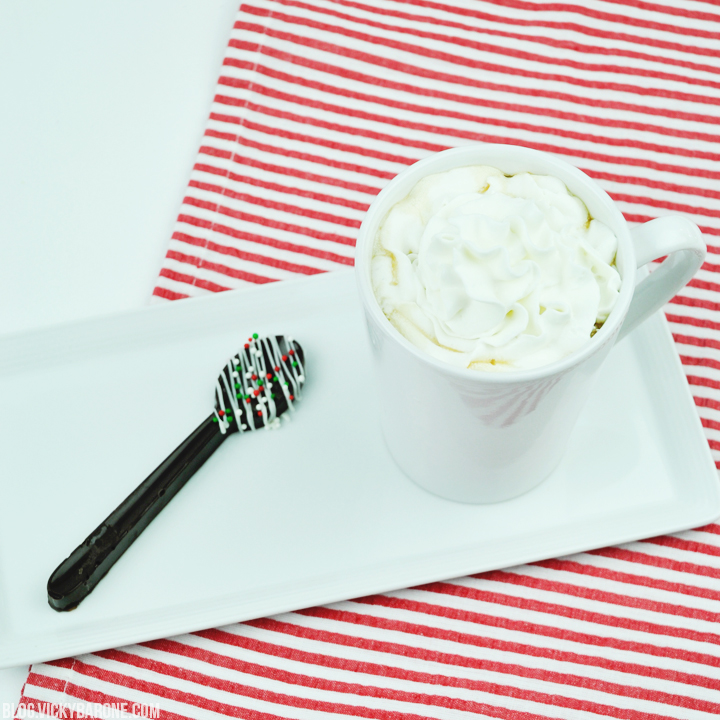
We are SO excited to share all the new Christmas content we’ve been working on! First up, some delicious chocolate spoons to give as gifts, to add to a hot cocoa bar, or just keep for yourself to stir your coffee! Here’s how to make your own…

DIY Wilton Chocolate Spoons | Vicky Barone

Supplies: chocolate candy melts, spoon-shaped candy mold, white candy melts, and sprinkles.

Directions:
1. Thoroughly wash and dry the silicone candy mold before using.
2. Melt chocolate candy melts in a microwave safe bowl for 30 second intervals, stirring frequently until smooth.
3. Scoop melted chocolate directly into each mold OR scoop the chocolate into a Ziploc bag and then pipe it into the molds.**
4. Gently shake and tap the mold to release any air bubbles. Add more chocolate as needed.
5. Place silicone mold in the fridge for the chocolate to harden.
6. Carefully remove spoons from mold. If any snap, you can put them back together by using some melted chocolate as glue and popping them back in the fridge.
7. Melt white candy melts.
8. Scoop white candy melts into a Ziploc bag and cut a very small corner of the bag.
9. Drizzle the white chocolate over the spoons and immediately top with sprinkles.
10. Enjoy with coffee, cocoa, or milk!

**The silicone mold packaging directions suggest breaking the candy melts into small pieces, adding them directly to the mold, and microwaving the chocolate in the mold. We tried it both ways and preferred melting the chocolate before placing it into the mold!

DIY Wilton Chocolate Spoons | Vicky Barone DIY Wilton Chocolate Spoons | Vicky Barone DIY Wilton Chocolate Spoons | Vicky Barone

We hope you’re having a sweet week! Don’t forget to follow Vicky Barone on Instagram for lots more Holiday inspiration, cards, giveaways, and more!

Categories
DIY Holidays Things I Love Uncategorized

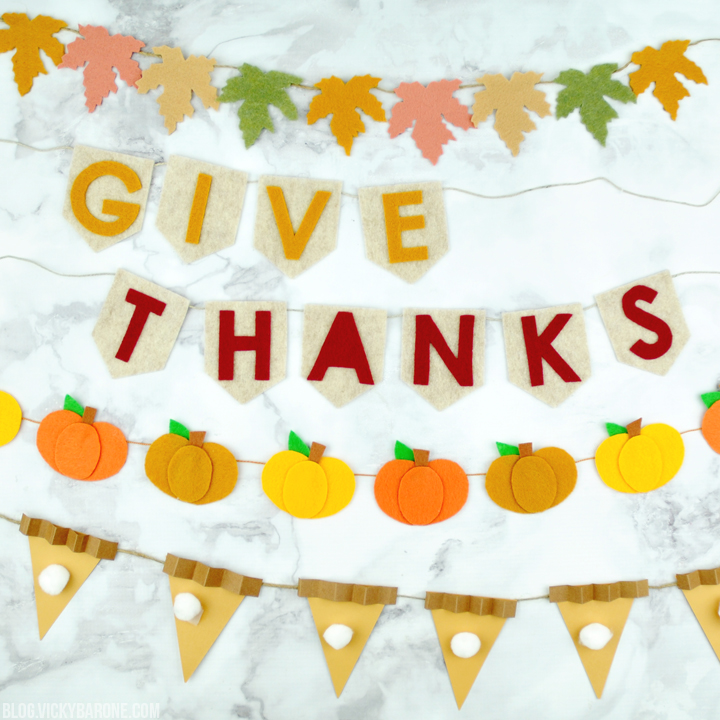
Thanksgiving Garland Round-Up

Happy Thanksgiving! We hope your day is filled with lots of food, love, and thankfulness! We thought we’d share a little garland round up if you’re looking for some last-minute decor. Click the links below to see how to make each one!

Happy Thanksgiving 2016 | Garland Round Up | Vicky Barone

felt leaves | give thanks | felt pumpkins | pumpkin pie

Categories
DIY

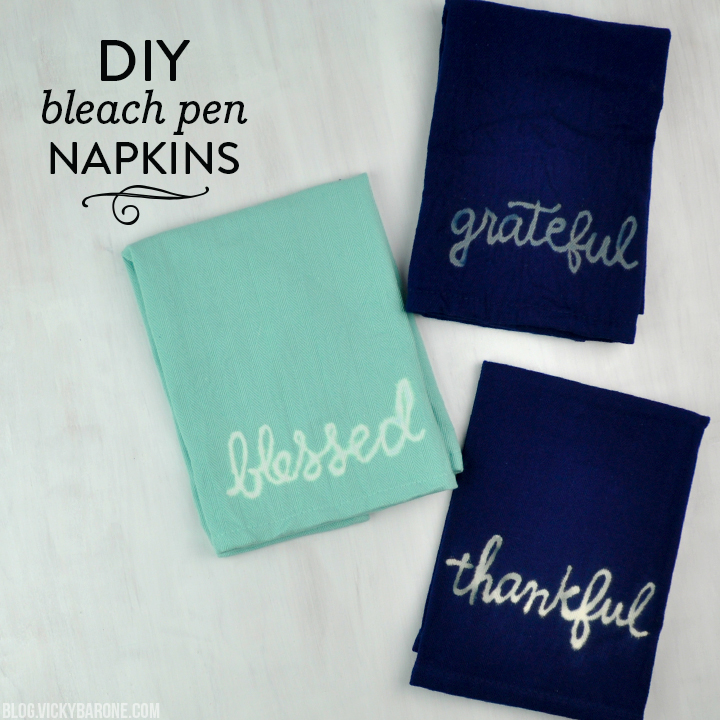
DIY Bleach Pen Napkins

This post contains affiliate links. If purchased, I will receive a commission, but the price stays the same for you!

We are so excited for Thanksgiving tomorrow! Today we’re sharing a fun DIY to personalize your table settings. Here’s how…

DIY Bleach Pen Napkins | Vicky Barone

We have seen the idea for bleach pen napkins all over Pinterest and we just had to try it out for ourselves.

Supplies: fabric napkins (ours were from Target), a bleach pen, and cardboard.

Directions:
1. Test out your bleach pen writing skills on a piece of scrap cardboard before using it on a napkin. Once you feel comfortable with the flow of the bleach, you can get started!
2. Place another piece of cardboard underneath a napkin to catch any bleach that may seep through.
3. Choose the place on your napkin that you want your word or design and carefully draw it on with the bleach pen.
4. Set a timer for 10 minutes and check on your napkin. We found that with the lighter napkins, the bleach worked very quickly, but the darker napkins needed more time.
5. When the bleach has done it’s job, put the napkin under running water to remove the excess bleach.
6. Let the napkins dry and they are ready to go!

DIY Bleach Pen Napkins | Vicky Barone

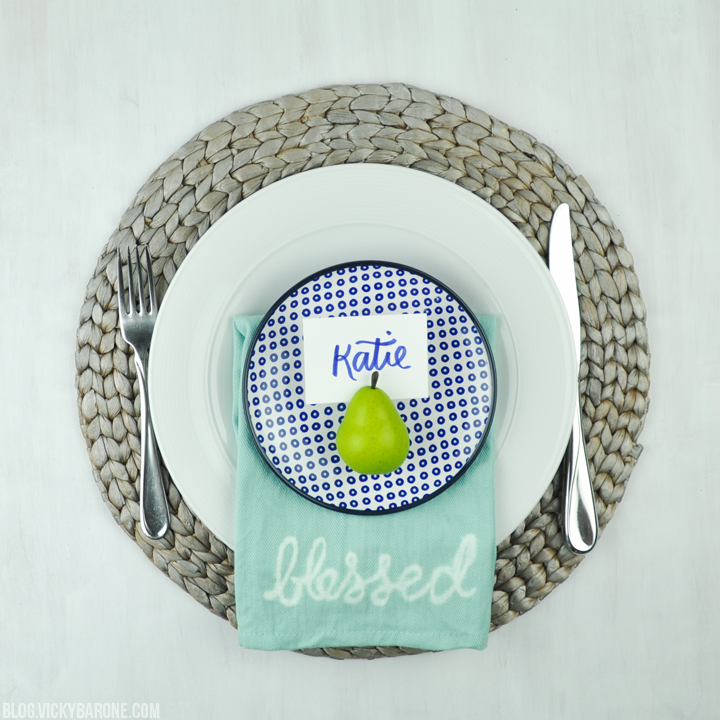
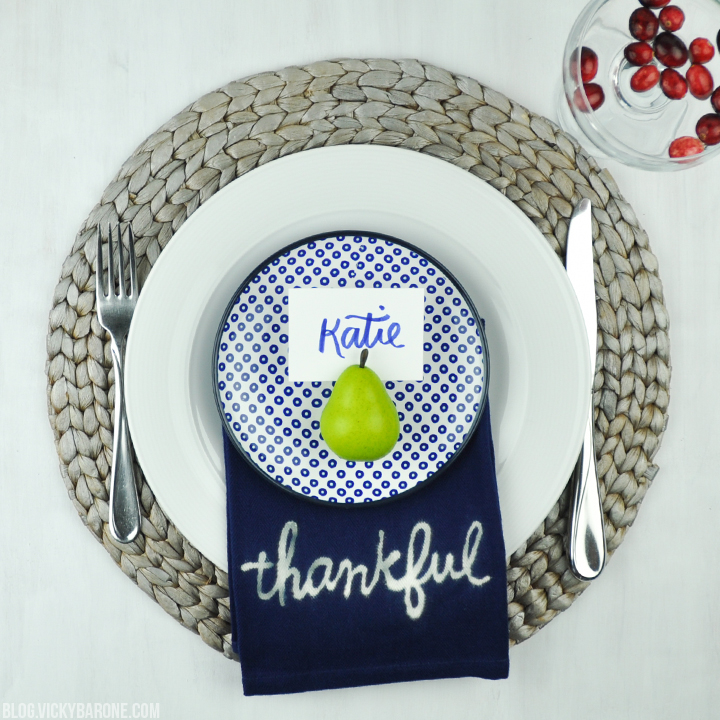
P.S. Find these DIY pear place cards right here!

Categories
DIY Holidays Parties and Events

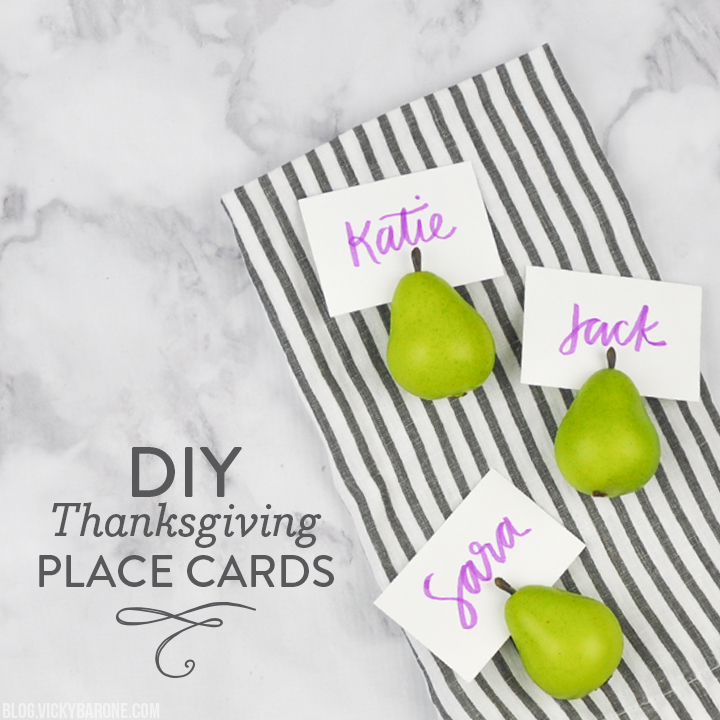
DIY Thanksgiving Place Cards

Happy Thanksgiving week! Today we’re sharing a super easy, last-minute place card tutorial to spice up your Thanksgiving tablescape! Here’s how to make your own…

DIY Thanksgiving Place Cards | Vicky Barone

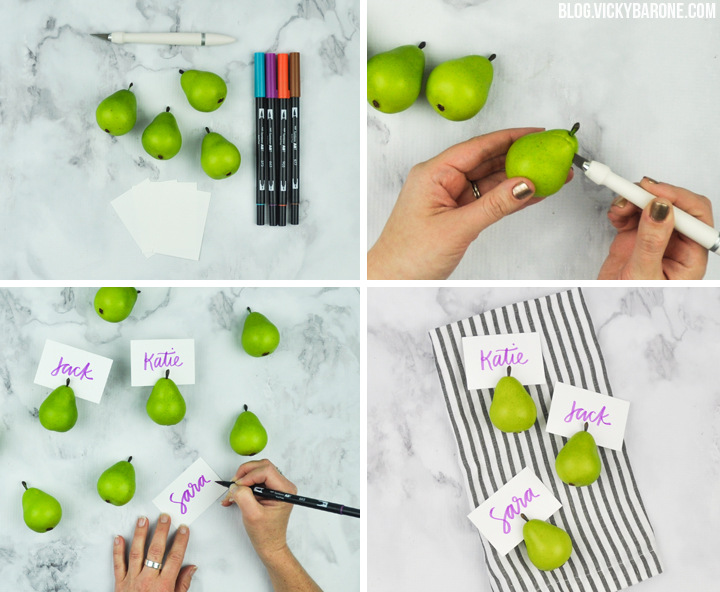
Materials:
– Faux pears (we got ours at Marshalls, but you can find faux fruit at any craft store!)
– An X-acto knife
– White card stock
– A pen or marker (we used Tombow Dual Brush Pens)

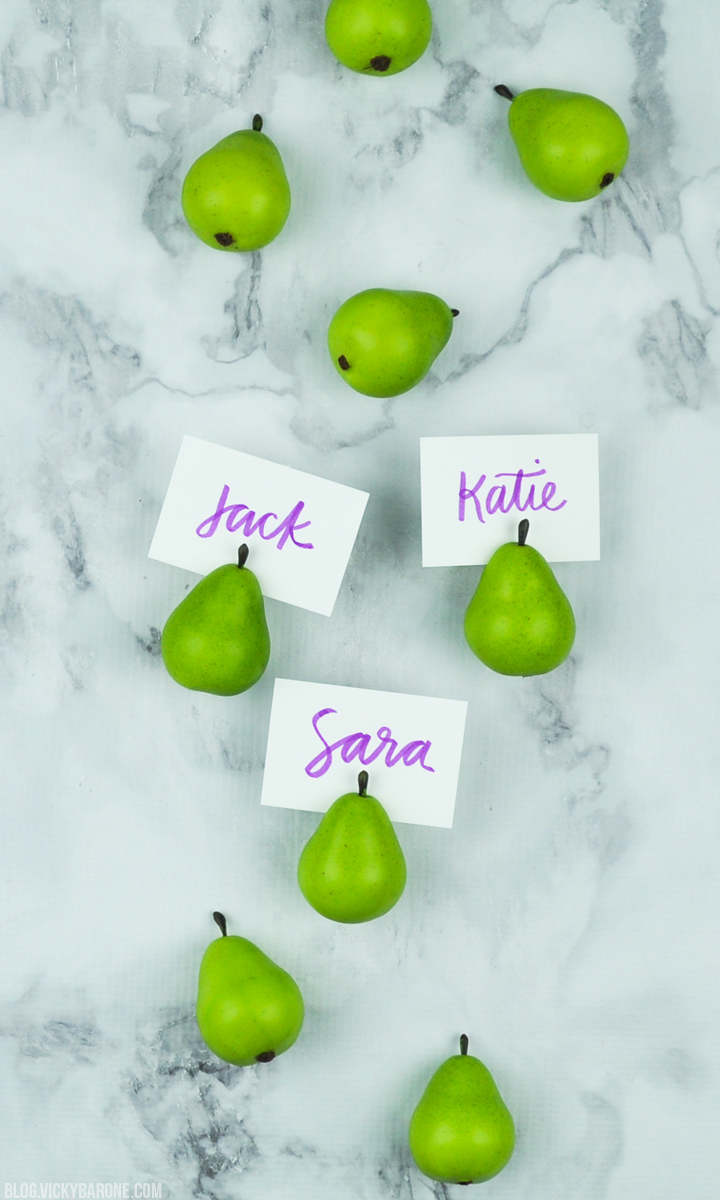
DIY Thanksgiving Place Cards | Vicky Barone

Directions:
1. Cut white card stock into small rectangles. Ours were about 2×3″
2. Use the X-acto knife to make a slit in the top of each of the pears.
3. Use a pen or marker to write names on each card (you can also print out name cards with your favorite font!).
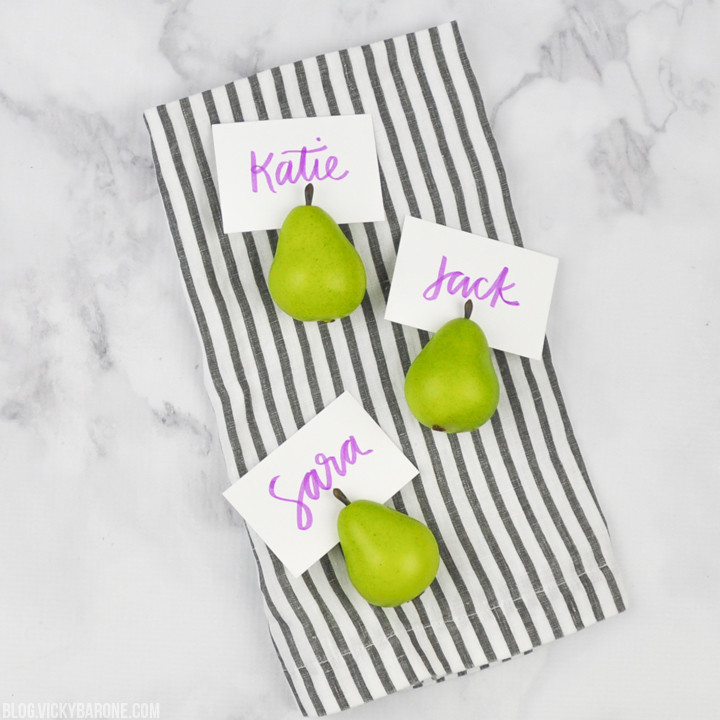
4. Insert cards into pears and set on the table!

DIY Thanksgiving Place Cards | Vicky Barone DIY Thanksgiving Place Cards | Vicky Barone DIY Thanksgiving Place Cards | Vicky Barone

We hope you have the most wonderful Thanksgiving! For even more table setting ideas, click here!

For ideas about how to put together a functional and elegant table setting, check this out!