Categories
DIY Holidays

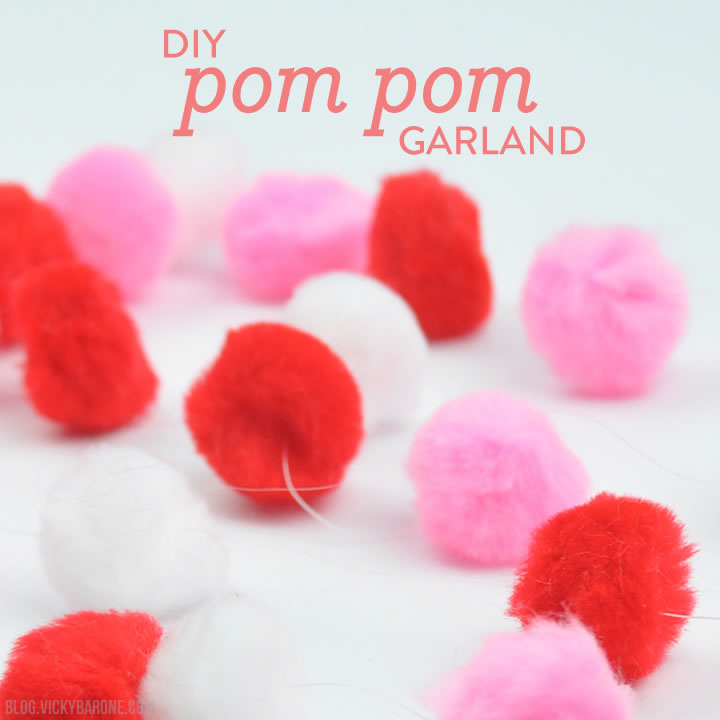
DIY Pom Pom Garland

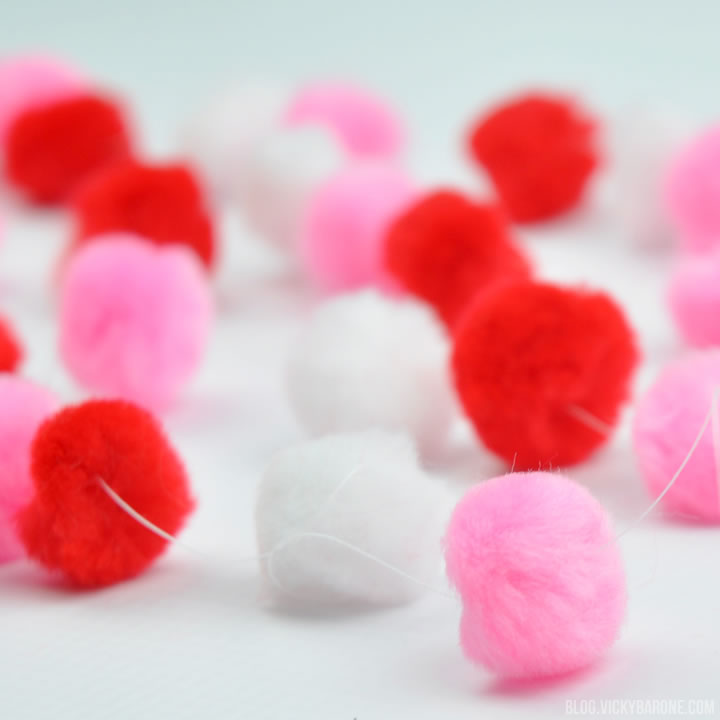
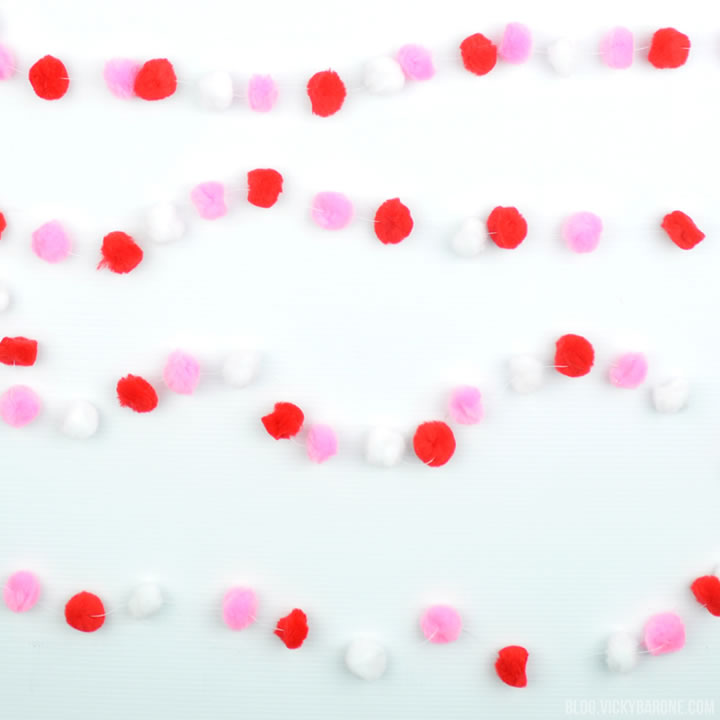
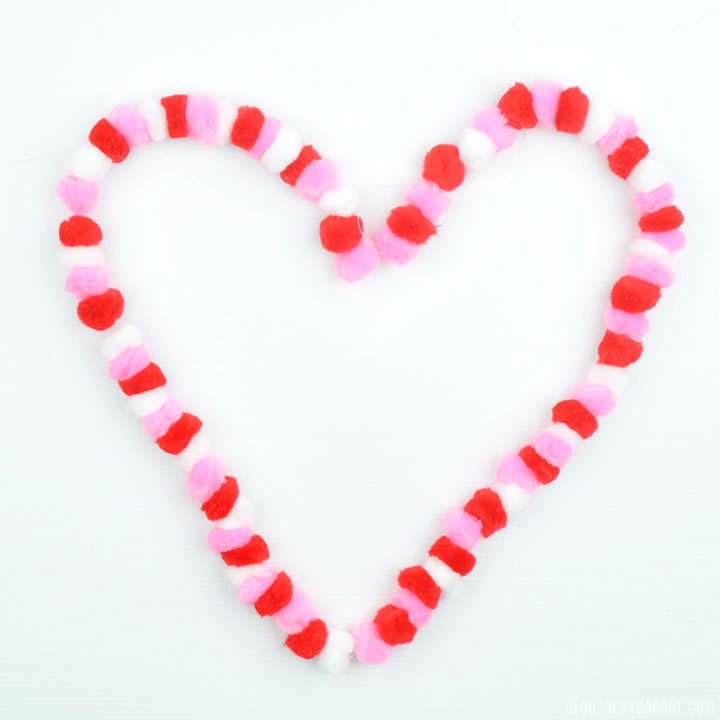
Only three more days until Valentine’s Day! If you’re looking for some last-minute decor, this pom pom garland is a breeze (and rings it at a little over $1!).

DIY Pom Pom Garland | Valentine's Day Decor | Vicky Barone

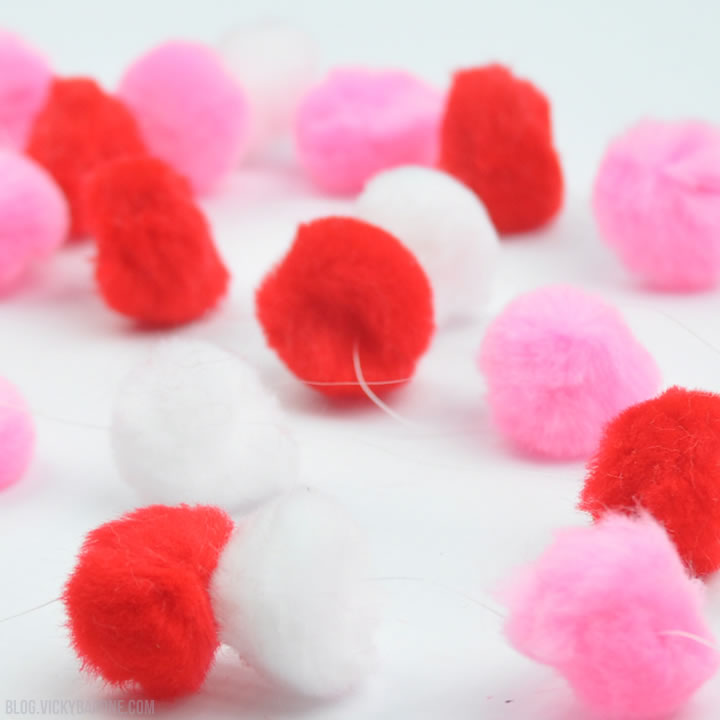
All you need to create this garland is a needle, thread, and a bag of pom poms. We got our pom poms from the good ole Dollar Tree, but most craft stores carry them as well.

Just thread a needle, and start stringing the pom poms. You will have a festive garland in no time!

DIY Pom Pom Garland | Valentine's Day Decor | Vicky Barone

DIY Pom Pom Garland | Valentine's Day Decor | Vicky Barone DIY Pom Pom Garland | Valentine's Day Decor | Vicky Barone DIY Pom Pom Garland | Valentine's Day Decor | Vicky Barone

DIY Pom Pom Garland | Valentine's Day Decor | Vicky Barone DIY Pom Pom Garland | Valentine's Day Decor | Vicky Barone

DIY Pom Pom Garland | Valentine's Day Decor | Vicky Barone

Need some more inspiration? Follow Vicky Barone on Instagram!

Categories
DIY Kids

DIY Tooth Fairy Pillow

My oldest lost his first tooth! To make this exciting event even more memorable, I decided to make a Tooth Fairy Pillow to hang on his door. He chose the colors blue and orange and I went to work!

DIY Tooth Fairy Pillow | Vicky Barone

Supplies: blue and white felt, stuffing, blue and white thread, a needle, scissors, and ribbon.

Directions:
1. Cut two squares of blue felt, about 5×5″ and one square of blue felt, about 4×4″
2. Cut a tooth shape out of the white felt and use white thread to hand sew it to the 4×4″ blue square.
3. Using the blue thread, sew the 4×4″ square to one of the 5×5″ squares, leaving the top open to create a pocket.
4. Sew the two 5×5″ squares together leaving the top open again.
5. Fill the pillow with stuffing.
6. Tie the ribbon into a bow and insert the ends into the top of the pillow to be sewn into the top seam.
7. Sew the top of the pillow shut.

DIY Tooth Fairy Pillow | Vicky Barone

The stitch is very simple, but if you’d prefer not to sew, you can also use hot glue along each of the seams!

Hang your darling pillow on the door with the tooth in the front pocket and wait for the tooth fairy to come. She is sure to appreciate the gesture (and won’t mind skipping the under-pillow digging 😉 ).

Categories
DIY Holidays

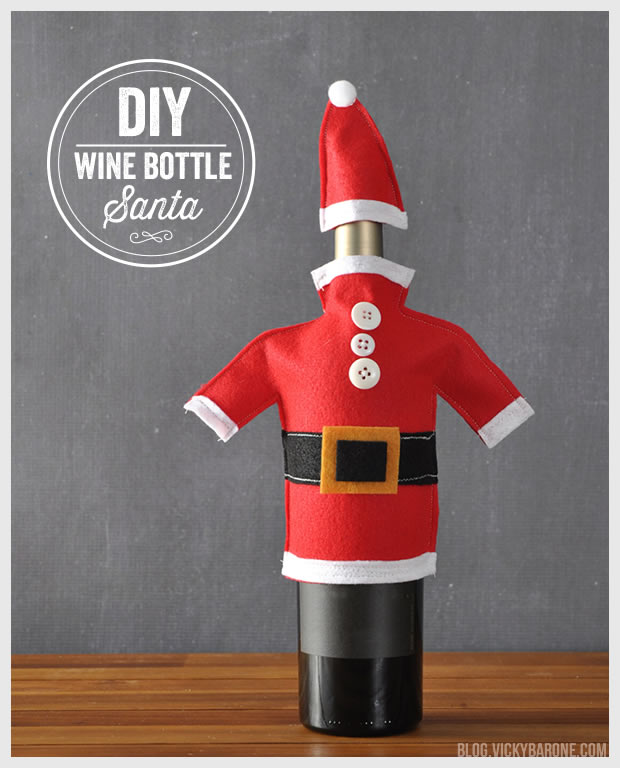
DIY Wine Bottle Santa

Two years ago we sewed up some goofy holiday sweaters to put on wine bottles and give as gifts over the holidays. This year, we went a step further and made a Santa suit!

DIY Wine Bottle Santa | Vicky Barone

Materials:
– A free printable template found here.
– Felt in red, white, black, and gold.
– Three white buttons.
– A white pom pom.
– A sewing machine.
– A needle and thread.
– A hot glue gun.
– Fabric scissors.

Directions:
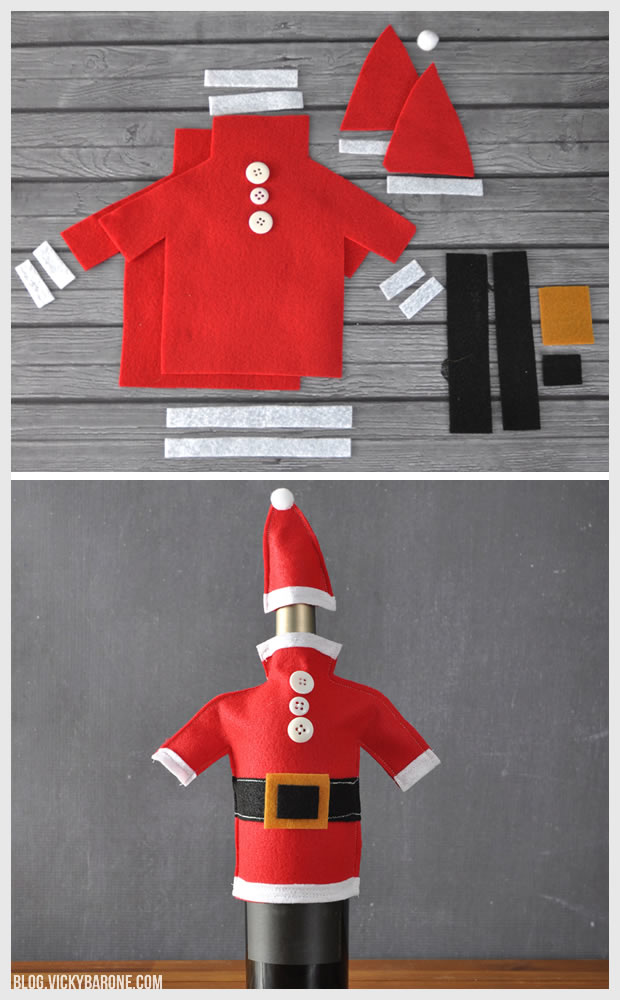
1. Print the template from this post. Trace it onto the red felt twice and cut it out.
2. For the suit: cut out two thin strips of white felt the same width as the base of the suit. Cut six pieces of white felt the same thickness to correspond with the sleeve cuffs and the neck. Sew each of these pieces onto the front and back of the suit.
3. For the belt: cut out two strips of black felt the same width as the template suit to create the belt. Cut a rectangle out of gold and a smaller rectangle out of black to create the buckle. Sew the belt onto the suit and hot glue the buckle to the belt.
4. For the hat: making the base the same width as the neck of the suit, cut two hat outlines out of red felt. Cut two strips of white felt for the base of the hat. Sew the white strips to the bottoms of each side of the hat.
5. Sew the three buttons onto the front of the suit using a needle and thread (or use hot glue).
6. Once all of the little pieces are sewn onto the suit, you will have just the front and the back of the suit as well as the front and back of the hat. With the details facing out, sew the suit together leaving the base, neck, and arm holes open. Sew the hat together, leaving the base open.
7. Use hot glue to attach the pom pom to the tip of the hat.
8. Use fabric scissors to cut away excess felt and thread on the suit and the hat.
9. Slip the Santa suit over a bottle of wine and add the hat on top! Use as decoration for the holidays or give as a hostess gift.

DIY Wine Bottle Santa | Vicky BaroneIsn’t he cute? Subscribe to Vicky Barone in the right sidebar to stay in the loop for MUCH for Holiday inspirations to come!