Categories
DIY Parties and Events

Graduation Party Centerpiece

Happy Monday, friends! Today we’re sharing a super easy DIY centerpiece for a grad party! Our New Year’s Eve centerpiece was such a hit that we decided to turn it into graduation decor. Here’s how to make your own:
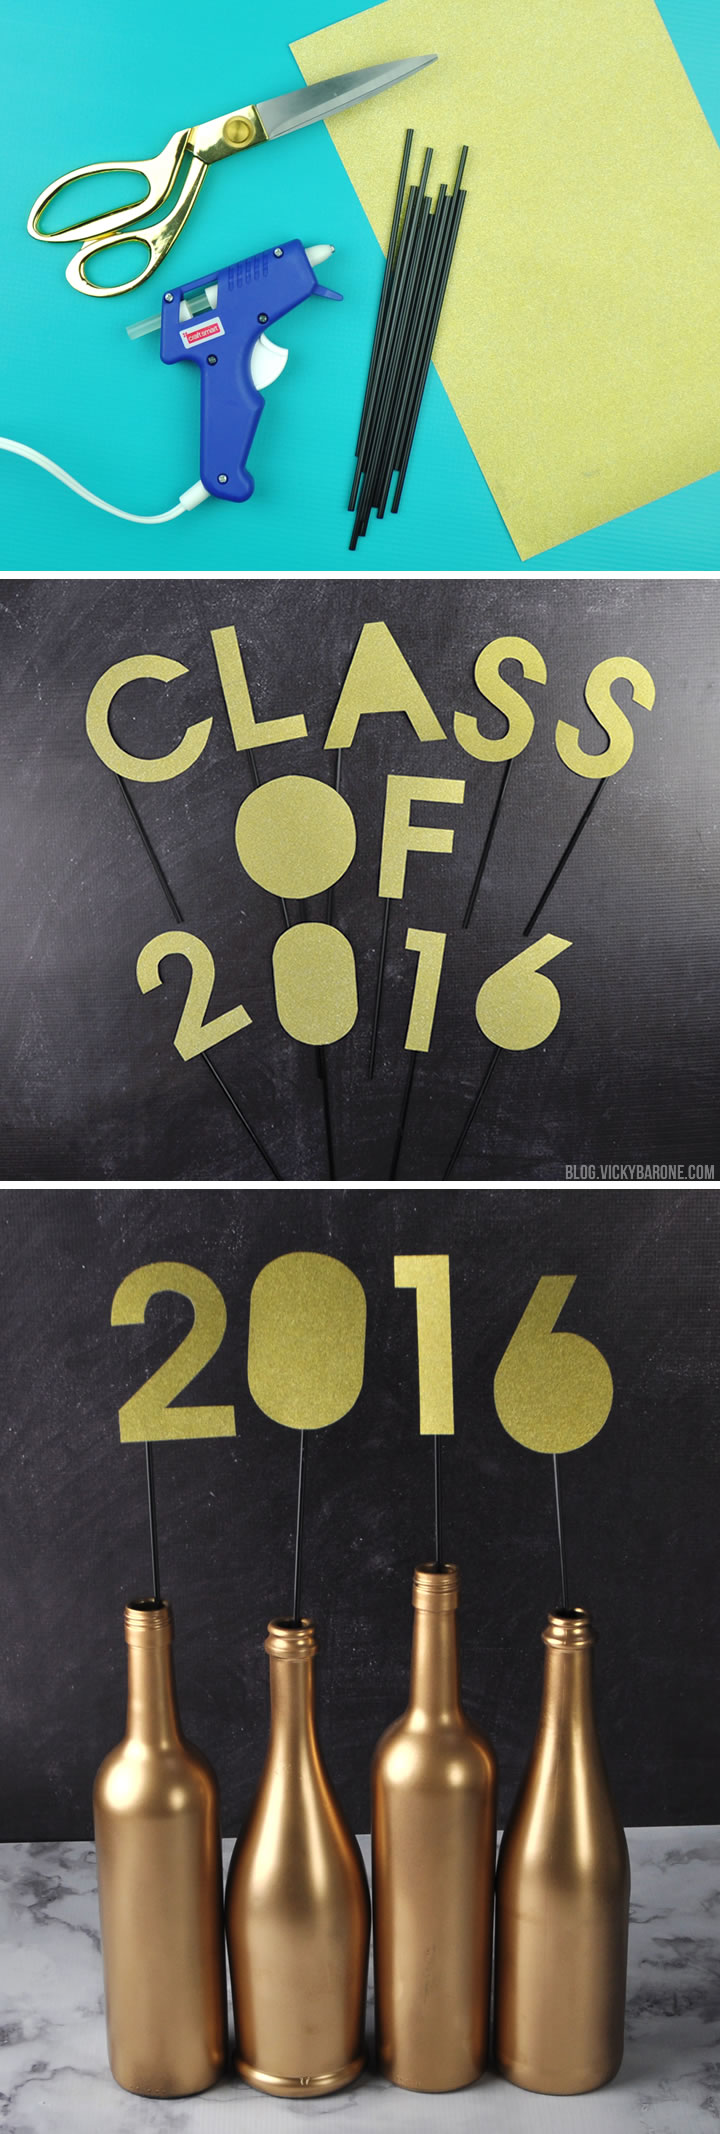
Class of 2016 Graduation Party Centerpiece | Vicky Barone

Supplies: wine bottles, metallic spray paint, coffee straws, wooden skewers, glitter scrapbook paper, scissors, and hot glue.

Directions:
1. Thoroughly clean the glass bottles. To remove the labels, soak in hot soapy water for ten minutes and peel away labels. Remove any remaining glue with Goo Gone or nail polish remover. After using Goo Gone, clean the bottles again with warm soapy water. Let dry completely.
2. In a well-ventilated area (we always suggest doing this outside!), spray the bottles with the spray paint according to directions on the can. Let dry completely.
3. Print out the words and/or numbers you’d like to use, trace them onto the glitter scrapbook paper, and cut out.
4. Hot glue the letters and numbers to some coffee straws.
(At this point you can use these as cake or cupcake toppers!)
5. Insert wooden skewers into the bottom of the coffee straws and place each one into a wine bottle.

Class of 2016 Graduation Party Centerpiece | Vicky Barone

That’s all! Now you have a shimmery centerpiece to celebrate the occasion!

Class of 2016 Graduation Party Centerpiece | Vicky Barone

These would be super cute in a line of cupcakes!

Class of 2016 Graduation Party Centerpiece | Vicky Barone

Speaking of graduation…we have a graduation greeting card giveaway happening RIGHT NOW on Instagram! Go check it out and enter to win! It ends tonight!

Categories
DIY Holidays Parties and Events

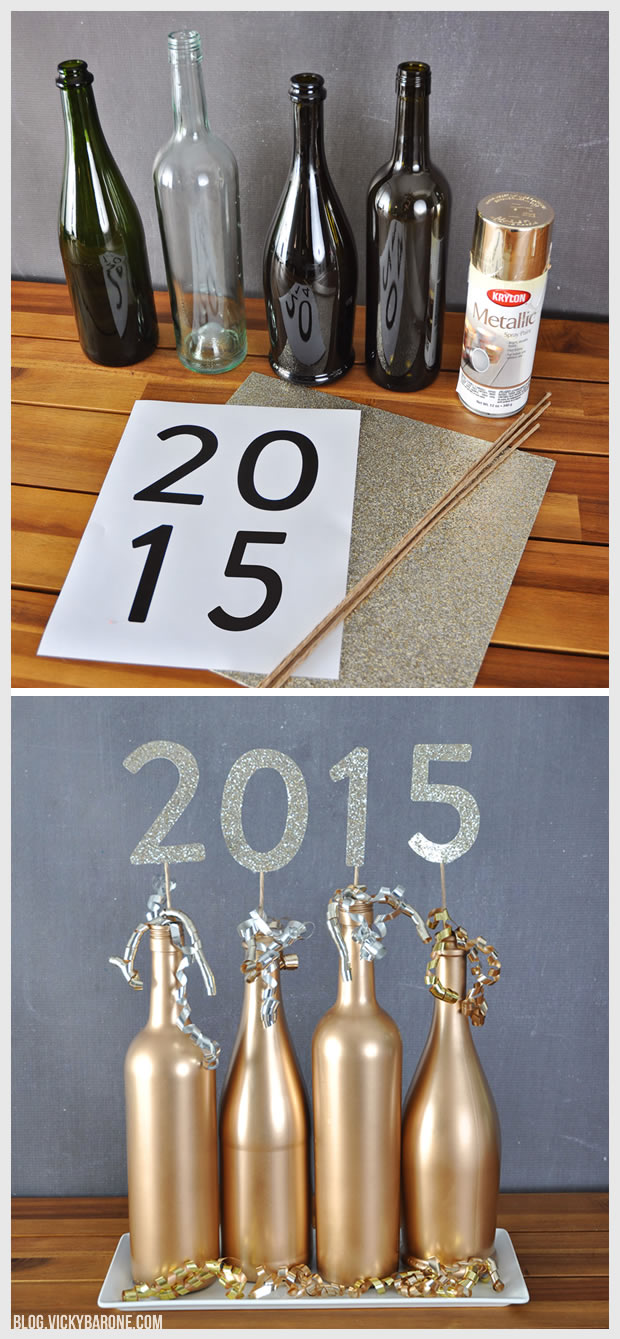
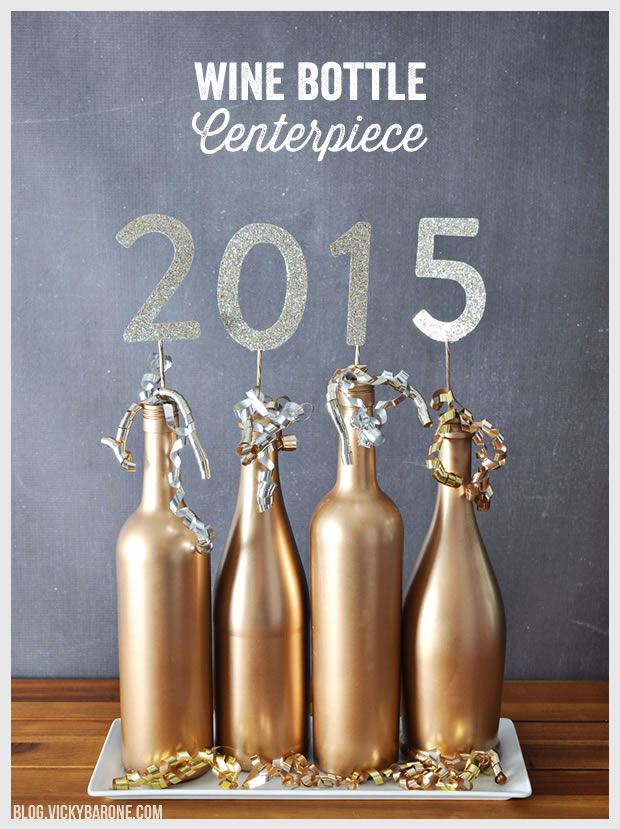
2015 Wine Bottle Centerpiece

When the Christmas parties have come and gone you might find yourself with a recycling bin full of wine and champagne bottles. Put a few of those to good use in your New Year’s Eve decor!

2015 Wine Bottle Centerpiece | New Year's Eve | Vicky Barone

Supplies: four glass bottles, metallic spray paint, glitter scrapbook paper, numbers stencil, stem wire, tape, and curling ribbon.

Directions:
1. Thoroughly clean the glass bottles. To remove the labels, soak in hot soapy water for ten minutes and peel away labels. Remove any remaining glue with Goo Gone or nail polish remover. After using Goo Gone, clean the bottles again with warm soapy water. Let dry completely.
2. In a well-ventilated area (we always suggest doing this outside!), spray the bottles with the spray paint according to directions on the can. Let dry completely.
3. Trace the numbers onto the glitter scrapbook paper and cut out.
4. Tape stem wire to the back of the numbers.
5. Put stems into the bottles (fold or cut any stems that are too long).
6. Cut pieces of curling ribbon and curl using scissors. Add ribbons to the mouth of the bottles and around the bases of the bottles.

Place this centerpiece in the middle of the dinner table or on an entryway table or coffee table. It’s fun and festive and can be used again and again! (Just don’t forget to change the date next year 😉 )

Categories
DIY Holidays Parties and Events

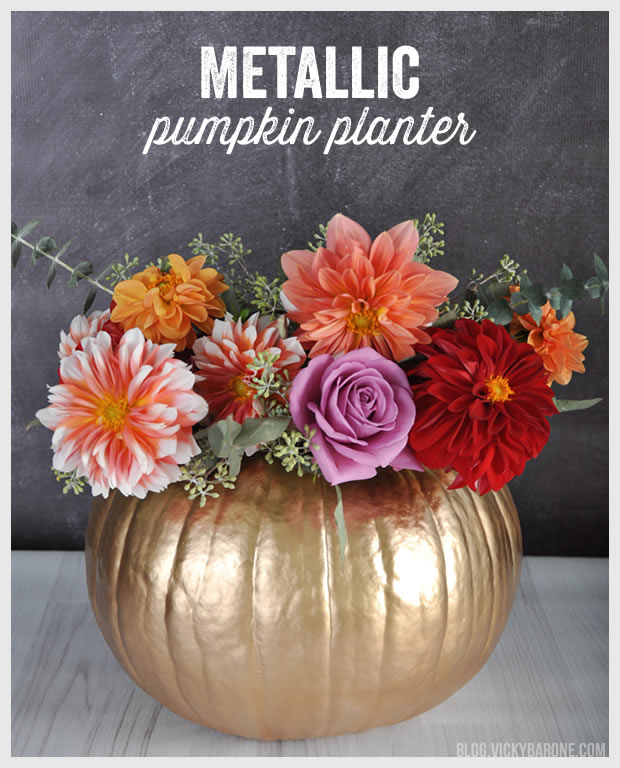
DIY Metallic Pumpkin Planter

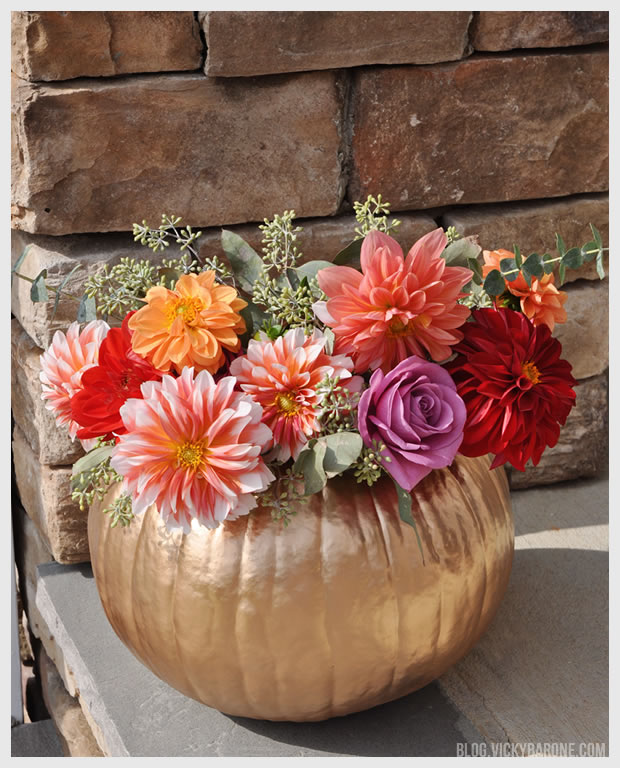
We found our favorite centerpiece, perfect for the Thanksgiving table. This gold pumpkin planter was surprisingly easy to create and looks absolutely stunning!

DIY Metallic Pumpkin Planter | Vicky Barone

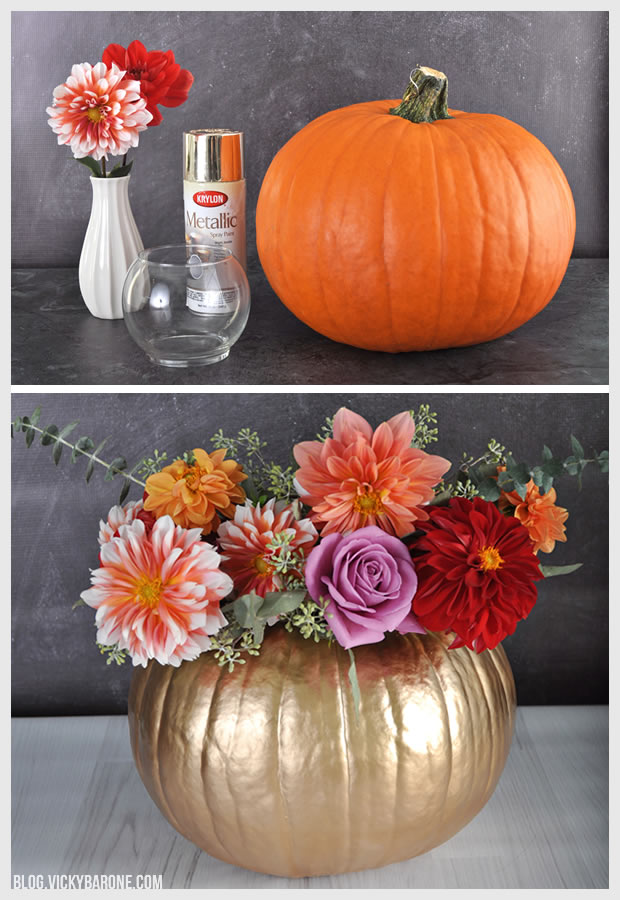
Materials: a pumpkin, a knife, a spoon, metallic spray paint, a short vase, and fresh flowers.

Directions:
1. Use a sharp knife to cut an opening in the top of the pumpkin, the same way you would when making a jack-o-lantern.
2. Use a spoon to scoop out the insides of the pumpkin and discard.
3. In a ventilated area (preferably outside), spray paint the pumpkin according to the directions on the can. Let dry completely.
4. Add water to the vase and try this flower arrangement trick before placing it in the bottom of the pumpkin (if the vase is wobbly or tilted, remove it from the pumpkin and use a spoon to scrape more off the bottom of the pumpkin to level it).
5. Trim the fresh flowers and add them one-by-one to the vase inside the pumpkin until you have the arrangement you like.

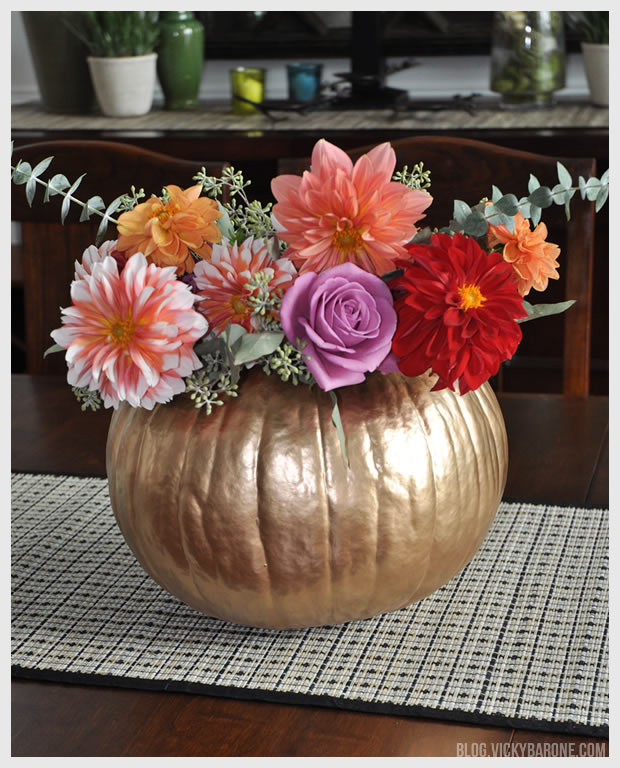
DIY Metallic Pumpkin Planter Centerpiece | Vicky Barone

Isn’t it beautiful? Add this to your Thanksgiving table or place it on your front porch to welcome your holiday guests!

DIY Metallic Pumpkin Planter | Vicky Barone