Skip to content
Get Your Free Guide to get more done with AI →
Search
DIY Projects
DIY
Holidays
Parties and Events
Kids
Things I Love
Recipes
About
Website
Shop
Category:
Uncategorized
Merry Christmas!
Reindeer Cupcakes
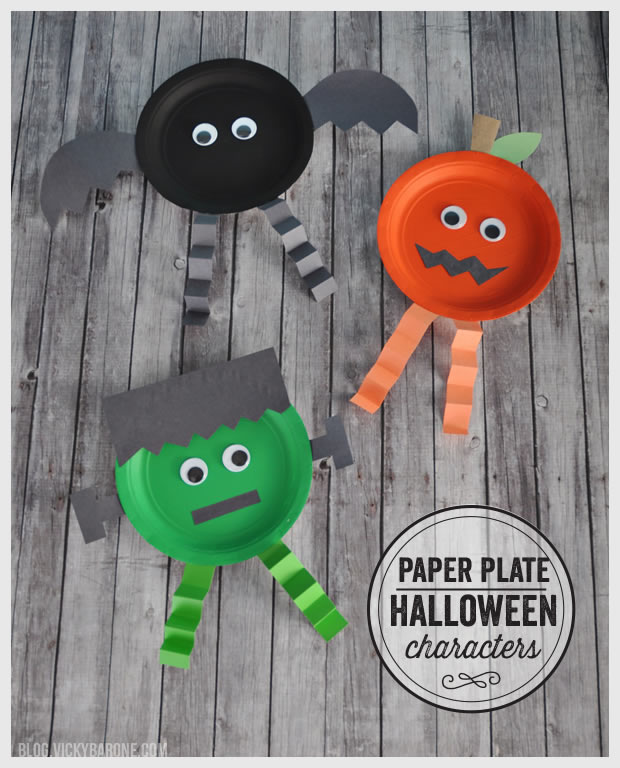
Paper Plate Halloween Characters
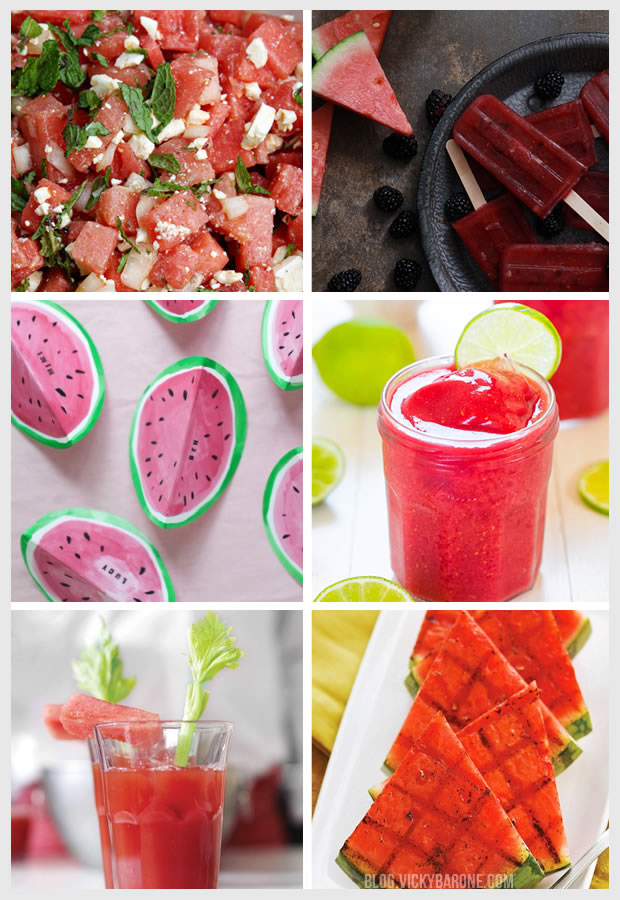
National Watermelon Day
DIY Teacher Appreciation Gift
DIY Felt Gift Card Holders
Follow Vicky Barone on Bloglovin’!
Previous Page
Loading Comments...
Write a Comment...
Email (Required)
Name (Required)
Website