Get Your Free Guide to get more done with AI →
Search
DIY Projects
DIY
Holidays
Parties and Events
Kids
Things I Love
Recipes
About
Website
Shop
Category:
DIY
Thanksgiving Garland Round-Up
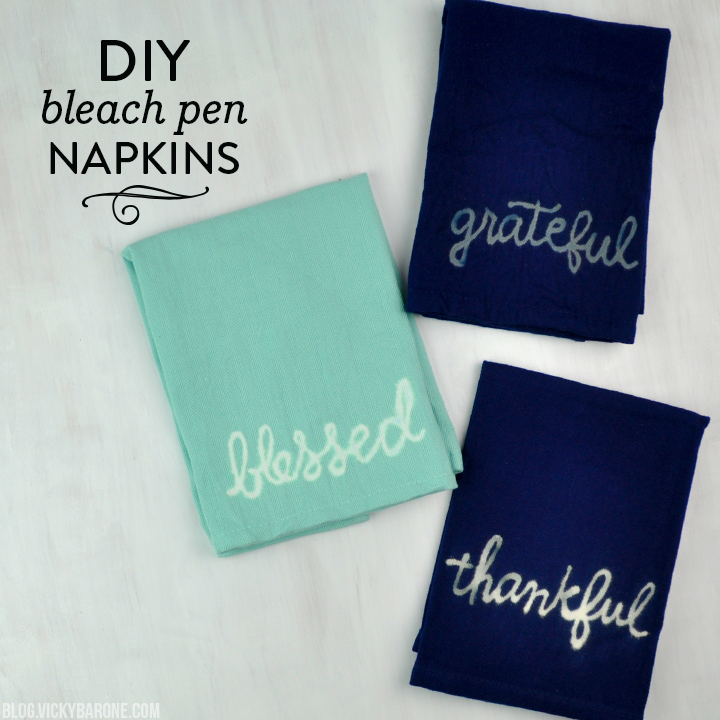
DIY Bleach Pen Napkins
DIY Thanksgiving Place Cards
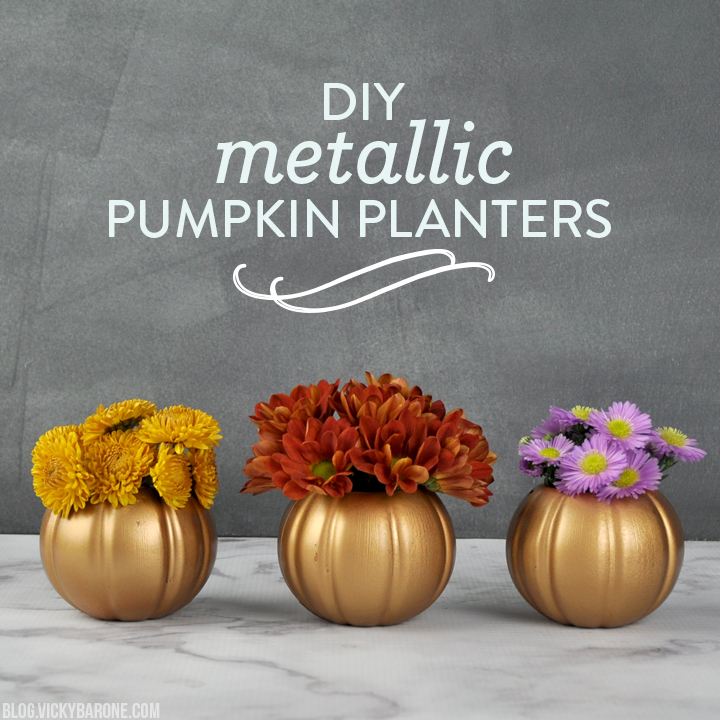
DIY Metallic Pumpkin Planters
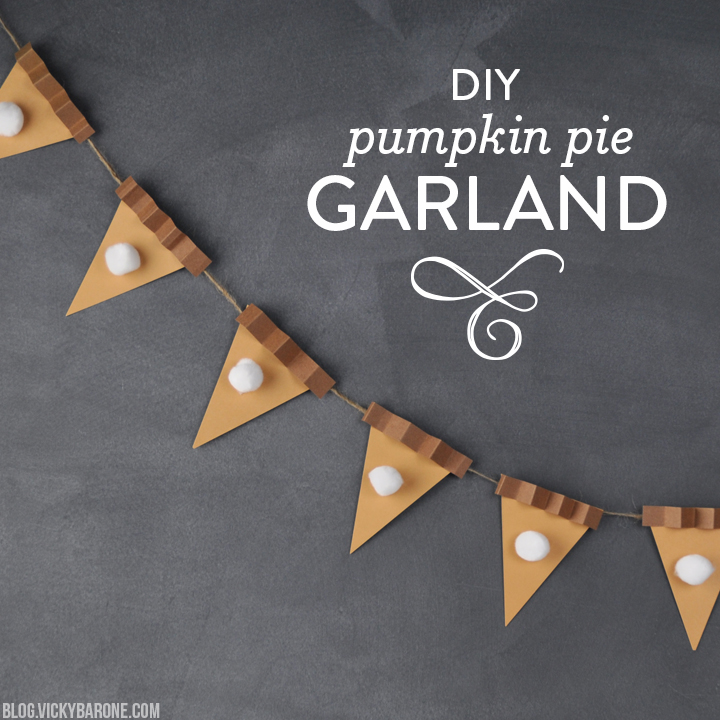
DIY Pumpkin Pie Garland
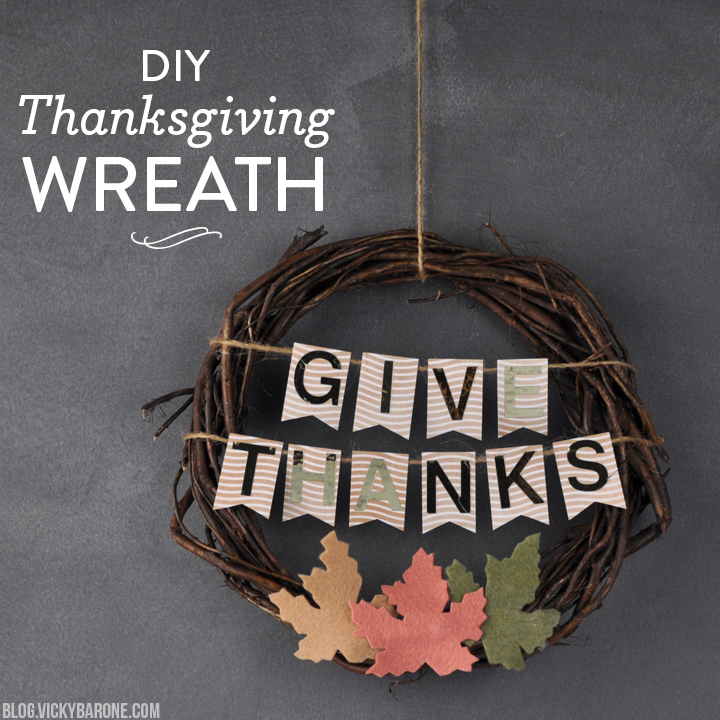
DIY Thanksgiving Wreath
DIY Felt Leaf Garland
Happy Halloween!
Previous Page
Next Page
Loading Comments...
Write a Comment...
Email (Required)
Name (Required)
Website