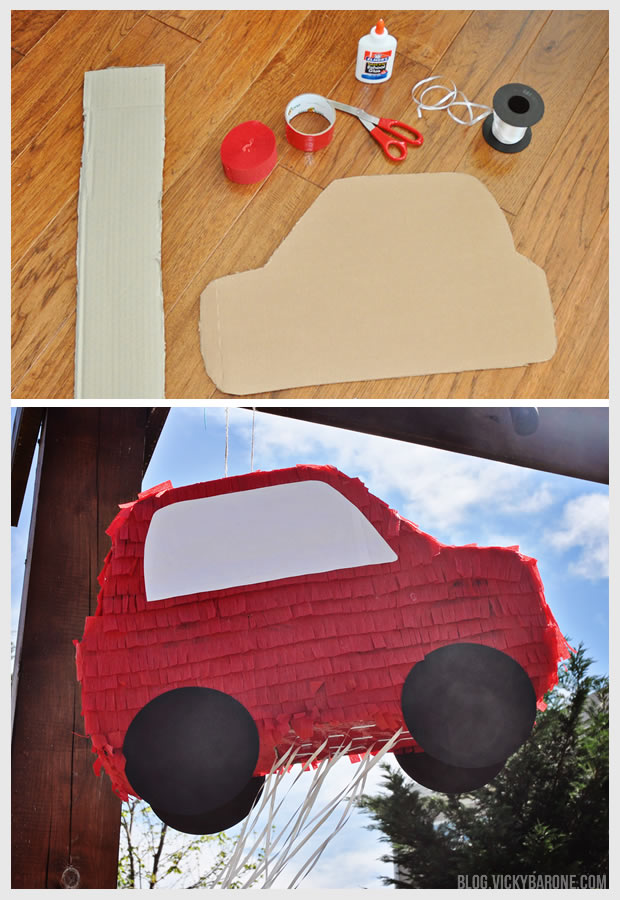
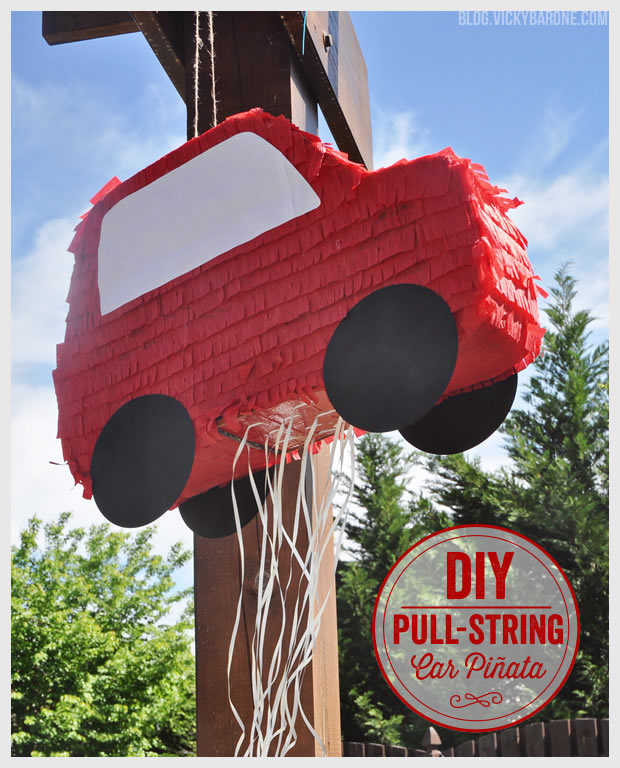
Here is another fun detail from the Race Car Birthday Party: a bright red car piñata!
Since it was a 2-year-old party, we decided to go the safer route and make a piñata that didn’t require any blindfolds or bat-swinging. A pull-string piñata is a great alternative for a party with young kids! Instead of constructing it with papier-mâché to make it easy to bust open, this piñata has a trap door on the bottom to release the candy when the right string is pulled. You can even use it over and over again!
Here is how you make your own:
 Materials: Cardboard, crepe paper, duct tape, scissors, ribbon, and glue. (Not pictured: white paper for the windows, black paper for the wheels, and twine to hang the piñata)
Directions:
1. Trace the shape of a car onto a piece of cardboard and cut it out. Trace that piece of cardboard onto another piece to create an identical car shape (make both shapes whatever dimensions you’d like!).
2. Cut out strips of cardboard to go in between each car silhouette (ours were about four inches thick).
3. Bend the cardboard strips around the edges of the car shapes and tape them in place to create a 3D car (Oh Happy Day has a great tutorial for making piñatas including step-by-step pictures!).
4. Cut a flap on the bottom of the 3D car and wrap it with the red duct tape so it fits snugly back together (we covered the entire bottom of the car with red duct tape to cover up the cardboard).
5. Fold segments of crepe paper and cut into fringe with scissors.
6. Glue strips of fringed crepe paper onto the car, starting from the bottom.
7. Cut out four wheels with the black paper and two windows with the white paper and glue onto the car.
8. Punch two holes at the top of the piñata and thread the twine through to hang it.
9.Cut ribbon into four or five foot pieces, depending upon how high or low you’d like your piñata to to hang (and how tall the participating kiddos are). Attach one piece of ribbon to the inside of the flap securely so that when pulled, the flap opens. Tape the rest of the pieces of ribbon to the outside of the flap with small pieces of tape so that when pulled, the flap stays closed, but those ribbons detach.
10. Fill the piñata with candy and hang it up! (It was windy on this day, so we tied the ribbons around one of the posts of the arbor so they didn’t get tangled)
There are two ways to use a pull-string piñata:
1. Have each child choose a string to hold onto, but not pull right away. Once each string has a set of little hands on it, count to three and have everyone pull their string at the same time. This method is to eliminate the possibility of the “winning” string getting pulled first and the piñata festivities finishing before they even started.
2. Have the children line up and let each one pull a string one at a time. Eventually, one of the strings will open the trap door. You can also hand out the strings to each child, saving the “winning” string for the birthday boy or girl when it’s their turn in line.
The car piñata was a hit with the kids, and went great with the theme of the party! Check out the rest of the party here 🙂


3 replies on “DIY Pull-String Car Piñata”
[…] Favor Tags | Bubble Wands | Sticker & Tattoo Station | Car Piñata | Car […]
[…] Fox | 2. Mini Cactus | 3. Diamond 4. Ice Cream Cone | 5. Bee Hive | 6. Taco 7. Car | 8. Donkey | 9. Watermelon 10. Numbers | 11. Moon | 12. […]
2.5