Categories
DIY

DIY Feather Pens

Hooray for the first day of school! We are excited for a fresh new school year full of possibilities! To celebrate, we are sharing a super easy DIY project to brighten up your pencil case this year…
DIY Feather Pens | Back to School DIY Ideas | Vicky Barone

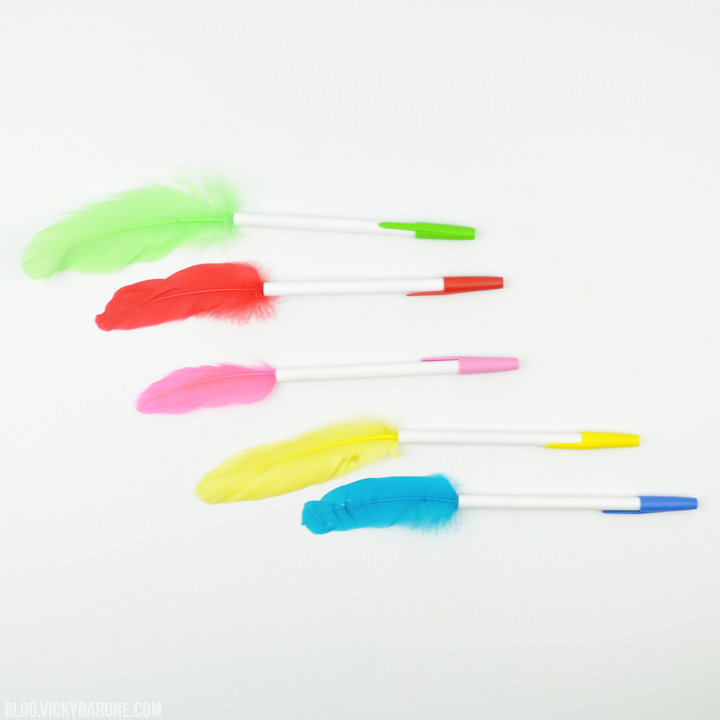
We made these feather pens using the same method as the DIY Flower Pens and we LOVE how they turned out! These would make a great gift for teachers or just add a pop of color to your desk! Here’s how to make your own:

DIY Feather Pens | Back to School DIY Ideas | Vicky Barone

Directions:
1. Gather your supplies: ball point pens (with caps! Not the retractable kind), pliers, hot glue, and feathers.
2. Use the pliers to squeeze the base of the pen until the bottom pops out.
3. Remove the bottom and separate it from the ink. Put the ink back into the pen and discard the bottom.
4. Add hot glue to the pen.
5. Insert feather into the glue and hold until the glue cools.
6. Enjoy your new pens!
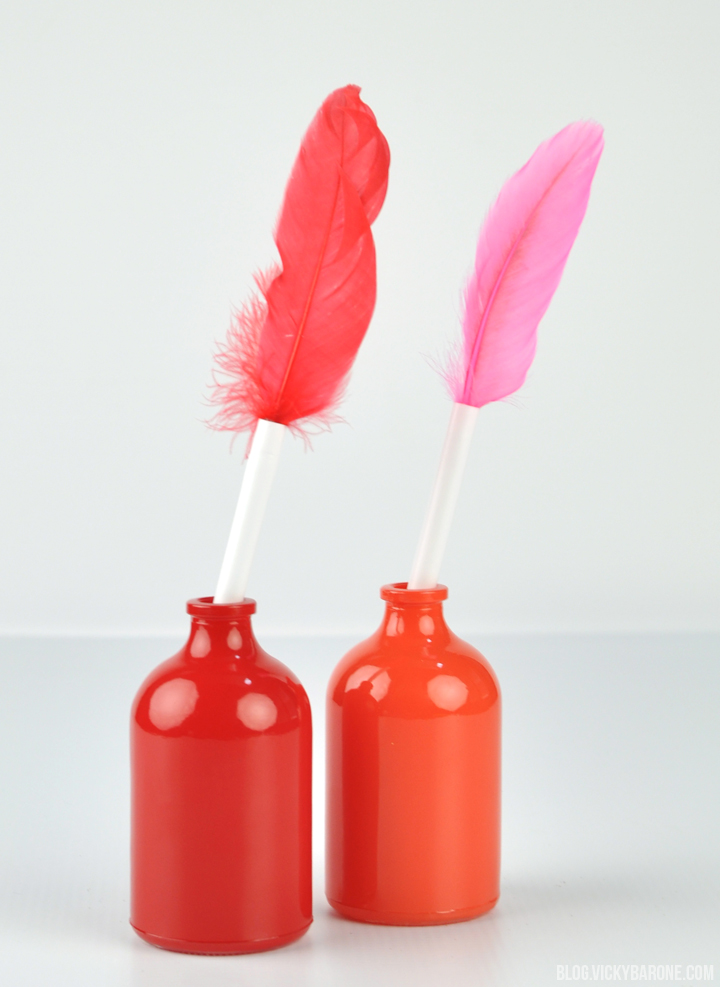
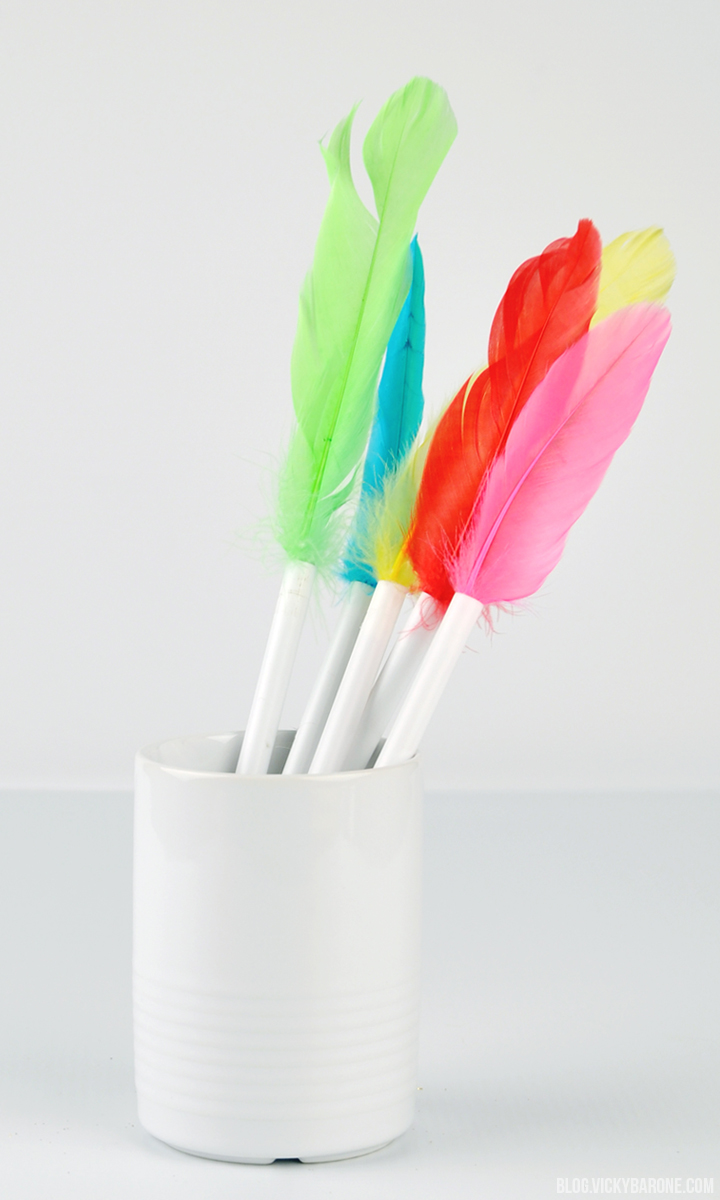
DIY Feather Pens | Back to School DIY Ideas | Vicky Barone DIY Feather Pens | Back to School DIY Ideas | Vicky Barone

DIY Feather Pens | Back to School DIY Ideas | Vicky Barone DIY Feather Pens | Back to School DIY Ideas | Vicky Barone

Wishing you all a wonderful new school year and a happy Fall!

P.S. Our Back-to-School Giveaway ends tonight! Check it out here and enter to win lots of fun prizes!

Categories
DIY

DIY Floral Monogram

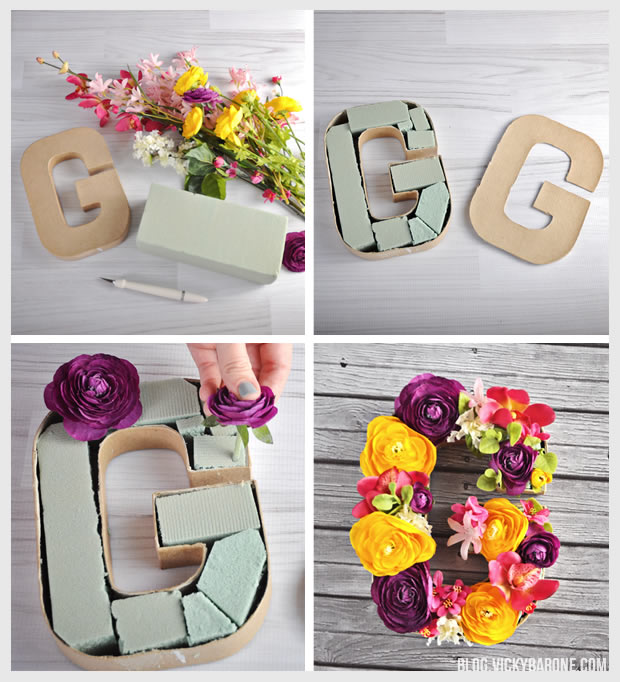
We’ve seen these floral monogram letters all over Pinterest and thought they would make a great gift! Keep reading to find out how to make your own.

DIY Floral Monogram | Vicky Barone

Supplies: Paper mache letter, X-acto knife, fake flowers, scissors, and a foam block.

Directions:
1. Use the X-acto knife to cut off the face of the paper mache letter. Hollow the letter by discarding the pieces of cardboard you find inside.
2. Cut the dry foam block into smaller pieces to fit inside the letter.
3. Cut the fake flowers, leaving about an inch of stem.
4. Push the stems of the flowers into the dry foam and arrange them however you like.

This can also be done with real flowers as well! Just soak the dry foam in water to help keep the flowers looking fresh.

Categories
DIY

DIY Inspirational Banner

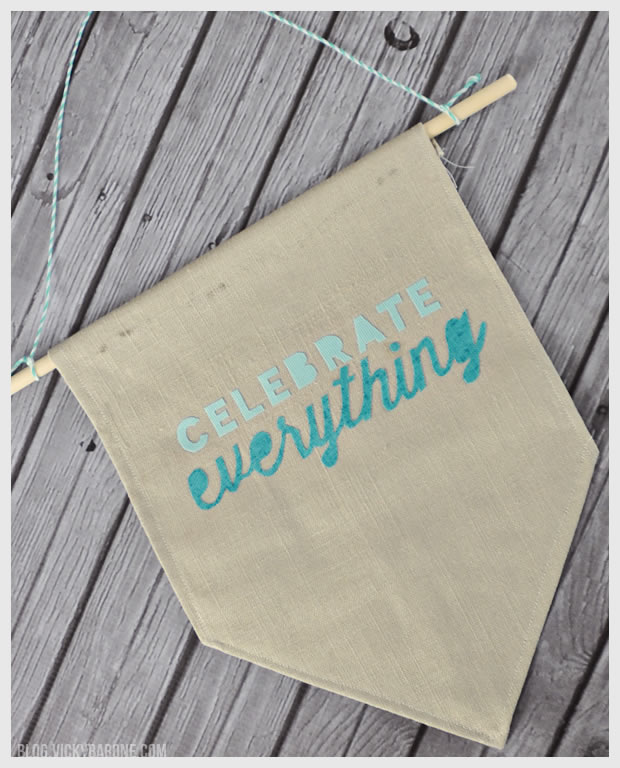
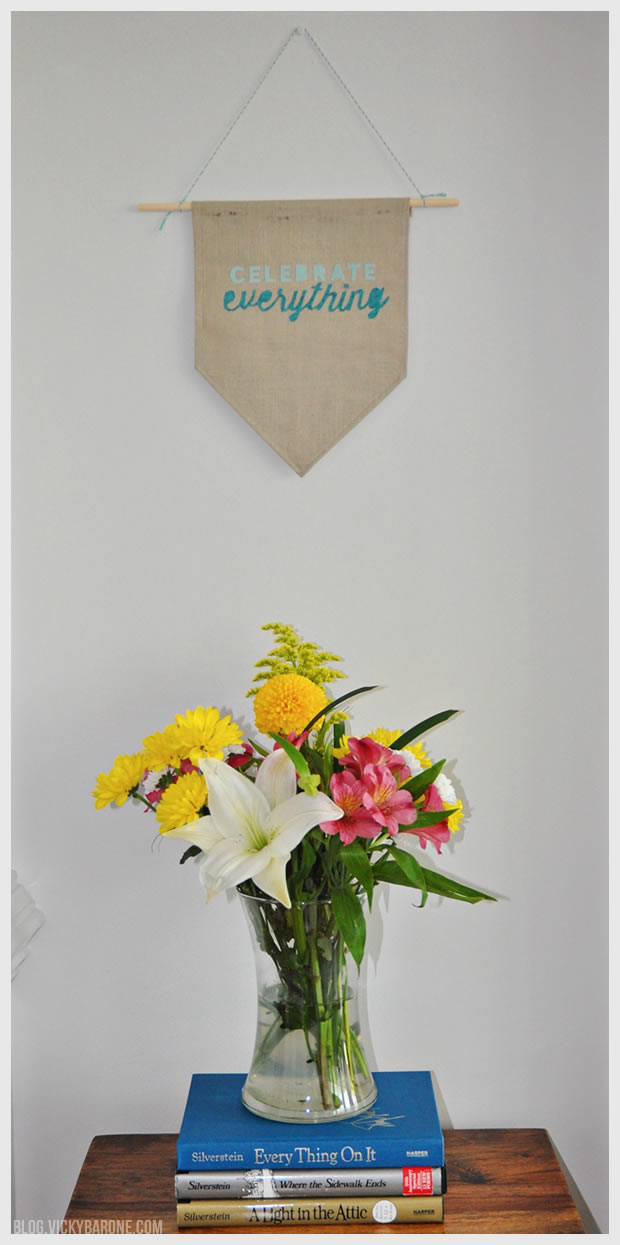
This is one of our favorite DIY projects we’ve done for the blog: an inspirational banner to hang on the wall! We used some discount fabrics from the remnants bins at Joann’s and my motto: “Celebrate Everything” to create this happy banner. We are so pleased to share it with you today.

DIY Inspirational Banner | Vicky Barone

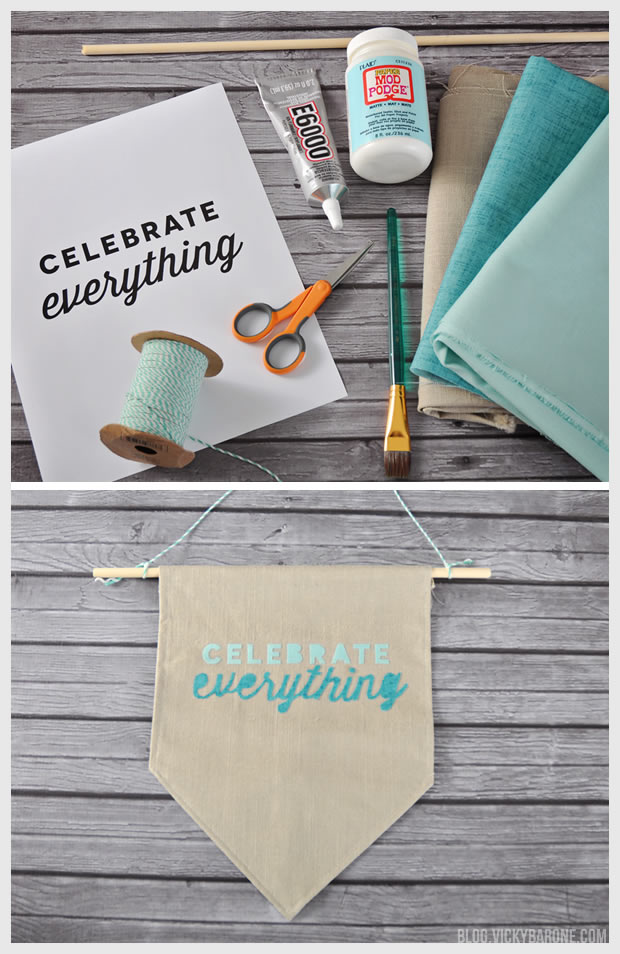
Supplies:
– Linen or muslin fabric for the banner
– Two shades of teal fabric
– A print out of the design you would like to use as a stencil
– A wooden dowel
– Fabric scissors and pointed scissors
– Hot glue (We used E6000, but it leaked through the fabric and did not dry as quickly)
Mod Podge
– A paint brush
Baker’s twine
– A sewing machine or needle and thread (both optional)

You can find all of these items at your local craft store!

Directions:
1. Cut the banner fabric into a rectangle (Ours was about 8.5″ x 12″).
2. Cut the two teal fabrics into strips about an inch wider and longer than the words you’d like them to read.
3. Use the paint brush to coat both sides of each strip of fabric with Mod Podge and let dry. This will stiffen the fabric and make it easier to cut into words. It will also keep the fabrics from fraying at the edges when you cut them!
4. Cut out the words from the stencil using pointed scissors or an X-acto knife
5. Use the paper words as a stencil on the stiffened strips of fabric. Cut out the words from the fabric using the pointed scissors or an X-acto knife.
6. Paint more Mod Podge to the backs of the words and attach them to the fabric banner. Let dry.
7. Flip the banner over and fold the bottom of the rectangle into a point. We used a sewing machine to sew around the perimeter of the banner to hold the corners down and create a small hem, but you can sew it by hand OR just use a hot glue gun.
8. Cut the wooden dowel to the length you’d like using scissors (or a hand saw if you’re using a thicker dowel!). Ours was about an inch and a half longer on both sides of the banner.
9. Fold the top of the banner around the wooden dowel and use hot glue to attach it to itself on the other side (Do not glue the banner to the dowel. The dowel should be able to rotate freely).
10. Tie a piece of baker’s twine to both ends of the dowel. Hang up your banner and enjoy!

DIY Inspirational Banner | Vicky Barone

DIY Inspirational Banner | Vicky BaroneHave a wonderful weekend and remember to Celebrate Everything!


Categories
DIY Family Kids Parties and Events

Racecar Birthday Party

I can’t believe my baby is 2! It truly feels as though his first birthday party was yesterday.

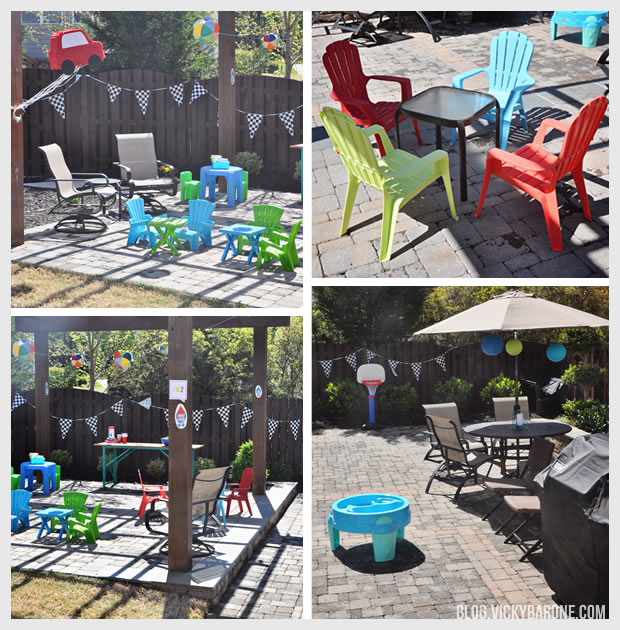
A couple weeks ago, we threw him a little racecar-themed get-together with some of his friends, family, and classmates. The weather was beautiful and everyone, especially the birthday boy, had a great time!

We set up a little area on the back patio under the arbor, complete with miniature tables and chairs for all the little ones to sit in. We had party trays from Chick-fil-A, applesauce pouches, juice boxes, brownies, and a Lightning McQueen cake! Here are some more pictures if you’d like to see all the details!

Racecar Birthday Party | Vicky Barone
Buffet Table | Water Table | Kids Adirondack Chairs

Racecar Birthday Party | Vicky BaroneMe and the Birthday Boy | Custom signs | Paper Globes | Foam Flag | Racing Bunting

Racecar Birthday Party | Vicky BaroneLightning McQueen Cake | Chick-fil-A Catering | Stoplight Brownies | Custom Cupcake Toppers

Racecar Birthday Party | Vicky BaroneCustom Favor Tags | Bubble Wands | Sticker & Tattoo Station | Car Piñata | Car Photobooth

Throughout the month we’ll be showing DIY tutorials on everything from the cake to the piñata, so be sure to subscribe via email (in the right sidebar!), or follow on Bloglovin’, Instagram, or Pinterest!

You can also subscribe to Places for Faces to be the first to know when it launches! Sign up below and you’ll be making custom cake toppers and favor tags in no time!


Categories
DIY Holidays Things I Love

Things I Love: DIY Spring Wreaths

1. Flowers and Fruit | 2. Living Succulents | 3. Crepe Paper Flowers | 4. Rattan Balls | 5. Hydrangeas | 6. Easter Bunny | 7. Felt Flowers | 8. Baby’s Breath

Spring is officially here! We are so excited for all things Spring, including a new wreath for our front door! Here are 8 wreaths you can make yourself (including ours from last year!). Enjoy!

Categories
DIY Holidays Printables Things I Love

Things I Love: St. Patrick’s Day Decor

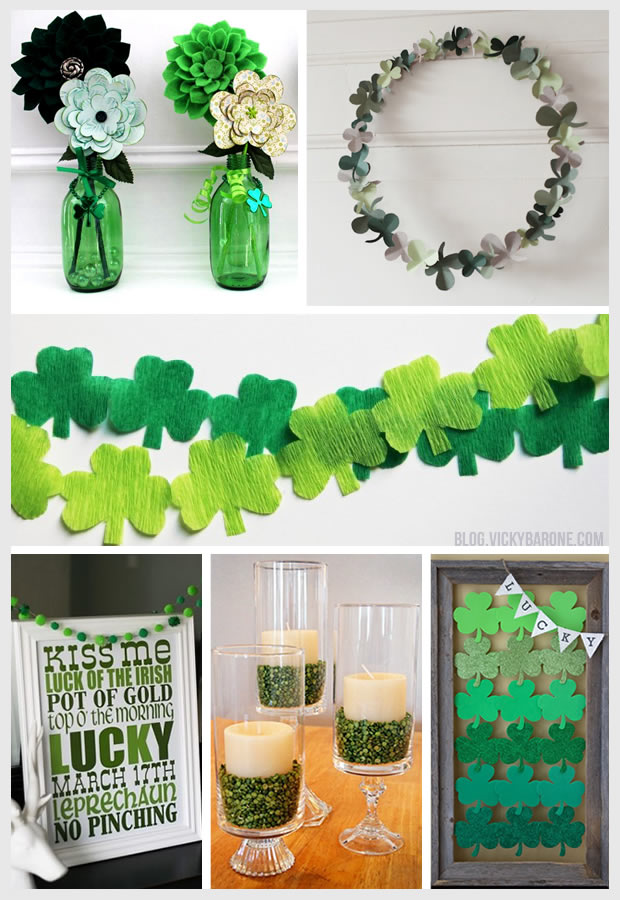
1. Paper and Felt Flowers | 2. Shamrock Wreath | 3. Shamrock Streamers | 4. Subway Art Print | 5. Candle Display | 6. Ombre Shamrocks

St. Patrick’s Day is coming up fast! Here are six last minute decorations you can make (or print) this weekend!

P.S. Our Thumb Print Shamrock makes a great little decoration too!

Categories
DIY Holidays Things I Love

Things I Love: DIY Valentine’s Day Decor

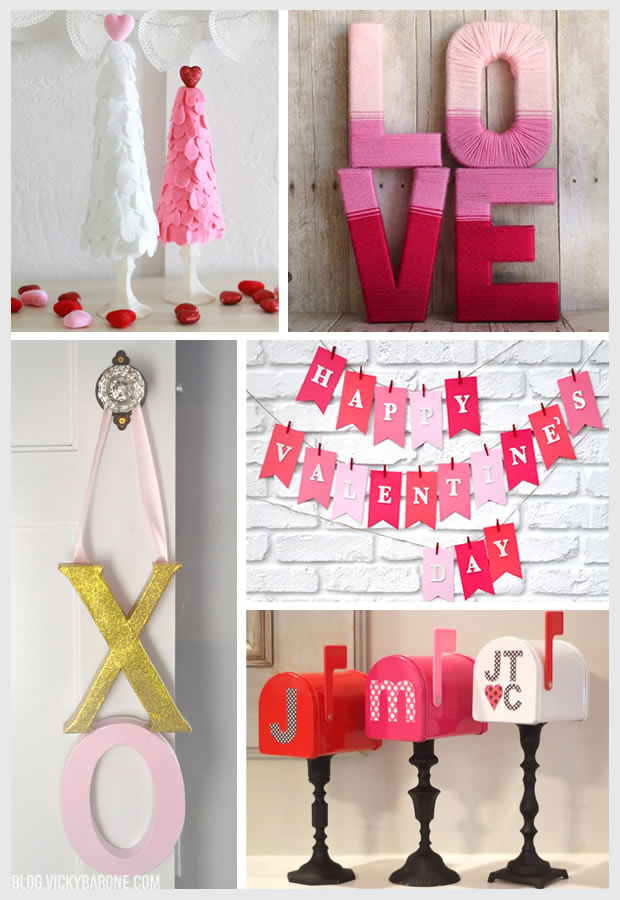
1. Felt Heart Trees | 2. Love Yarn Letters | 3. XO Door Hanger | 4. Garland | 5. Mailboxes

Valentine’s Day is just four days away! Here are five DIY decorations to add a little love to your home or classroom. Enjoy!

Follow Vicky Barone on Pinterest and Bloglovin’ for even more Valentine’s Day ideas!