Categories
DIY Holidays

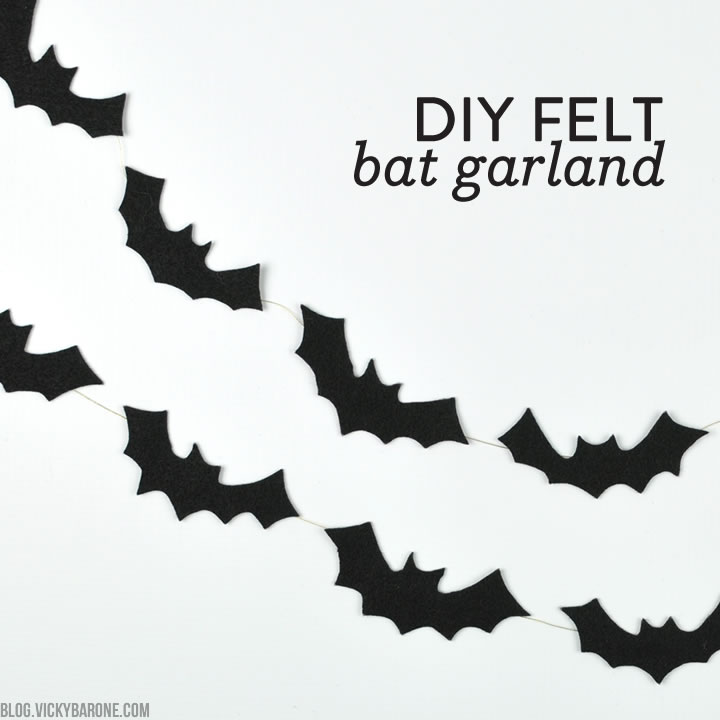
DIY No-Sew Felt Bat Garland

Happy Monday, friends! It is getting mighty chilly on the east coast, which makes all of these Halloween (and Christmas?!) decorations feel a lot more appropriate. Sure, we’d love a few more Summery days, but this Autumn air is all too welcome.

DIY No-Sew Felt Bat Garland | Vicky Barone

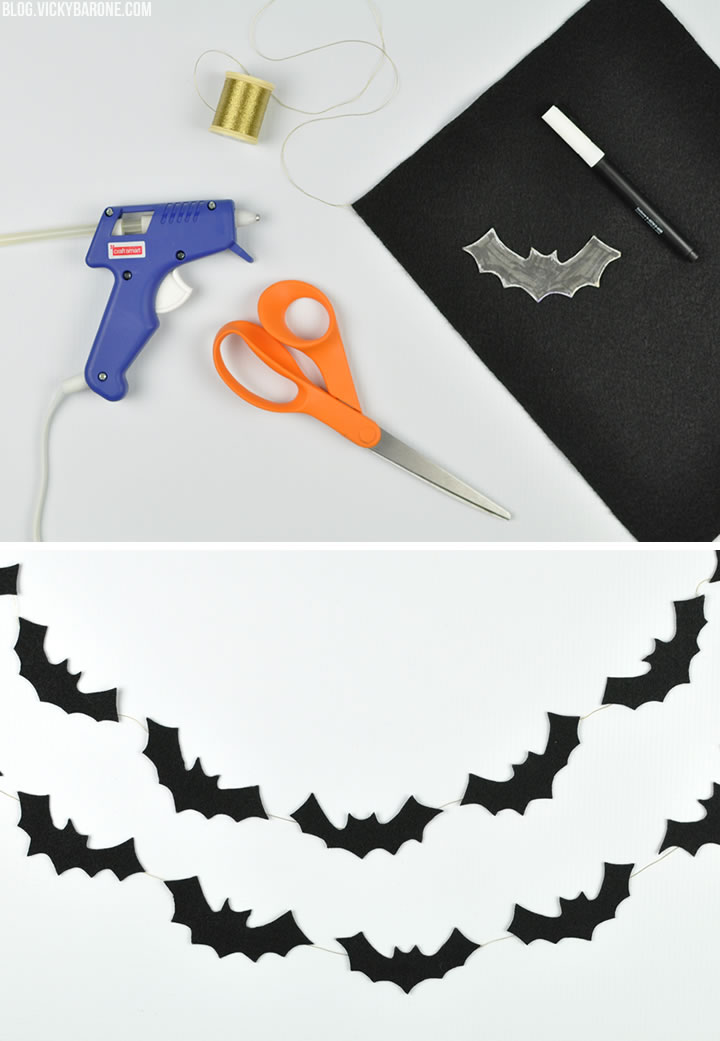
Today we’re sharing a bat garland that requires absolutely NO sewing! Grab your felt, scissor, and hot glue, and follow us…

DIY No-Sew Felt Bat Garland | Vicky Barone

Supplies: black felt, fabric scissors, chalk or a white marker, string, and hot glue.

Directions:
1. Hand draw or print out a bat shape onto a piece of paper. When you like the size and shape, trace it onto a small piece of card stock or thin cardboard and cut it out. This will be your template!
2. Trace around the template onto a piece of black felt using chalk or a white marker.
3. Cut the bat shapes out of the black felt.
4. Cut out a length of string for your garland. We used thin gold thread.
5. Heat up your hot glue gun and make two or three glue dots onto the back of a bat shape. We made three dots of glue – one on each wing and one in the center so the string made a V-shape when glued down (this way the string wouldn’t show between the wings when hung).
6. Quickly press the string to the glue dots.

DIY No-Sew Felt Bat Garland | Vicky Barone

Hang your spooky garland and enjoy!

DIY No-Sew Felt Bat Garland | Vicky Barone

Looking for more garlands? You’re in luck! Click here to see more.
Categories
DIY Holidays

DIY Halloween Mobile

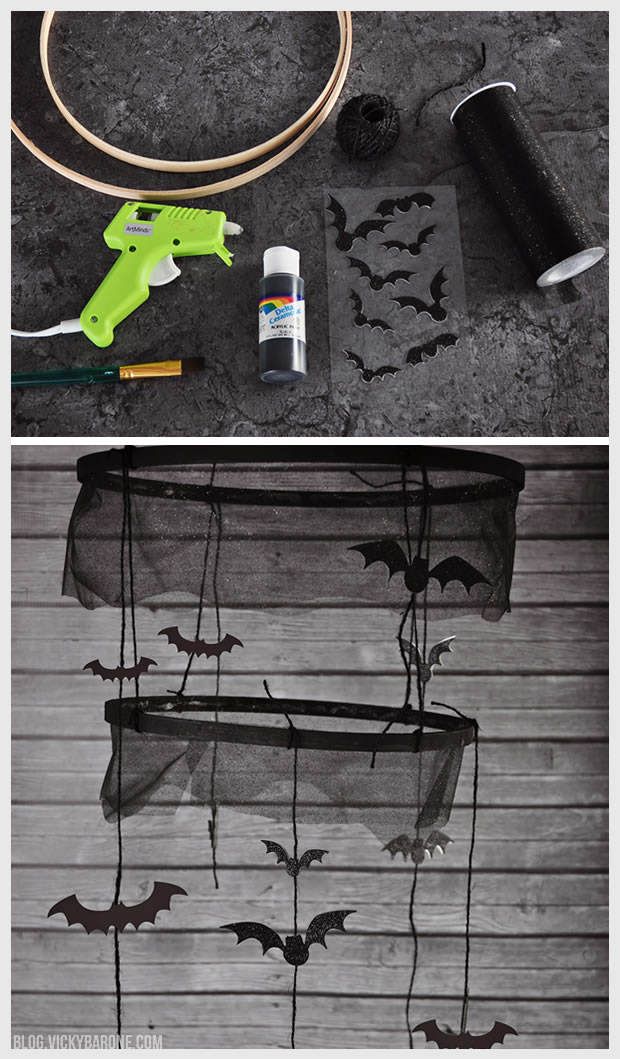
We saw this bat chandelier while flipping through the Pottery Barn Kids catalog and knew we could make out own for a fraction of the price. It’s not longer available on the site, so if you like it, keep scrolling to learn how to make your own!

DIY Halloween Mobile | Vicky Barone

Supplies: 2 wood embroidery hoops (one smaller than the other), black acrylic paint, a paint brush, black hemp or string, bat cut-outs or stickersblack glitter organza, scissors, and a hot glue gun.

Directions:
1. Remove the outer part of each wooden hoop and set aside. You will only need the inner hoops.
2. Paint the inner hoops black with acrylic paint. Let dry completely.
3. Attach bats to lengths of string and tie at varying heights onto both hoops. We used bat stickers that we stuck together to sandwich the string between them, mixed with some papet cut-outs attached with hot glue.
4. Tie four long pieces of black string equidistant apart on the lower hoop then attach those four strings to the upper hoop. If there is enough string, tie all four pieces together in the center to hang the mobile. If not, attach more string to create a place to hang the mobile.
5. Measure the inside of the larger hoop and cut a piece of organza the same length. Cut the organza in half down the middle, making wavy cuts.
6. Using hot glue, attach one half of the organza strip to the inside of the larger hoop. Do the same with the other half on the smaller hoop and cut excess organza.

You can fill the mobile with lots of bats, or use other Halloween-inspired shapes! Hang this in an entry way or over a table for a spooky touch to your Halloween decor. Enjoy!

Categories
DIY Holidays Kids My Projects Parties and Events Projects Recipes

Halloween Spiderweb Cupcakes

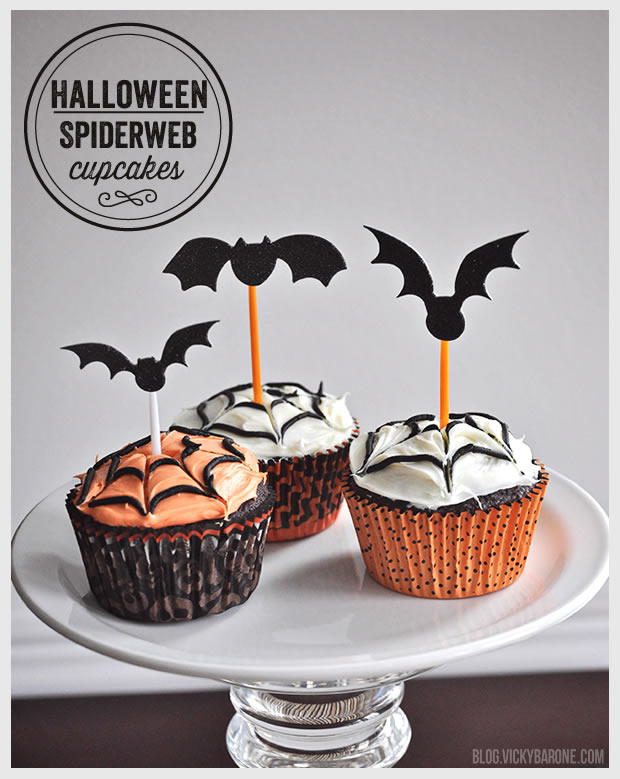
Here’s an easy Halloween treat that everyone is sure to love! Spiderweb cupcakes with bat cupcake toppers! We did a DIY post for these easy spiderweb cupcakes in the Spring for this Spider-Man Birthday Party and they were a hit! So, we thought we’d do them again with Halloween colors. Here’s how we made them:

Halloween Spiderweb Cupcakes
Directions:
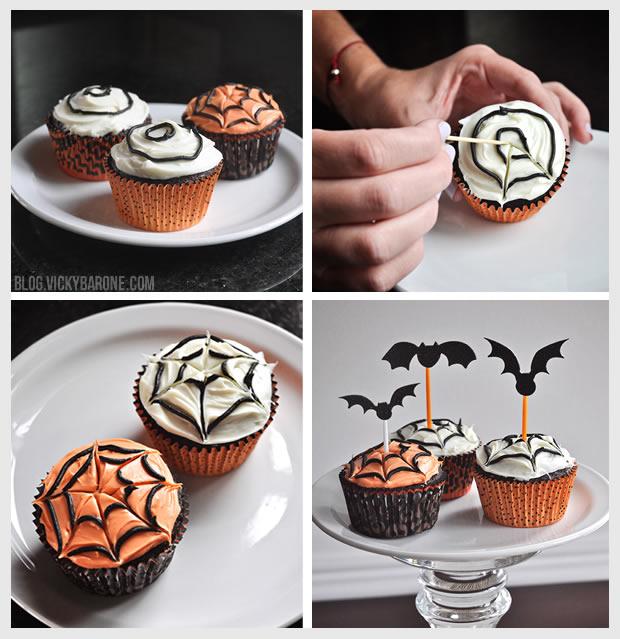
1. Frost cupcakes with white and orange icing (we just added food coloring to half of our white icing to make the orange!).
2. Using black icing with a decorator’s tip, pipe two or three concentric circles on top (The black icing we used here was thicker than the red icing from the Spider-Man cupcakes. They are the same brand, but the black doesn’t pull as smoothly with the toothpick as the red).
3. Drag a clean toothpick from the center of the cupcake to the outside six or seven times to create the webbed look.
4. Add fun Halloween stickers to some colorful toothpicks or cocktail picks to create spooky cupcake toppers!

We used these treat wrappers, treat cups, and bat stickers!

We hope you enjoy this easy and sweet Halloween treat!