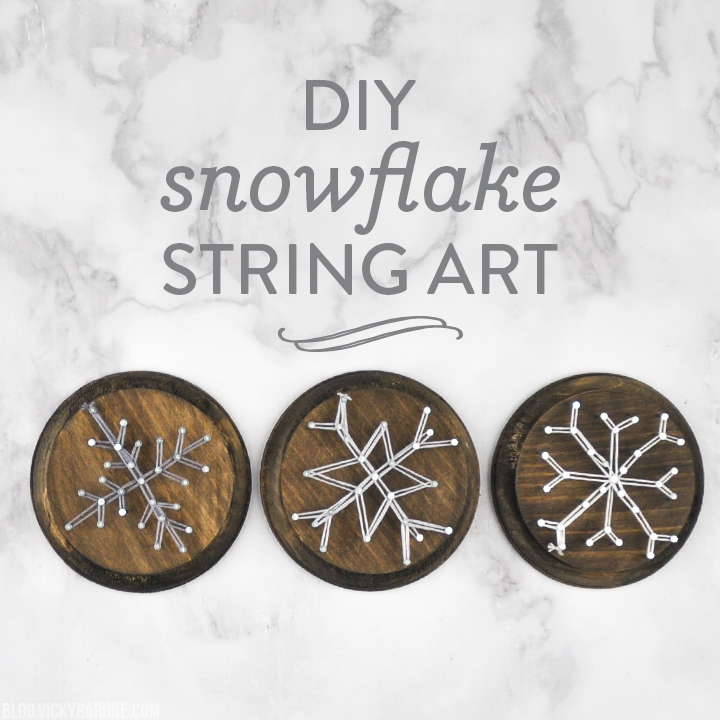
Have you seen any snow yet? We’re supposed to get a little here on Saturday (the first snow of the year!) and we’re very excited! In preparation, we’re sharing a snow-day craft we hope you’ll love. This snowflake string art requires just a few supplies and a little bit of patience, and the end result is oh so cute.

Here’s what you’ll need: round wooden plaques (ours are from AC Moore), a wood stain (optional), nails, a hammer, and some embroidery floss.
Directions:
1. Stain the wood rounds. This is optional, but we love the look of the dark stain against the light string!
2. Nail a snowflake pattern into the wood. Start at the center and work your way out until you create the design you like. You can also print snowflake designs on paper and place them on top of the wood to use as a stencil. Add the nails and rip away the paper when you’re done!
3. Tie a piece of embroidery floss to one of the nails. Carefully weave the string around the nails to create a snowflake shape. This takes some trial and error, but once you get the hang of it, it’s so satisfying!
4. Tie off the end of the string and cut away the excess.

Here’s hoping for a winter wonderland! Enjoy!
