
Looking for a fun and easy Holiday DIY to make this weekend? These chalkboard ornaments are super simple and can be personalized however you’d like! They would also make great gifts, stocking stuffers, or even gift tags!
Supplies:
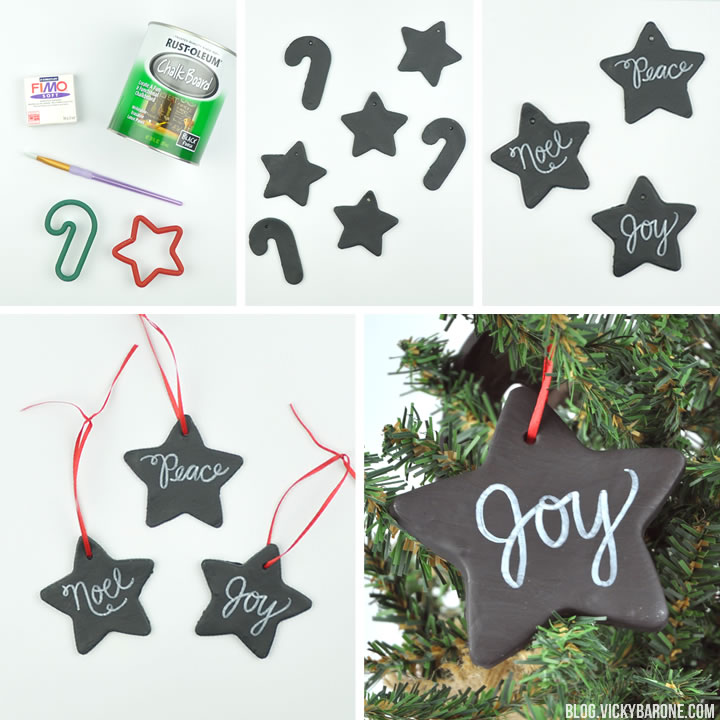
– white polymer clay
– cookie cutters (we got ours from the Dollar Store to use specifically for clay. Play it safe and refrain from using the cookie cutters in your kitchen!)
– wooden skewer
– chalkboard paint
– paint brush
– white paint pen
– ribbon

Directions:
1. Roll out clay according to directions until you reach a desired thickness. Ours were a little less than 1/8 of an inch thick, but were pretty sturdy when baked.
2. Use cookie cutters to make shapes. Remove excess clay from around cookie cutter before picking it up to reveal the shape. This will help make cleaner edges!
3. Use a wooden skewer to create a hole in each shape. Make sure it goes all the way through. This will be where you tie ribbon to hang the ornament when it’s complete.
4. Place shapes on a cookie sheet lined with aluminum foil. Bake according to directions on package. Let cool completely.
5. Paint shapes with chalkboard paint (2 coats should do). Let dry.
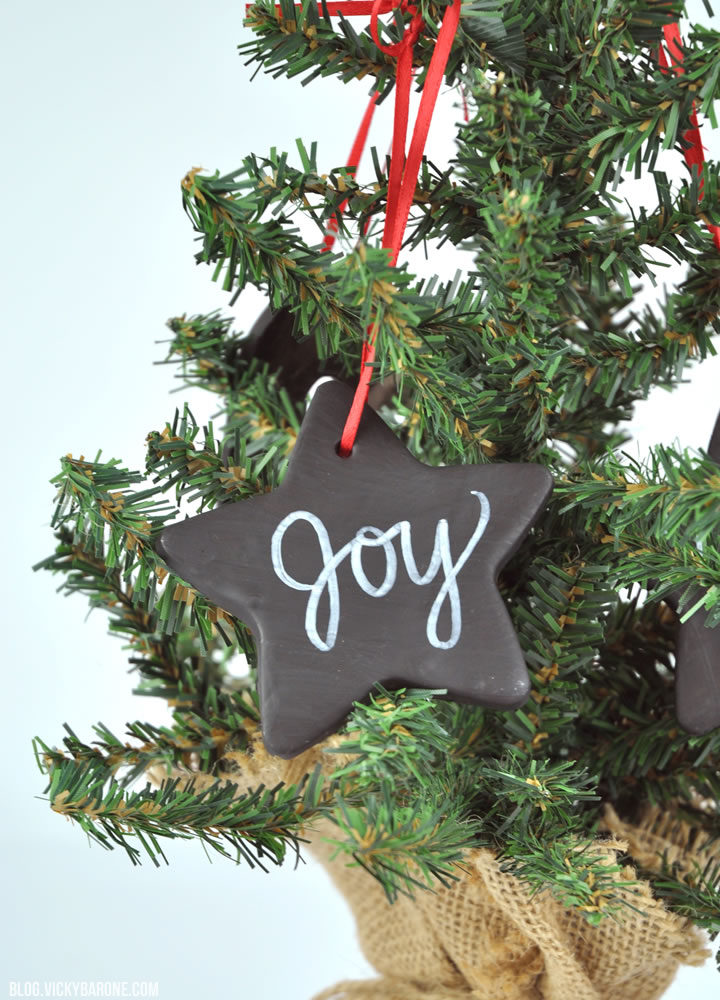
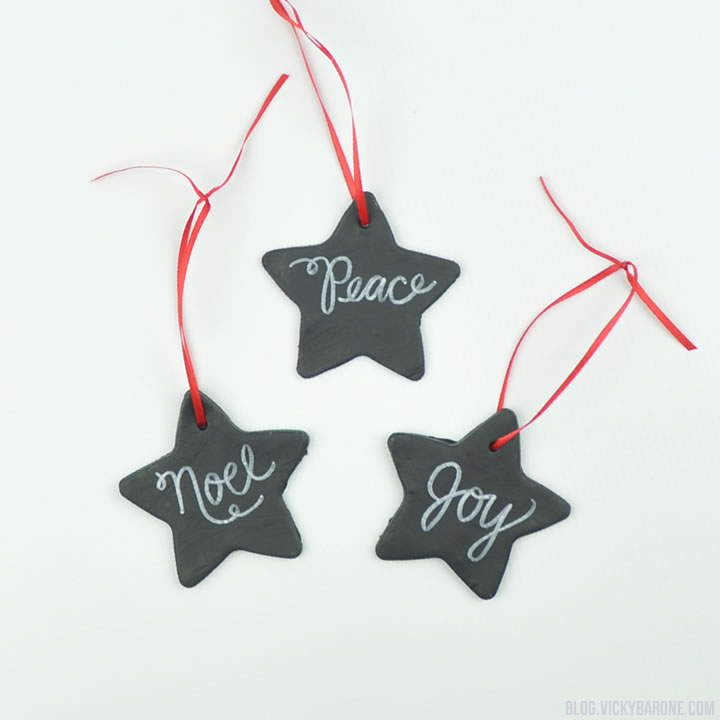
6. Decorate the ornaments with white paint pens however you’d like!
7. Tie a ribbon through the hole and hang on a tree.

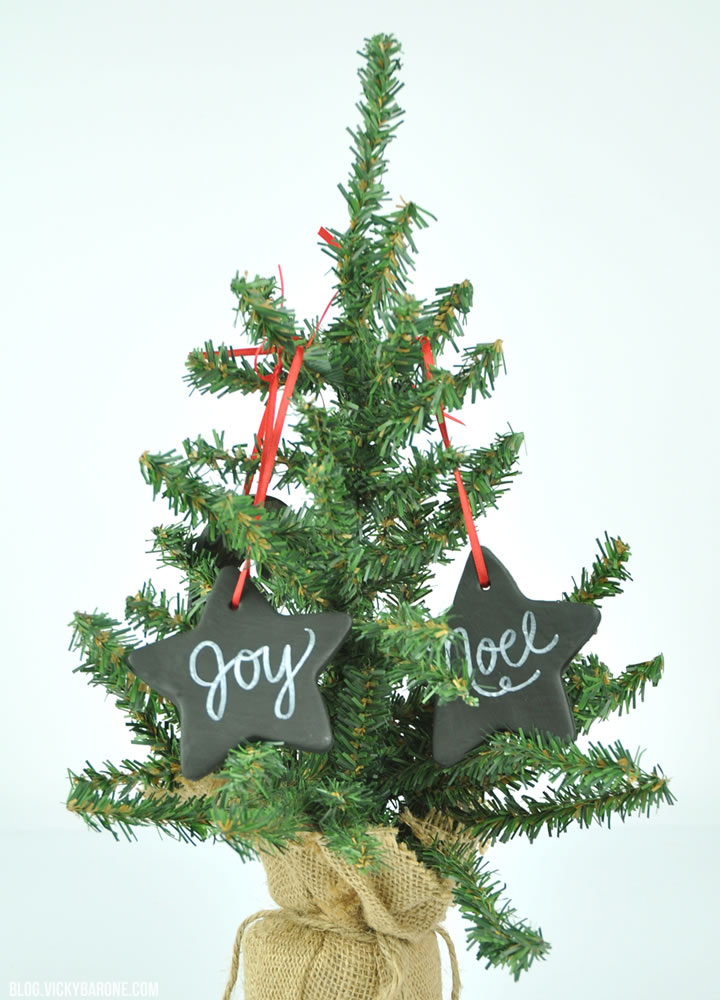
Have a wonderful weekend, everyone! Happy crafting!
P.S. Speaking of ornaments, don’t forget to order your personalized ornaments from Vicky Barone Designs by December 7, 2015 for guaranteed Christmas delivery!


3 responses to “DIY Chalkboard Ornaments”
[…] Chalkboards are great for leaving messages, such decorations are super-interactive. To make these you’ll need white polymer clay, cookie cutters, a wooden skewer, chalkboard paint, a paint brush, a white paint pen, ribbon. Roll out clay according to directions until you reach a desired thickness. Ours were a little less than 1/8 of an inch thick, but were pretty sturdy when baked. Use cookie cutters to make shapes. Remove excess clay from around cookie cutter before picking it up to reveal the shape. This will help make cleaner edges! Use a wooden skewer to create a hole in each shape. Make sure it goes all the way through. This will be where you tie ribbon to hang the ornament when it’s complete. Continue reading what to do at blog.vickybarone.com. […]
[…] (or some other round object) to create circles. (For more tips on working with clay, check out this post!) 4. Use the wooden skewer to make holes in the top of each circle. 5. Place circles on a cookie […]
[…] 11. Vicky Barone – DIY Chalkboard Ornaments […]