Get Your Free Guide to get more done with AI →
Search
DIY Projects
DIY
Holidays
Parties and Events
Kids
Things I Love
Recipes
About
Website
Shop
Category:
DIY
DIY Candy Tic Tac Toe
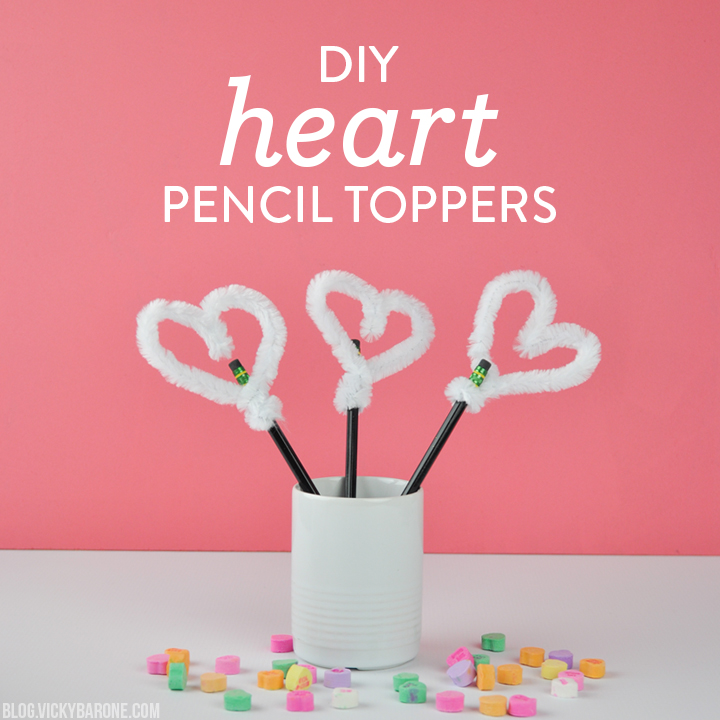
DIY Heart Pencil Toppers
DIY Lollipop Flowers
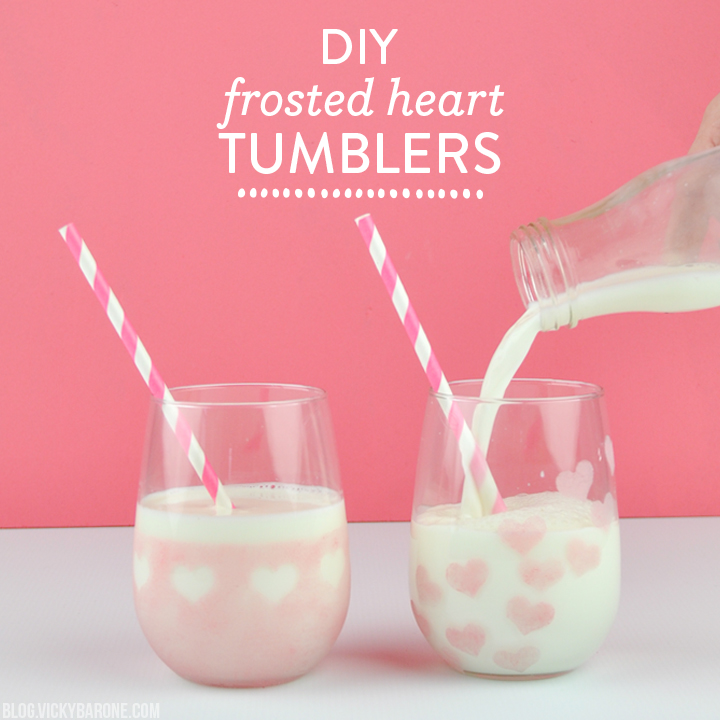
DIY Frosted Heart Tumblers
DIY Valentine’s Day Sugar Scrub Favors
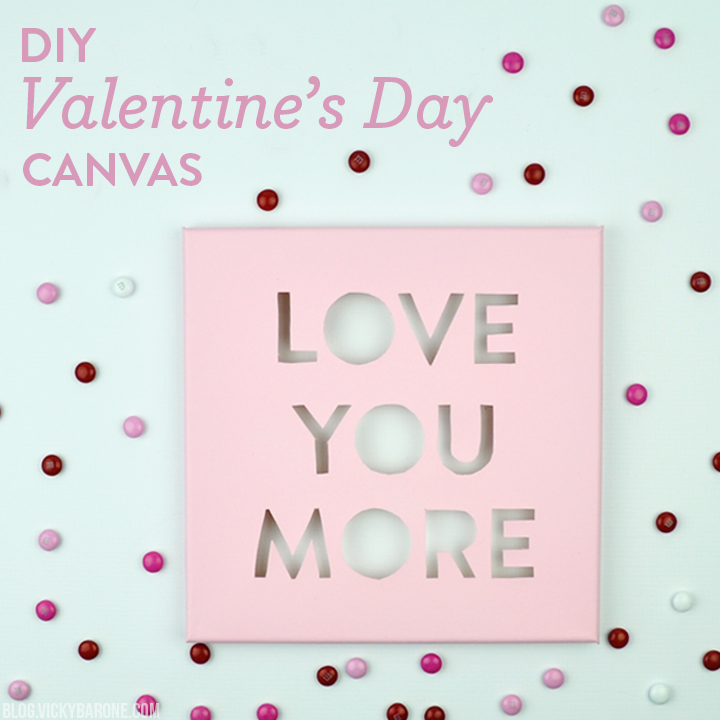
DIY Valentine’s Day Canvas
DIY Valentine’s Day Round Up
Best of 2016: Our Most Popular Blog Posts of the Year!
Previous Page
Next Page
Loading Comments...
Write a Comment...
Email (Required)
Name (Required)
Website