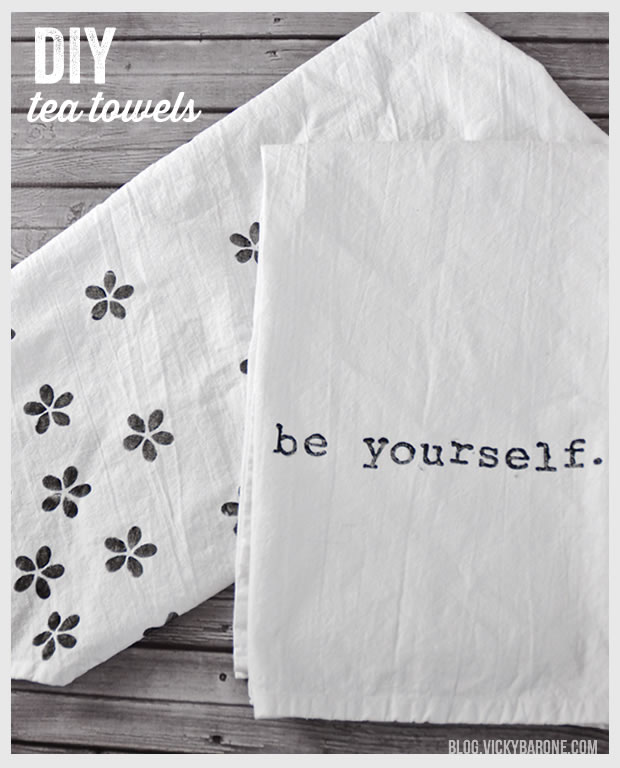
These tea towels make the perfect personalized hostess gift or even just a fun and simple rainy day activity. Create your own design or choose an inspirational phrase or quotation to decorate your tea towel and add a sweet touch to your kitchen.
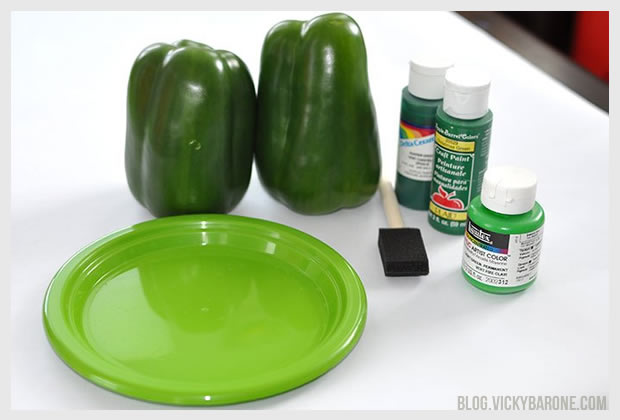
Supplies:
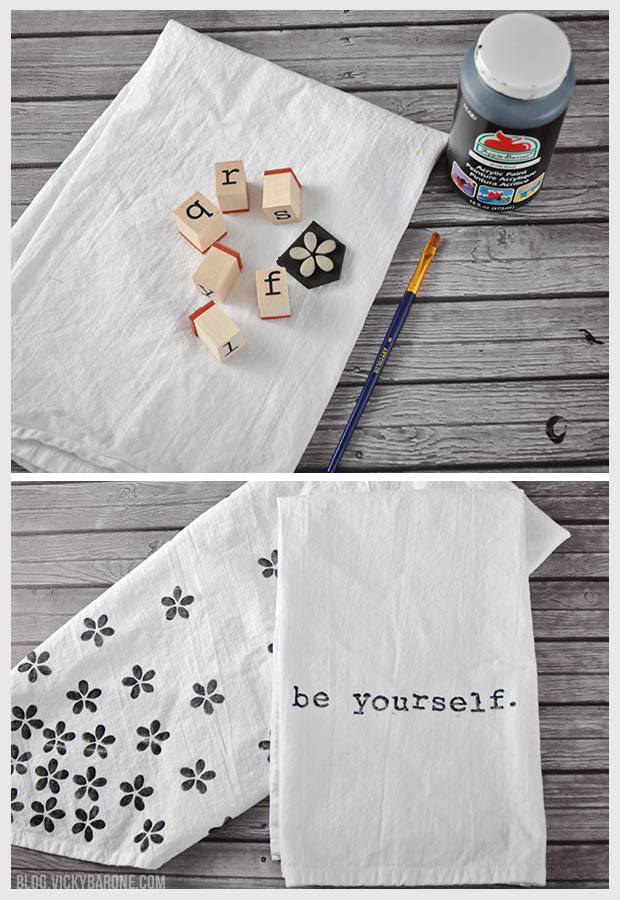
– Tea Towels
– Flower stamps or alphabet stamps
– A paint brush
– Fabric Paint (we used regular acrylic paint because we don’t plan to use these for anything other than decoration).
– Cardboard
Directions:
1. Wash and dry tea towels.
2. Arrange a tea towel over a piece of cardboard (so that any paint that may seep through does not ruin your work surface).
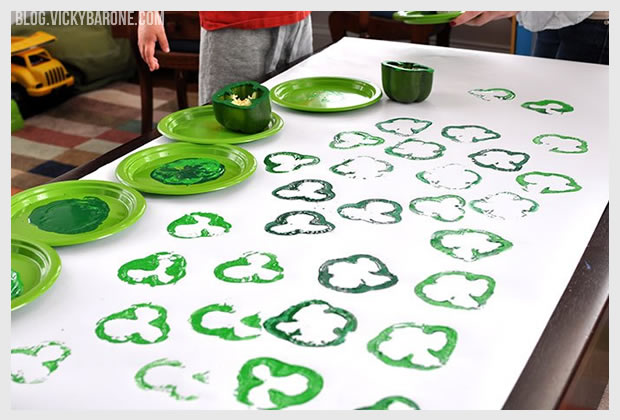
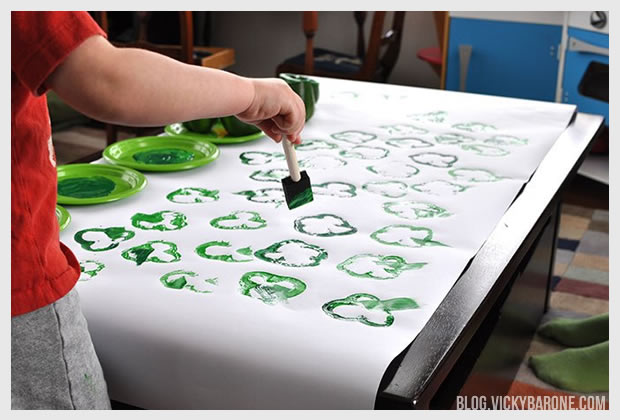
3. Using the paintbrush, paint a thin layer of paint on a stamp. Test this stamp on a paper plate or a piece of scrap fabric to see if you like the paint thickness.
4. Stamp the towel and let dry completely!

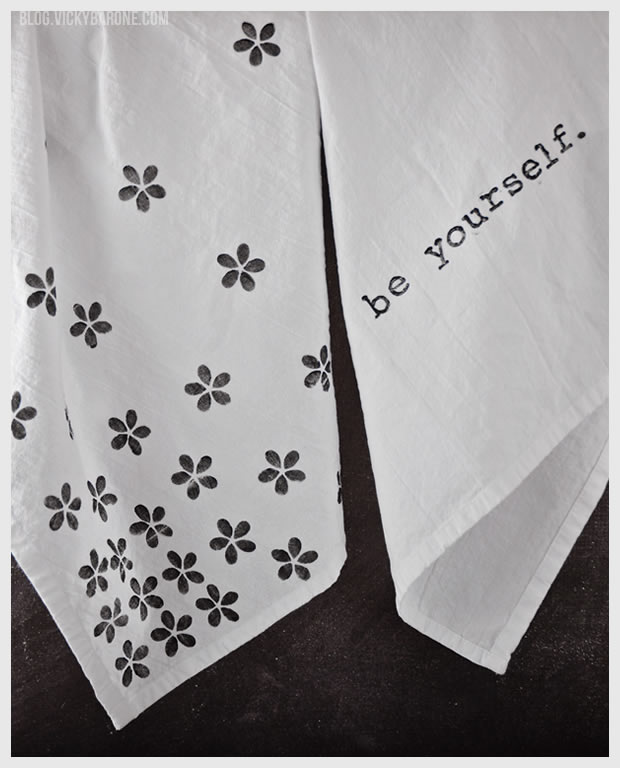
To make the “Be Yourself” tea towel, we taped off the section where we wanted the words to go and marked off where each letter would fit. We also tested it on a piece of cardstock first to see how the letters would need to be spaced out. Have fun with it! The handmade look is the best part!
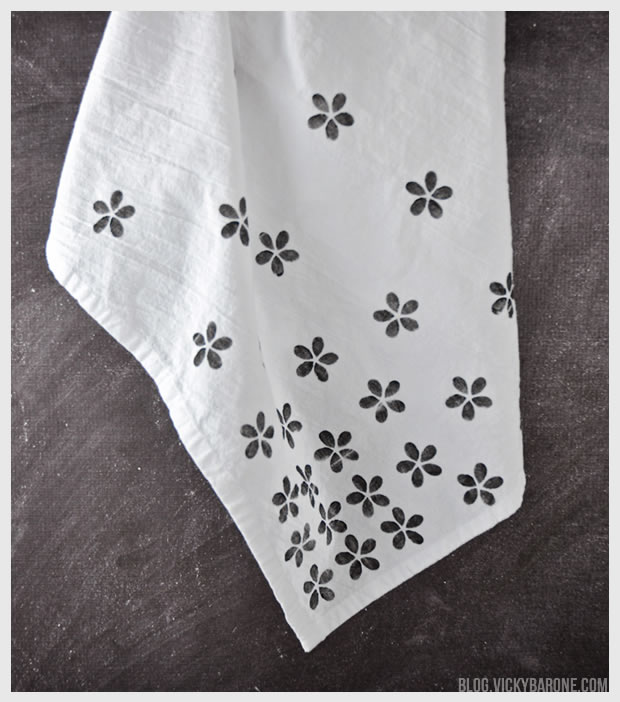
For the floral tea towel, we started the stamping at one of the corners of the towel. We stamped the flowers in a concentrated pattern in the corner and made them more spread out as we worked our way up.
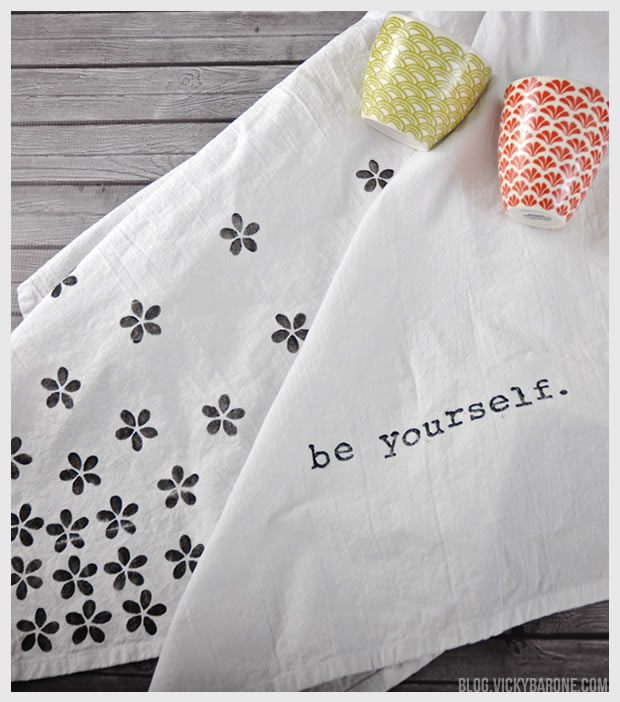
Have fun and enjoy your handmade tea towels!