Despite the gloomy weather we’re having here, we are still gearing up for the 4th of July!
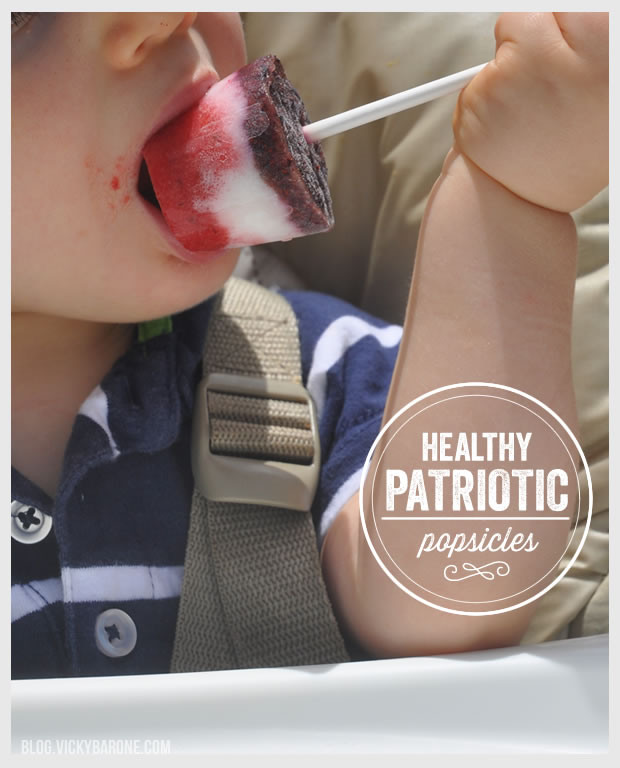
We’re hoping for sunshine tomorrow and we’re already planning to cool off with some patriotic popsicles! While store-bought popsicles are convenient, they are just water, sugar, and food coloring. By making your own popsicles, you can make them healthy and delicious. That’s just what we did with these red, white, and blue popsicles! We also made them in 2oz cups with longer sticks to make them easier for the kids to eat!

Ingredients (to make approximately 12-15 popsicles):
8oz pureed strawberries
8oz pureed blueberries
6oz vanilla yogurt
2oz milk
We used organic fruit, non-fat greek yogurt, and 2% milk, but you can use whatever you and your family enjoy! We made ours as simple as we could since we’ll be sharing them with the little ones, but you can add sweeteners like honey or agave to your yogurt and milk layer to make it even sweeter.
For the popsicle forms, we used 2oz plastic party cups (aka plastic shot glasses) and lollipop sticks. You can also use Dixie cups and popsicle sticks or any other popsicle form you might have from the Dollar store, etc.
What to do:
1. Using a blender (we used a baby food maker!), puree your fresh fruit.
2. Mix together yogurt and milk.
3. In whatever order you’d like, pour a layer of strawberry puree, yogurt, and blueberry puree into each cup (each layer is thick enough that you won’t even need to freeze each one individually so that they don’t run together like fruit juice would!)
4. Place a sheet of plastic wrap over each cup and wrap tightly
5. Using a sharp knife, make a small slit in the center of the plastic wrap and insert the lollipop stick (the plastic wrap will help the lollipop stick stand straight up until the popsicle freezes).
6. Freeze!
7. To remove from the plastic cup, place each popsicle in a bowl of warm water for 15 seconds (if you used a paper cup, you can just rip it and peel it away!)
And that’s it! Now you and your little ones can enjoy your healthy popsicles!
Check out our Popsicle Pinterest board for more ideas!
Happy Independence Day!