Categories
DIY Holidays Kids Parties and Events

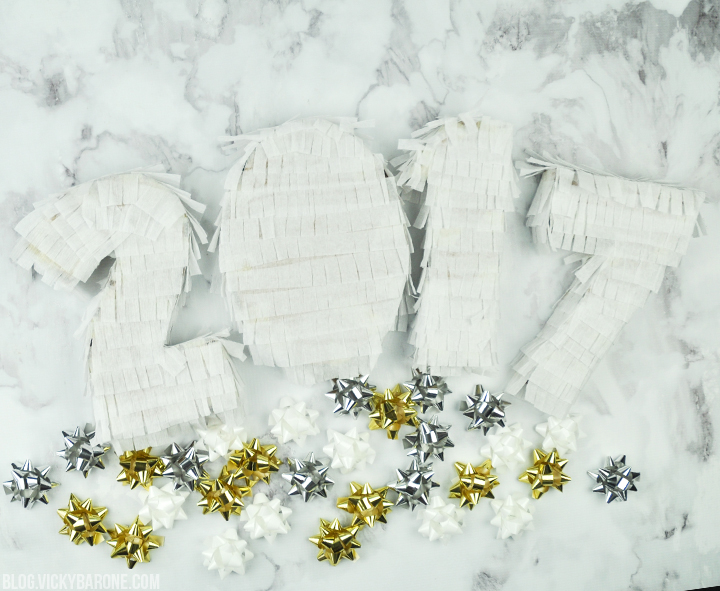
DIY New Year’s Eve Piñatas

New Year’s Eve is just a few days away and we are busy decorating for the festivities! Today we’re sharing a DIY piñata project that’s perfect for candy or simply decor. Here’s how…
DIY New Year's Eve Piñatas | Vicky Barone

Supplies: cardboard, scissors, masking tape, white crepe paper, and Elmer’s glue.

Directions:
1. Cut out the numbers 2017 twice from cardboard.
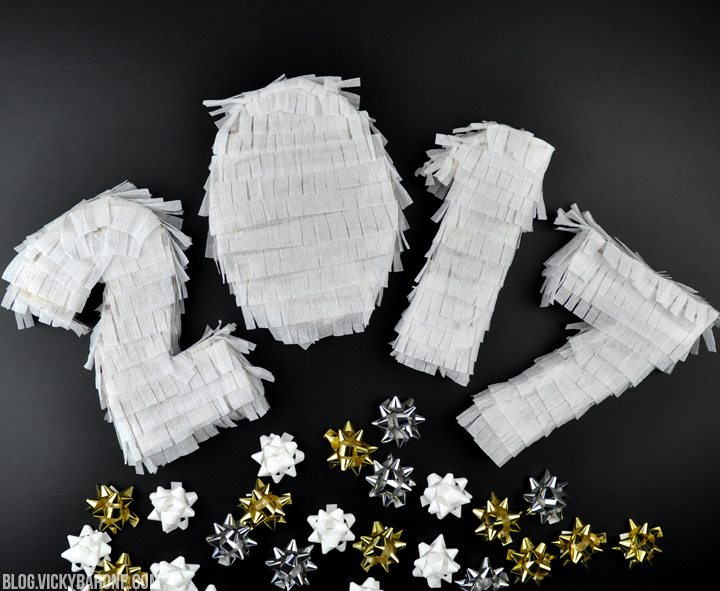
2. With the remaining cardboard, cut out 1.5″ strips. The strips will go between the numbers to create the 3D shape.
3. Stack two matching numbers on top of one another.
4. Bend cardboard strips around the outside shape of the numbers and tape together.
5. If you want to fill these with candy, cut a hole in the top and pour candy inside before continuing.
6. Cut a length of crepe paper and fold accordion-style.
7. Cut fringe into the crepe paper and unfold.
8. Starting from the bottom of a piñata shape, glue strips of the fringed crepe paper, stacking them on top of one another as you move up the shape.
9. Hang from strings or use to decorate in any way you’d like!
DIY New Year's Eve Piñatas | Vicky Barone

Wishing you all a very happy, healthy, and safe new year!

Categories
DIY Holidays Parties and Events

DIY New Year’s Eve Canvas

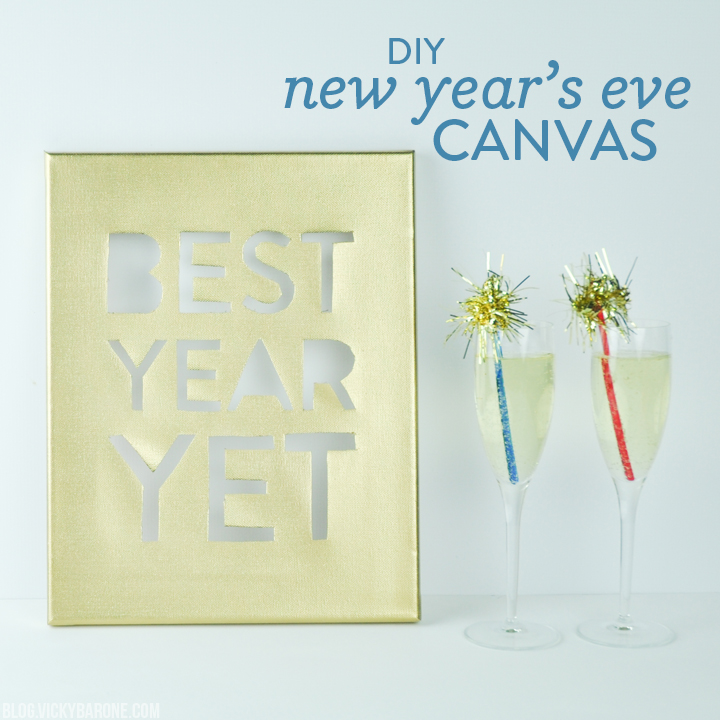
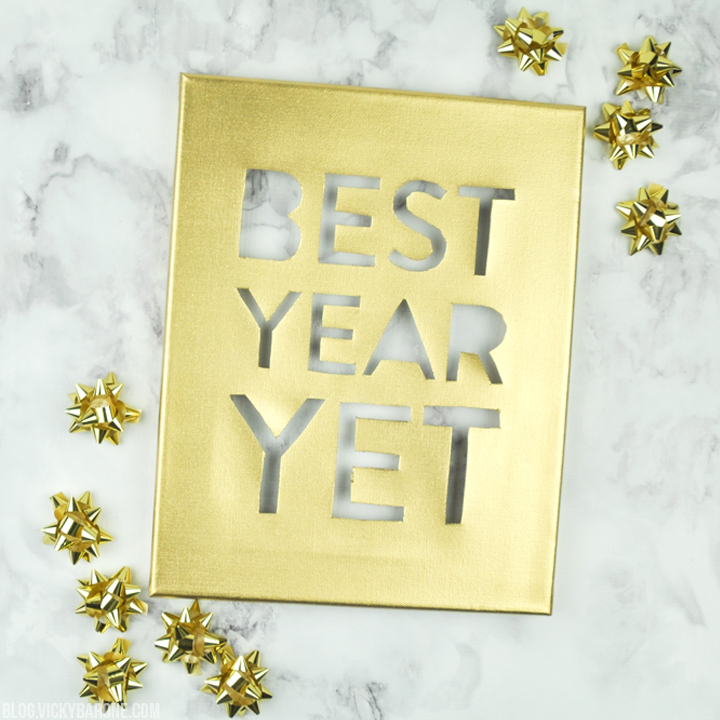
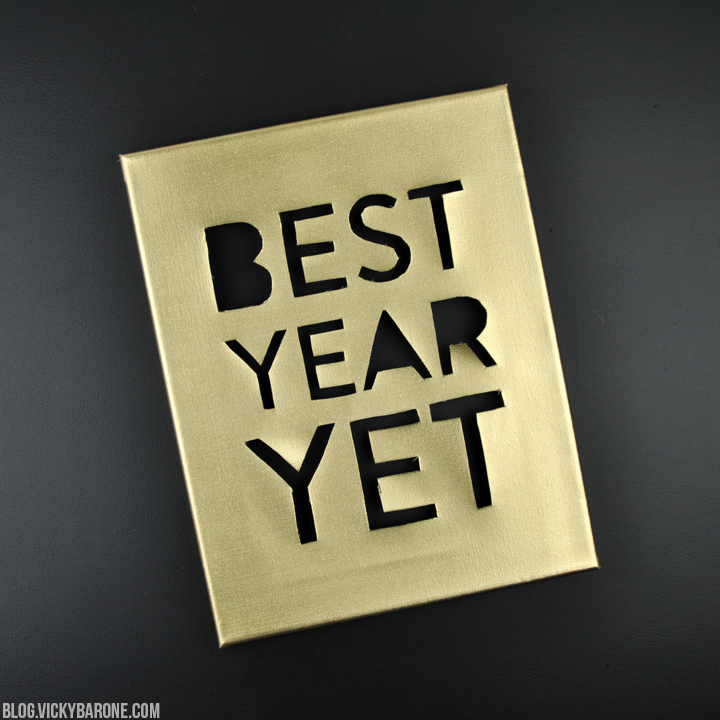
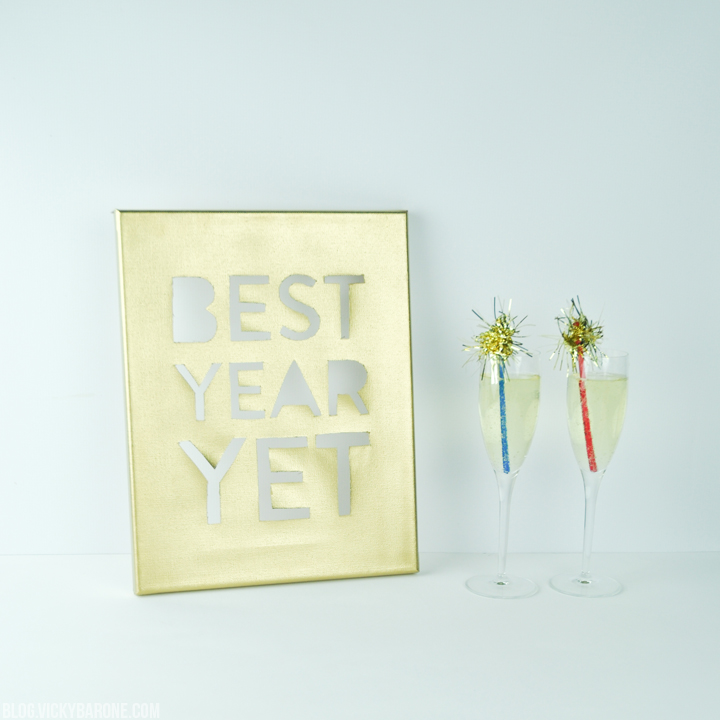
We think 2017 is going to be our best year yet! Here’s how to make a gold cut-out canvas to display at your New Year’s Eve party to celebrate that sentiment…

DIY New Year's Eve Canvas | Best Year Yet | Vicky Barone

Supplies: a canvas, an X-acto knife, a printed quote, self-healing mat, and gold spray paint.

Directions:
1. Create a design or quote you’d like on your canvas and print it backwards (this will create a stencil that you will use on the back of the canvas!).
2. Place the canvas on a self-healing mat, face down.
3. Tape the stencil to the inside of the canvas.
4. Use the X-acto knife to cut away the letters or design (you will be cutting through the paper stencil and the canvas)
5. Neaten up the canvas with an X-acto knife or small scissors.
6. In a well-ventilated area (preferably outside!) cover the canvas with gold spray paint and let dry.
7. Decorate with your new canvas and celebrate the new year!

DIY New Year's Eve Canvas | Best Year Yet | Vicky Barone DIY New Year's Eve Canvas | Best Year Yet | Vicky Barone

For even more NYE ideas, click here!

Categories
DIY Holidays Parties and Events

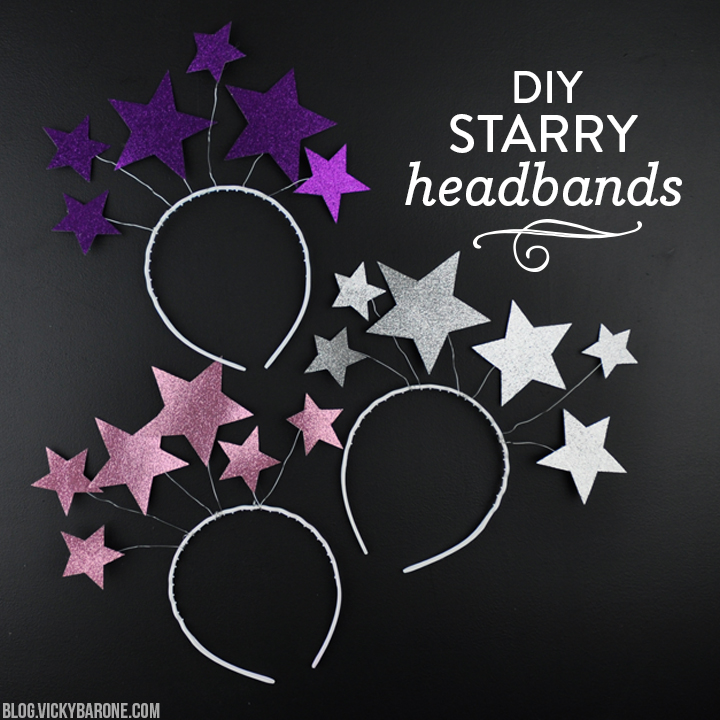
DIY Starry Headbands

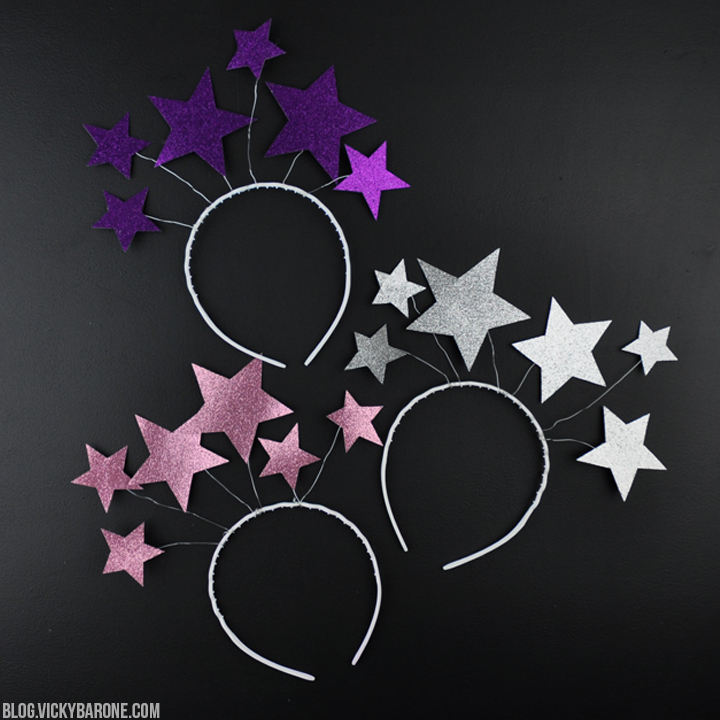
It’s not even Christmas yet, but we are already getting so excited for New Year’s Eve! To celebrate, we created these sparkly headbands to wear while you watch the ball drop. Here’s how to make your own…

DIY Starry Headbands | Vicky Barone

Supplies: plastic headbands, wire, scissors, glittery paper, and hot glue.

Directions:
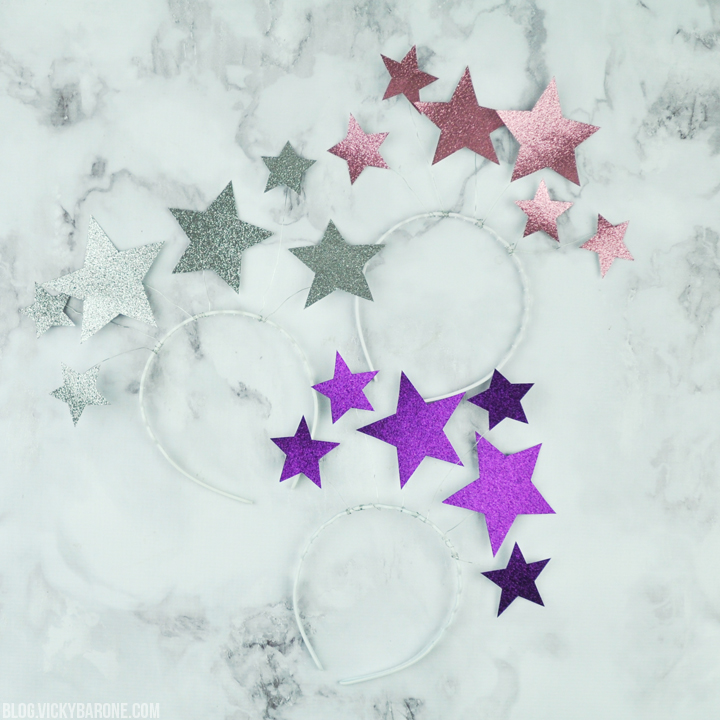
1. Cut different sized star shapes out of glitter paper.
2. Cut a length of wire and roll the end of it into a flat coil (this will give more surface area for the hot glue to stick to).
3. Attach a star to the coil using hot glue. Repeat until all of the stars are glued to pieces of wire.
4. Wrap the other end of the wire to the headband until the star is at the desired height.
5. Repeat with the rest of the stars until the headband is full.
6. Wear and enjoy!

DIY Starry Headbands | Vicky Barone DIY Starry Headbands | Vicky Barone

What are your plans for ringing in the new year? We’d love to hear!

Categories
DIY Holidays Kids Parties and Events

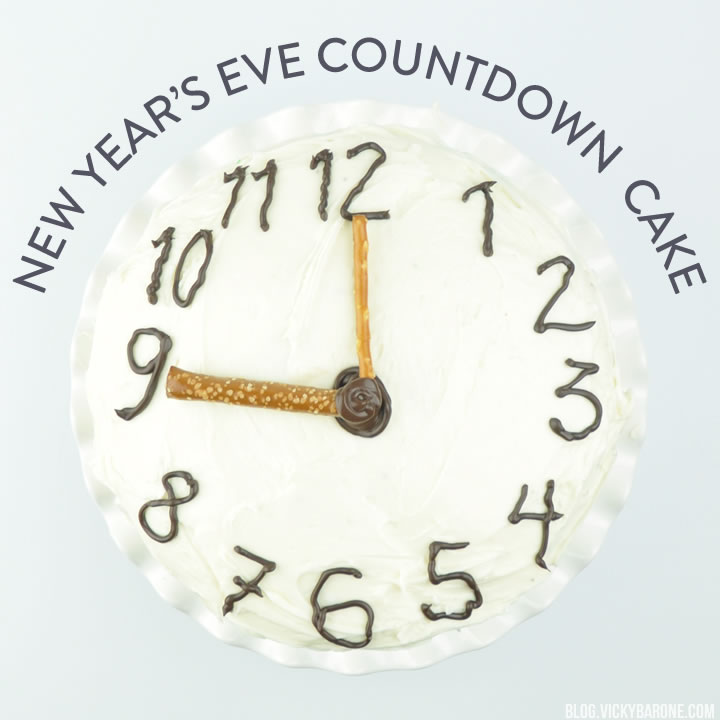
New Year’s Eve Countdown Cake

Tomorrow is New Year’s Eve! Hooray! Today we’re sharing a delicious cake idea your kids will LOVE!

3

Count down to midnight with a Countdown Cake!

1

First, bake a cake and frost it with white icing. Next, melt chocolate candy melts and spoon them into a Ziploc bag. Cut the corner of the Ziploc bag and pipe out the numbers on the cake to create a clock!

2

Create a circle in the center of the cake with chocolate and place two pretzel sticks (one thin and one thick) to create the hour hand and minute hand. Cover with more chocolate to hold in place OR spin the pretzels throughout the night to reflect the time!

5

Enjoy your cake while you count down to the New Year!

We hope everyone has a safe and happy New Year! See you in 2016 😉

Categories
DIY Holidays Kids Parties and Events

DIY Mini Party Hat Headbands

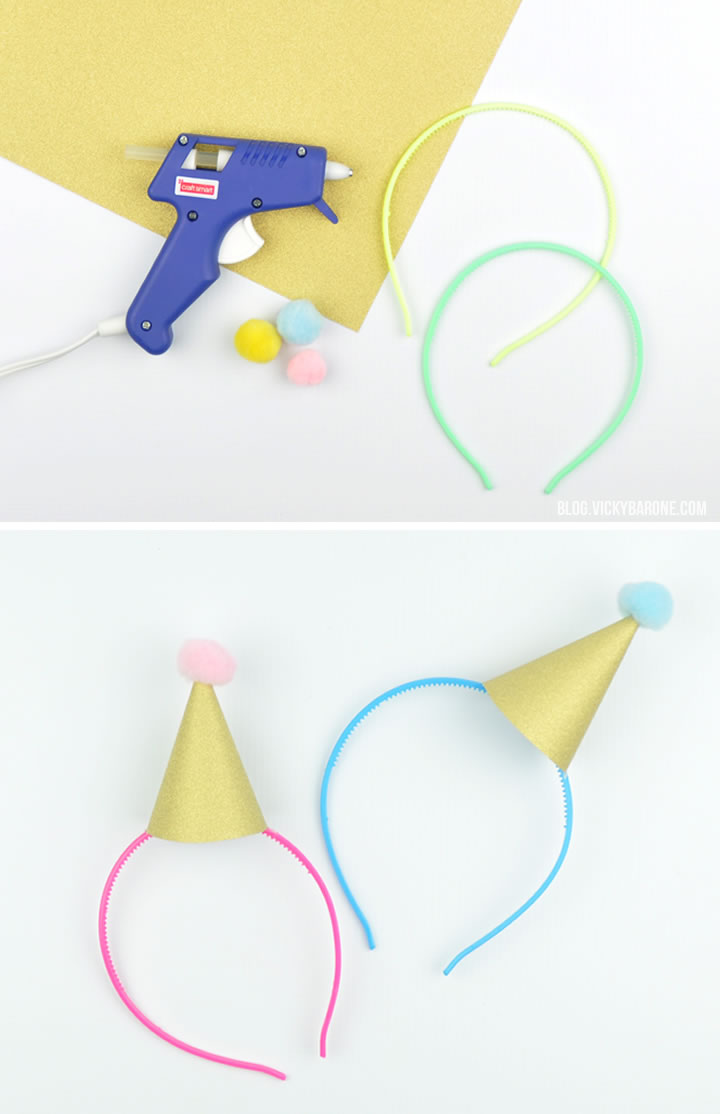
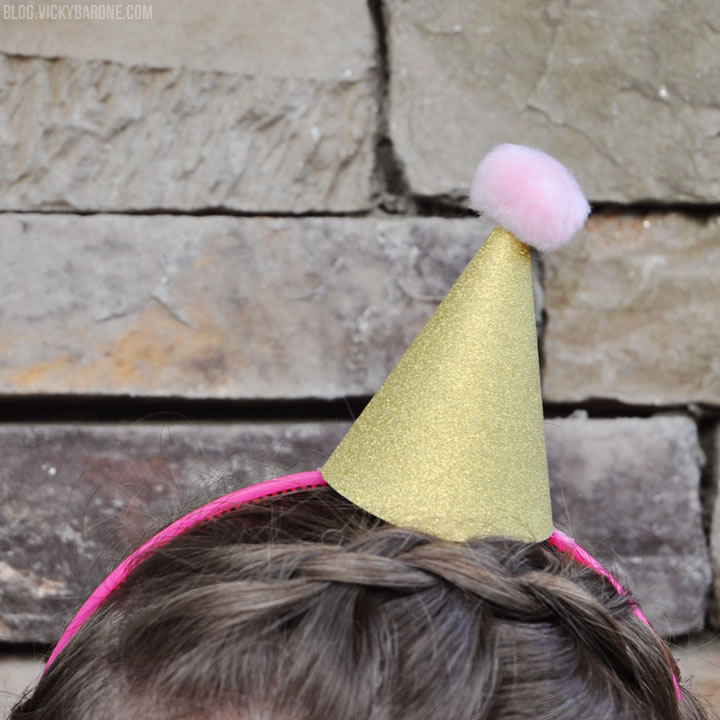
Here’s a festive DIY for your New Year’s Eve party! These glittery mini party hats are super easy to make and are sure to delight your guests. Here’s how to make your own…

DIY Mini Party Hat Headbands | Vicky Barone

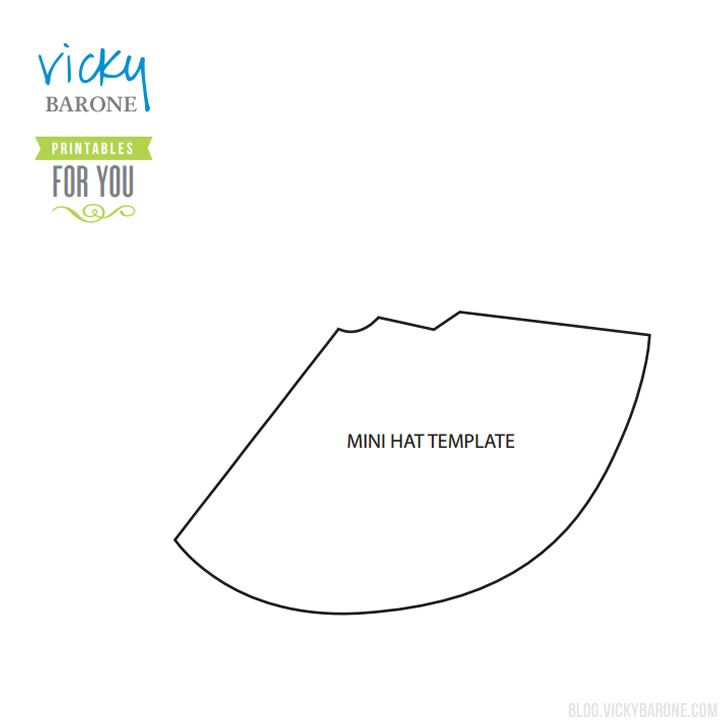
Supplies: plastic headbands, glittery scrapbook paper, pom poms, scissors, hot glue, and a mini party hat template (click on the image below to download the FREE template!)

DIY Happy New Year Glitter Garland | Vicky Barone

Directions:
1. Print out the template, cut it out, and trace it onto the glitter paper.
2. Cut the shape out of the glitter paper.
3. Put a line of hot glue on the tab of the party hat template, roll the paper into a cone, and press the tab onto the underneath of the other side. Hold together until the glue cools.
4. Attach the hat to the headband using hot glue.
5. Put a dot of hot glue on the top of the hat and add a pom pom.

DIY Mini Party Hat Headbands | Vicky Barone

That’s it! Set them out for your guests to choose from and have a happy New Year!

DIY Mini Party Hat Headbands | Vicky Barone

P.S. Add some faces to your hats with Places for Faces! Use the code MERRY2015 for 50% off templates and add some personality to your party!

Categories
DIY Holidays Parties and Events

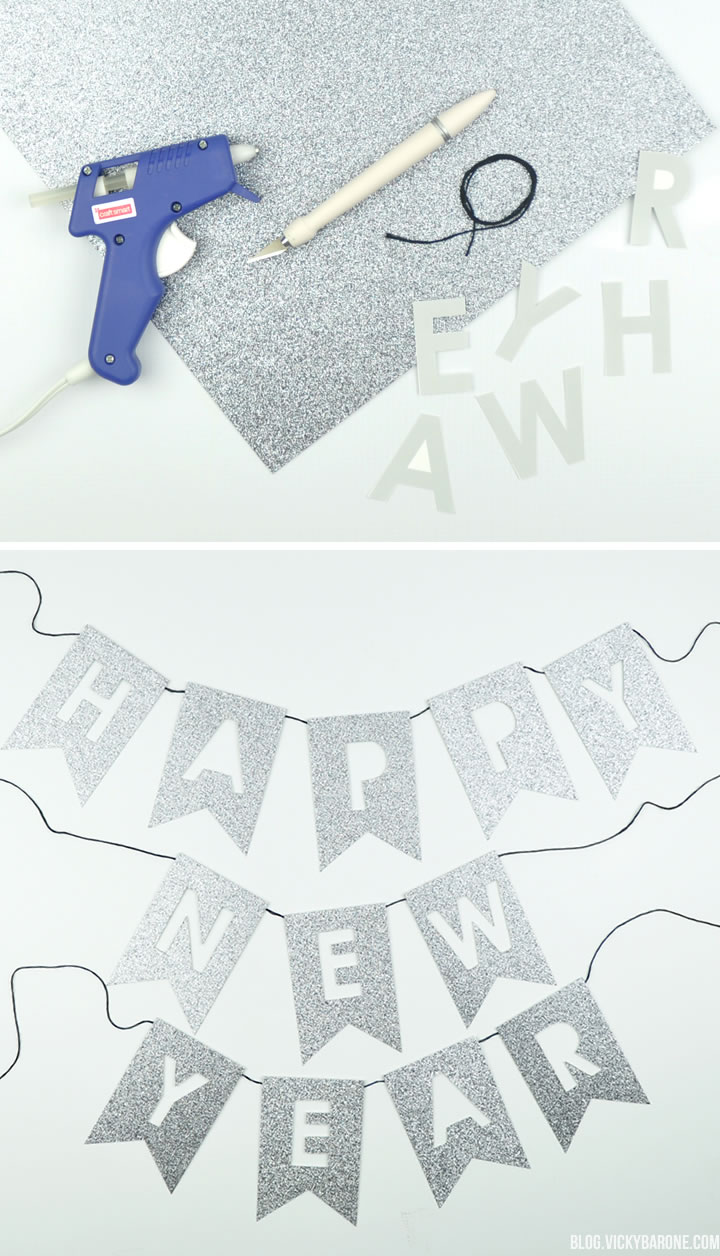
DIY Happy New Year Glitter Garland

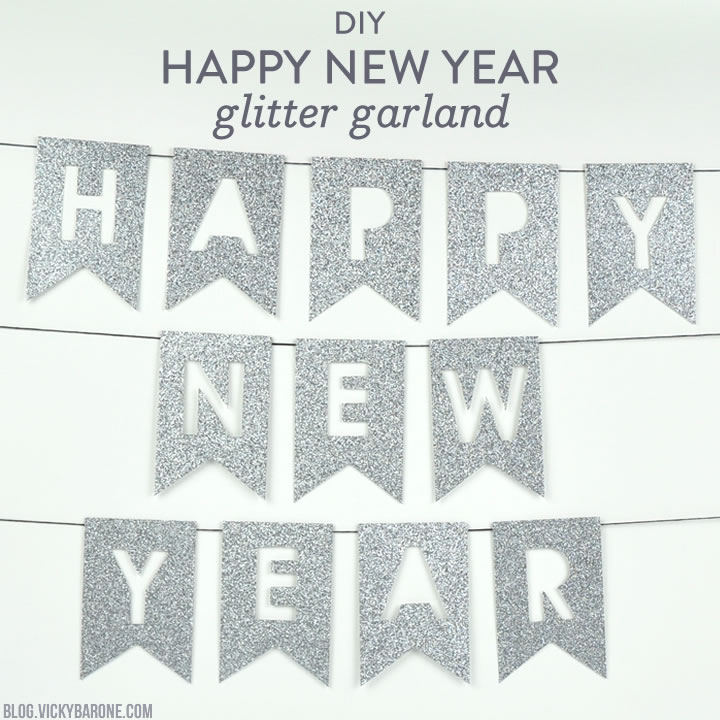
New Year’s Eve is just three days away! If you’re looking for festive ways to decorate, we have the perfect DIY garland for you!

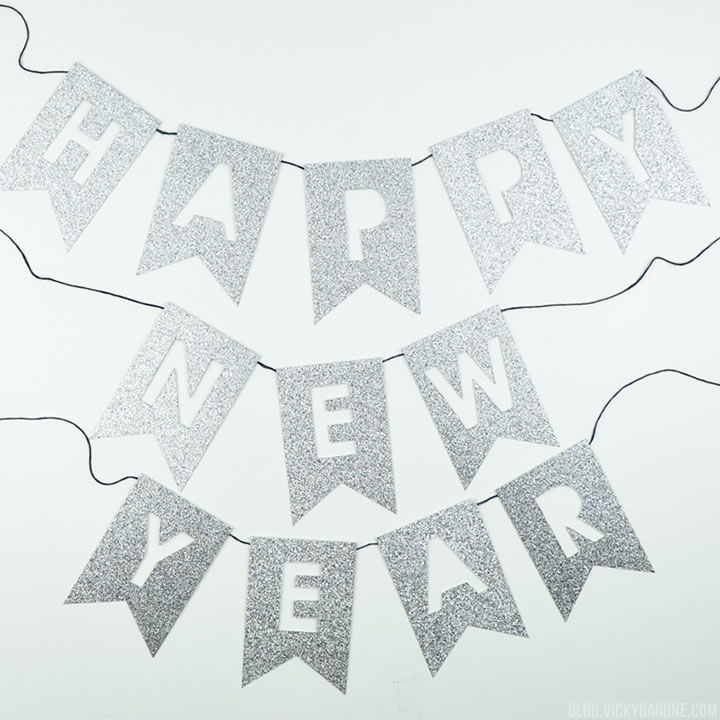
DIY Happy New Year Glitter Garland | Vicky Barone

Supplies: glitter scrapbook paper, a paper cutter or scissors, an X-acto knife, a cutting mat, letter stencils, string, and hot glue.

Directions:
1. Using a paper cutter or scissors, cut glitter paper into rectangles. Ours were about 3.5×5″
2. On a cutting mat, use the X-acto knife to cut out triangles from the base of each rectangle to create flags.
3. Use stencils and the X-acto knife to cut out letters from each flag. We printed our letters and cut them out of card stock to create our own stencils in the font we liked.
4. Use hot glue to attach string to the back of each flag.
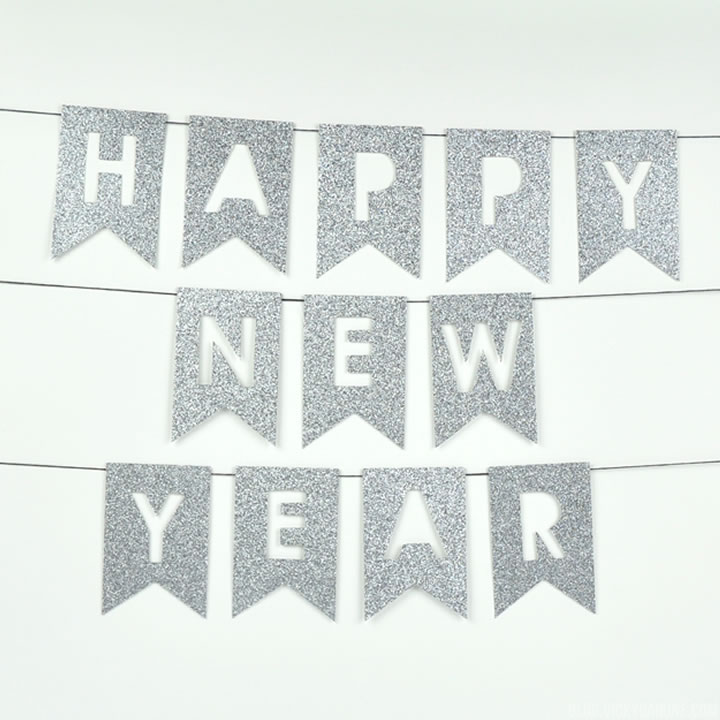
5. Hang your garland and enjoy!

DIY Happy New Year Glitter Garland | Vicky Barone

DIY Happy New Year Glitter Garland | Vicky Barone

How will you celebrate the New Year?

P.S. Places for Faces is offering a holiday coupon for 50% off templates! You can make personalized cupcake toppers, drink stirrers, centerpieces, and so much more. Use the code MERRY2015 at checkout and add some personality to your New Year’s Eve Party!

Categories
DIY Holidays Kids Parties and Events

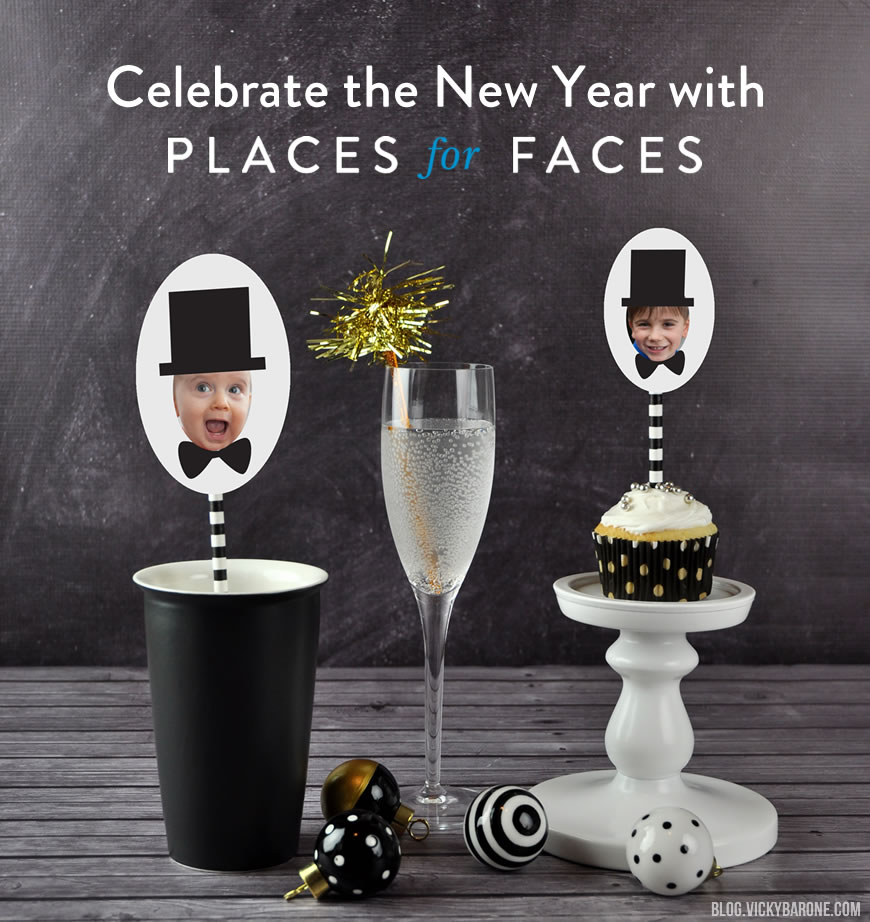
Celebrate the New Year with Places for Faces!

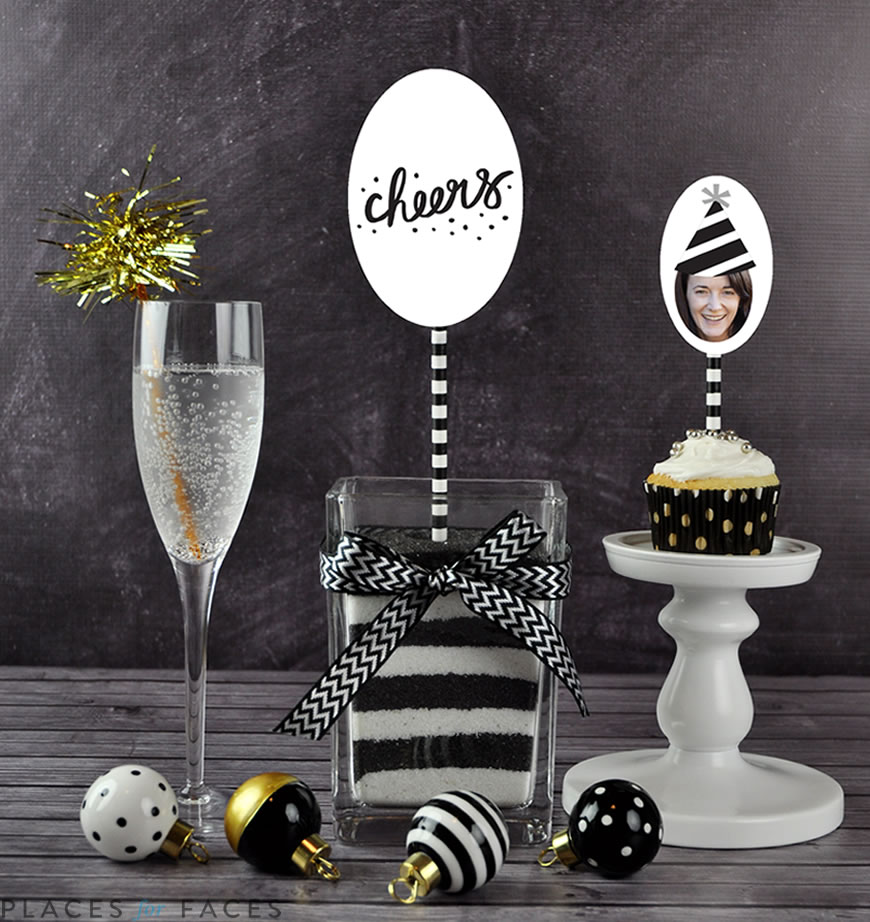
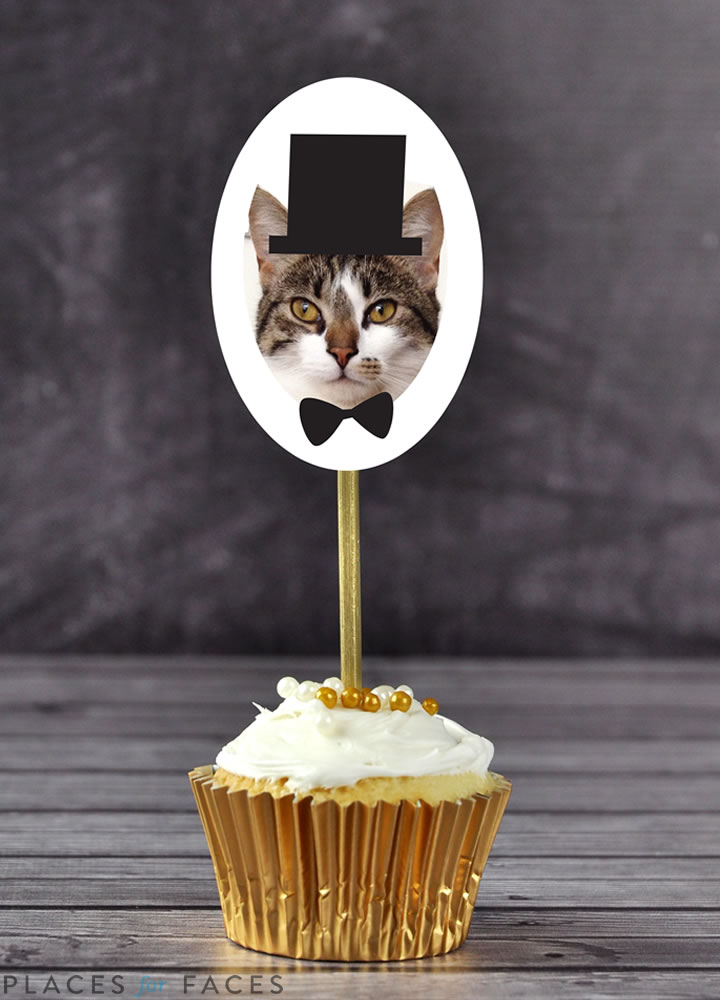
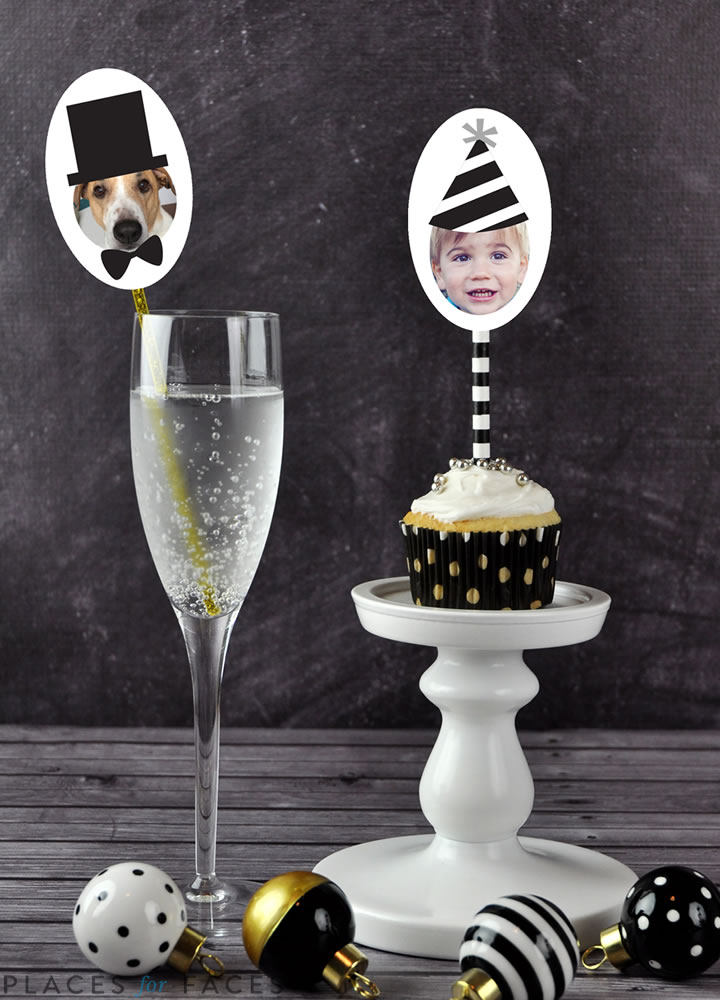
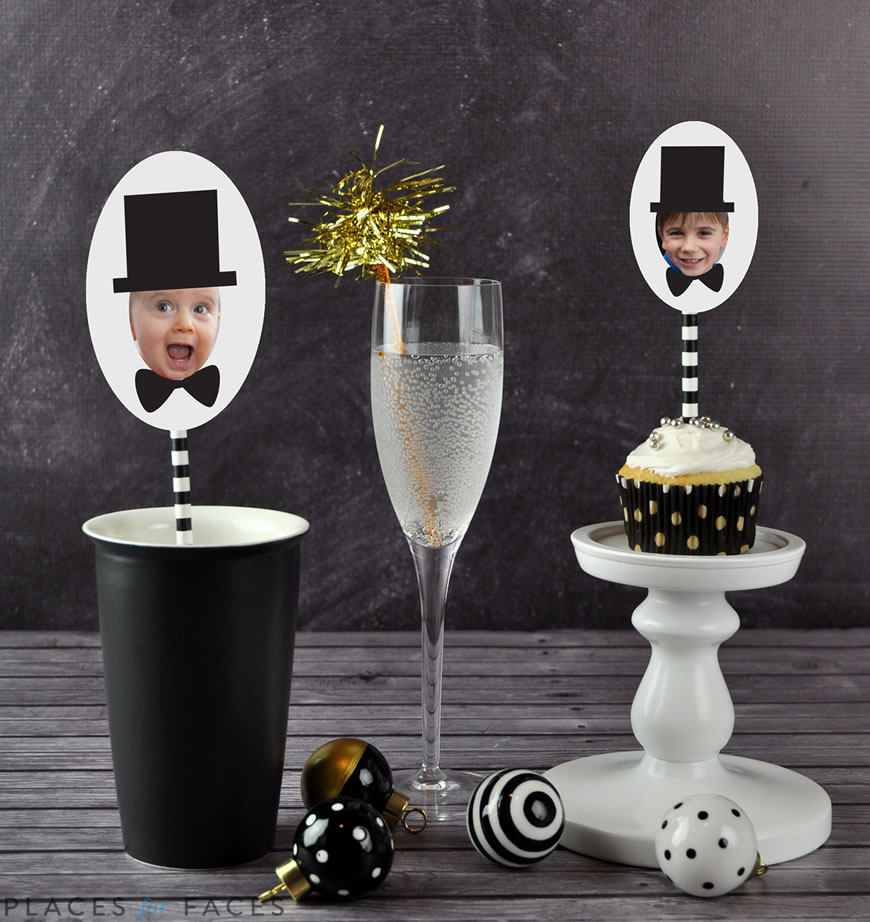
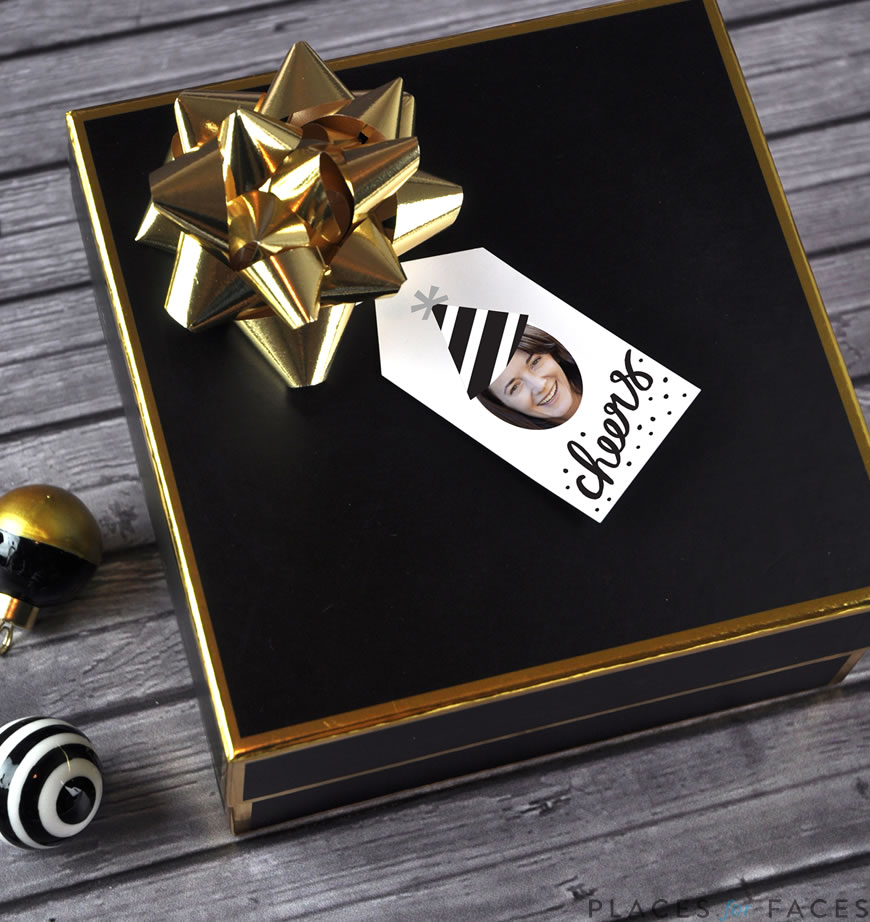
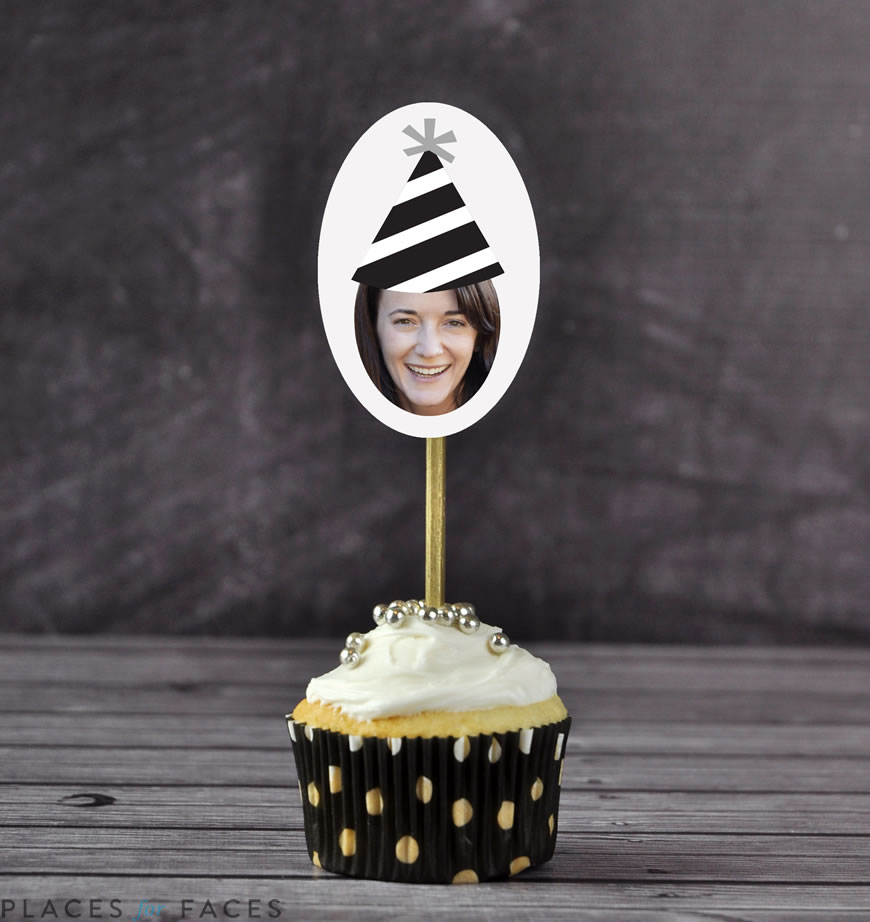
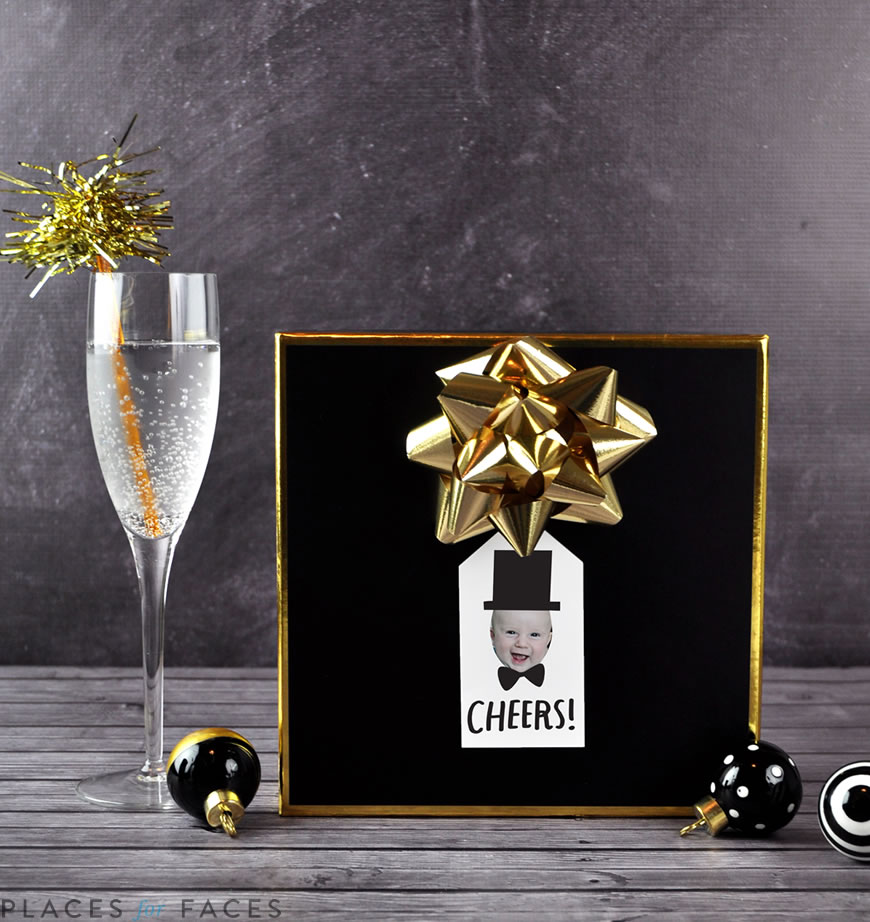
Personalize your New Year’s Eve party with Places for Faces! Make gift tags, personalized swizzle sticks, cupcake toppers, centerpieces, and so much more. The best part is, the holiday coupon code for all our readers is still available! Use the code MERRY2015 at checkout to save 50% on templates. Don’t forget, you can print each template as many times as you’d like! Scroll through to see how many ways you can use Places for Faces to add some personality to your party…

Happy New Year from Places for Faces | personalize your party with gift tags, cupcake toppers, swizzle sticks, personalized straws, and more! Happy New Year from Places for Faces | personalize your party with gift tags, cupcake toppers, swizzle sticks, personalized straws, and more! Happy New Year from Places for Faces | personalize your party with gift tags, cupcake toppers, swizzle sticks, personalized straws, and more! Happy New Year from Places for Faces | personalize your party with gift tags, cupcake toppers, swizzle sticks, personalized straws, and more! Happy New Year from Places for Faces | personalize your party with gift tags, cupcake toppers, swizzle sticks, personalized straws, and more! Happy New Year from Places for Faces | personalize your party with gift tags, cupcake toppers, swizzle sticks, personalized straws, and more! Happy New Year from Places for Faces | personalize your party with gift tags, cupcake toppers, swizzle sticks, personalized straws, and more! Happy New Year from Places for Faces | personalize your party with gift tags, cupcake toppers, swizzle sticks, personalized straws, and more! Happy New Year from Places for Faces | personalize your party with gift tags, cupcake toppers, swizzle sticks, personalized straws, and more! Happy New Year from Places for Faces | personalize your party with gift tags, cupcake toppers, swizzle sticks, personalized straws, and more!

Follow @placesforfaces on Instagram for updates, deals, and lots of holiday inspiration. Use #placesforfaces and #placesforfacesNYE for a chance to be featured on our social media sites! We’re on Facebook too! “Like” Places for Faces on Facebook to stay in the loop on upcoming specials and new stickers and templates! We can’t wait to see your personalized Places for Faces creations!

We hope everyone has a safe and happy New Year. See you in 2016!

Categories
DIY Parties and Events

DIY Chalkboard Wine Glasses

We have seen these chalkboard-dipped wine glasses all over Pinterest for years now so it’s about time we tried them out! One thing that held us back was the thought of potentially ruining perfectly good wine glasses, but we have a solution! The glasses we used are from the Dollar Tree! Lots of dollar stores have great glassware to choose from that’s perfect for crafts like this. Target even has some inexpensive stemware to choose from!

DIY Chalkboard Wine Glasses | Vicky Barone

This DIY could not be simpler, and it’s an awesome way to save your glass during a dinner party or get together! Here’s how to make your own:

DIY Chalkboard Wine Glasses | Vicky Barone

Supplies: wine glasses, chalkboard paint, aluminum foil, a paint brush, and chalk.

Directions:
1. Make sure your glasses are clean and dust-free. Use rubbing alcohol to make them squeaky clean and ready for paint!
2. Open your can of chalkboard paint and give it a good stir.
3. Lay out a piece of aluminum foil to rest the painted glasses on. You can also use wax paper or newspaper, but we found that the paint stuck to those surfaces and had to be picked off later. They peeled right off the aluminum foil though with no trouble at all!
4. Dip the base of a wine glass into the chalkboard paint container.
5. Tap the base of the glass on the insides of the paint can in a back and forth motion to shake off the excess paint.
6. Use the paint brush to clean off the bottom of the glass and remove and drips.
7. Set the glass down on the aluminum foil and move on to the next glass!
8. Let the glasses dry overnight. While they’re drying, if you see that the paint is puddling, just simply move each glass to a new spot on the aluminum foil.

DIY Chalkboard Wine Glasses | Vicky Barone

Set the glasses out for your guests with a bowl full of chalk and they’ll be good to go. These glasses would be perfect for Christmas dinner or even New Year’s Eve!

DIY Chalkboard Wine Glasses | Vicky Barone

We hope everyone has a wonderful holiday and safe travels to those of you visiting friends and family!