Categories
Holidays Parties and Events Recipes Things I Love

18 Patriotic Desserts for the 4th of July

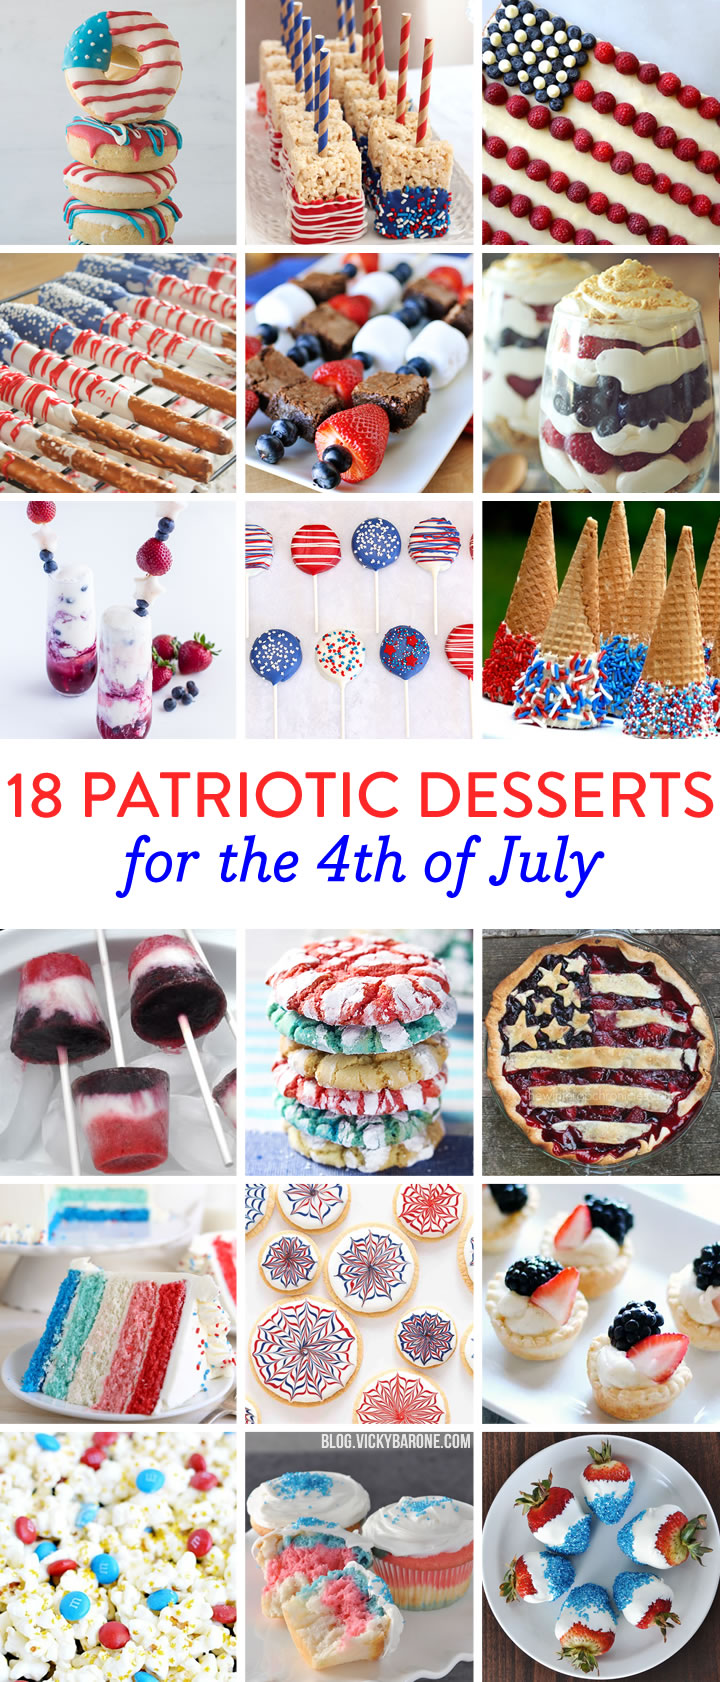
Fourth of July Weekend is here! To celebrate, we collected 18 delicious red white and blue desserts from across the web. Don’t they all look amazing?!

Click on the links below to see each recipe. We hope everyone has a fun, safe, and happy weekend!

18 Patriotic Desserts for the 4th of July | Vicky Barone

1. Donuts | 2. Rice Krispie Treats | 3. Cookie Cake
4. Pretzels | 5. Brownie Kebabs | 6. Trifle
7. Margarita Floats | 8. Oreo Pops | 9. Ice Cream Cones

10. Yogurt Berry Popsicles | 11. Crinkle Cookies | 12. Pie
13. Ombre Cake | 14. Fireworks Cookies | 15. Fruit Tart Pies
16. Popcorn | 17. Marbled Cupcakes | 18. Strawberries


Categories
DIY Holidays Parties and Events

Red White & Blue Table Runner

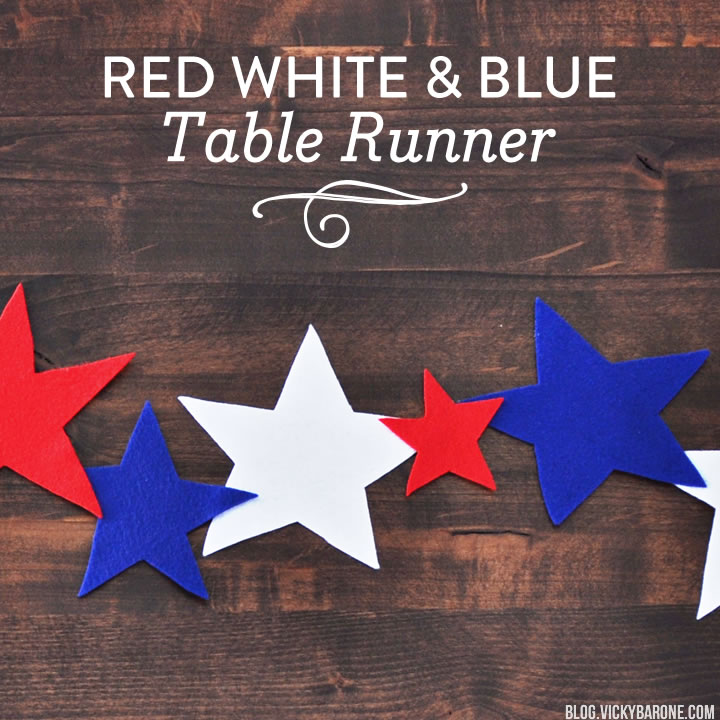
If you’re looking for just a little splash of red white and blue for your 4th of July festivities, you’ve come to the right place. Today we’re sharing a super simple, no-sew table runner that you can make in under 10 minutes! Read on to see how…

Red White and Blue Felt Star No Sew Table Runner | Vicky Barone

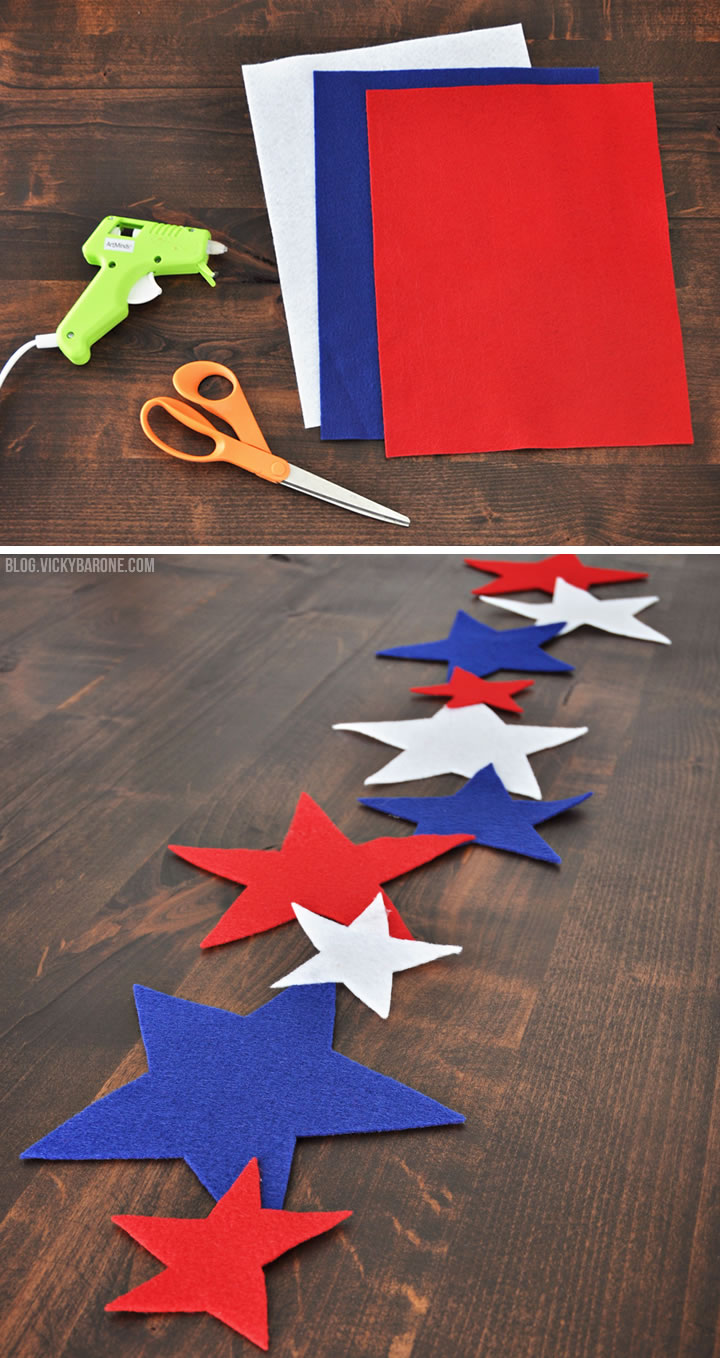
Supplies: felt, fabric scissors, and hot glue.

Directions:
1. Cut stars in varying sizes. We free-handed our stars to save time and give them a whimsical look, but you can also print star shapes on paper and trace them onto the felt before cutting.
2. Line up the stars on a table, overlapping the points slightly. When you like the orientation and pattern, add a dot of hot glue to each place where the stars touch.
3. Place your finished table runner across a picnic table, a bar cart, a buffet table, or a mantle! Anywhere you’d like to spice up the decor.

Red White and Blue Table Runner | Vicky Barone

Any fun plans for the 4th of July? We’d love to hear them!

Categories
DIY Holidays

DIY 4th of July Wreath

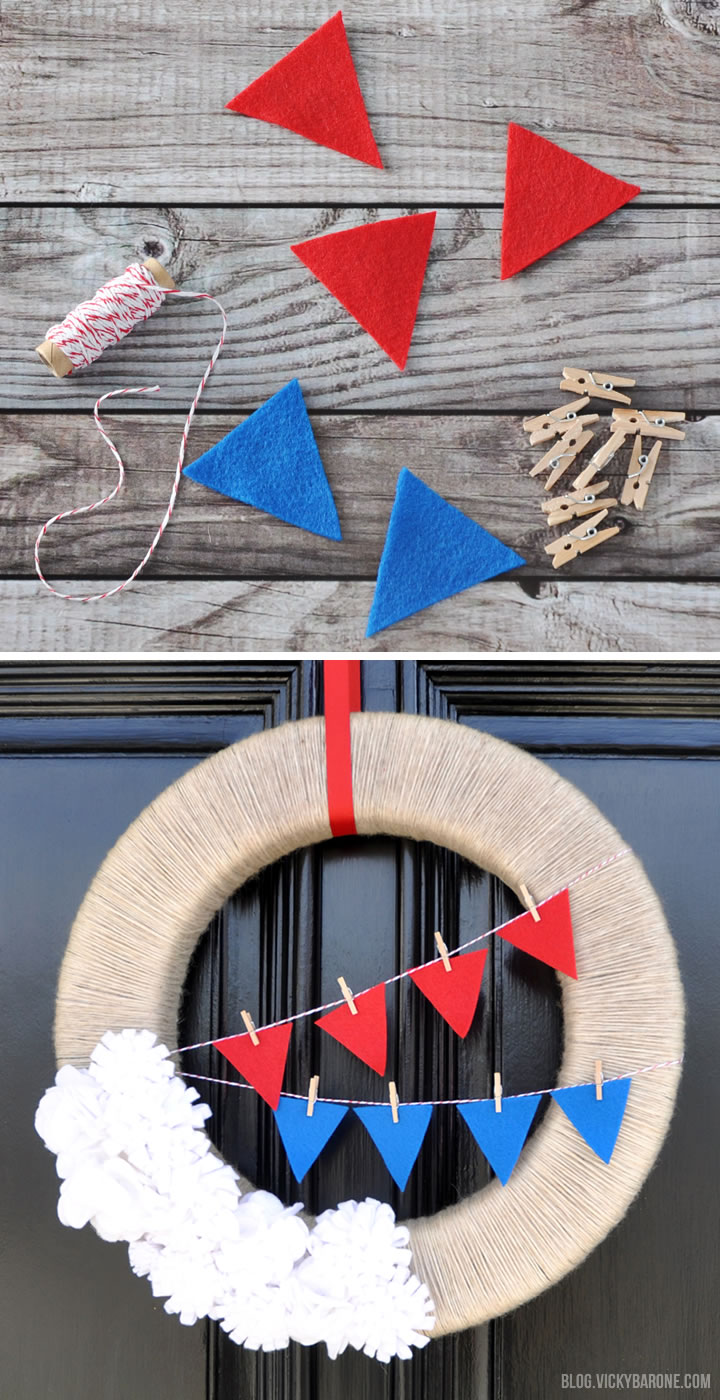
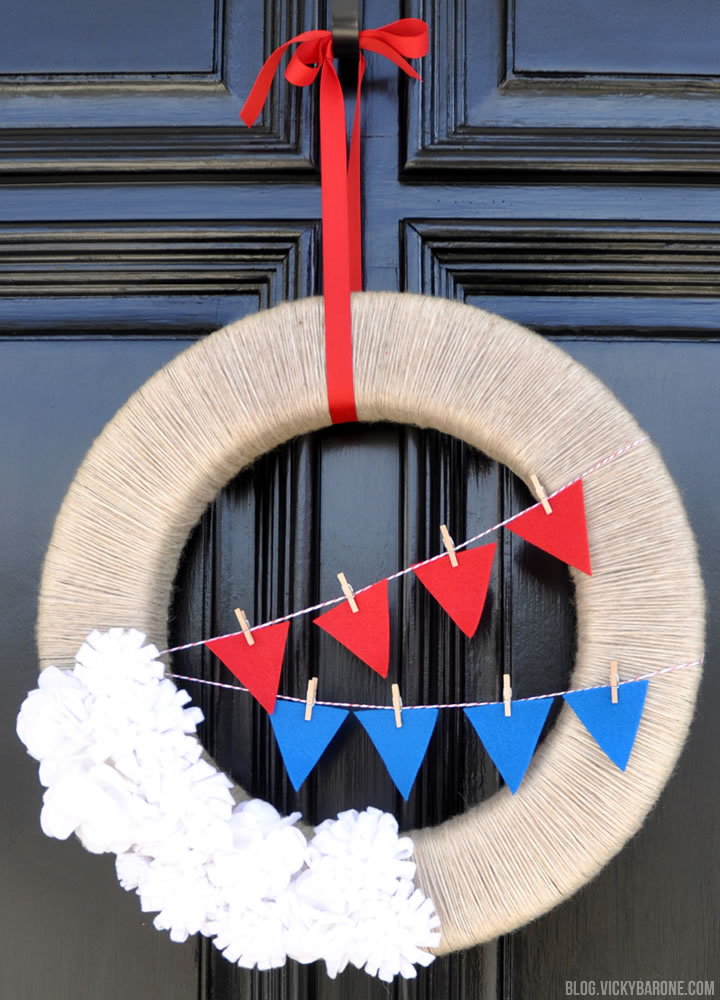
Our trusty seasonal wreath is back at it, just in time for the 4th of July! This time we added felt buntings to give it some extra flare. We love this front door decor because with just a few changes, we get an entirely new look. Read on to find out how to make your very own.

DIY 4th of July Wreath | Vicky Barone

Supplies: interchangeable wreath, white felt flowers, red and white baker’s twine, mini clothespins, red felt, blue felt, scissors, and red ribbon.

Directions:
1. Start by making our original wreath and 10-15 white felt flowers. You can find instructions on how to make both the base wreath and felt flowers here.
2. Arrange the white felt flowers across the bottom of the wreath.
3. Cut two lengths of baker’s twine to go across the wreath for the bunting, leaving excess to tie it around the back of the wreath. Wrap each end of the string to bobby pins and add a glue dot to keep them in place. Stick one bobby pin into the back of the wreath, wrap the string around the front and across the wreath, and stick the second bobby pin to the back of the wreath on the other side.
4. Cut triangles out of the red and blue felt and hang them from the strings using the mini clothespins.
5. Hang the wreath using the red ribbon and a door hanger.

DIY 4th of July Wreath | Vicky Barone

What do you think? Would you make your own interchangeable felt flower wreath? We must say, it is SO much nicer to store just one wreath than a dozen for every season. Click here to see the wreath in action on the blog.

DIY 4th of July Wreath | Vicky BaroneCheck out our 4th of July inspired Pinterest board for more creative ideas and recipes!


Categories
Holidays Recipes

Red White & Blue Strawberries

Independence Day is in less than 3 weeks and we have quite a few tasty treats to share leading up to the festivities! Today we have a Patriotic twist on chocolate covered strawberries that your friends and family will love. Read on to see how easy they are to assemble!

Red White & Blue Strawberries | Vicky Barone

Supplies: strawberries, white candy melts, blue sugar sprinkles, a cookie sheet, and wax paper.

Directions:
1. Wash the strawberries and pat dry with a paper towel.
2. Melt candy melts in a bowl according to the directions on the packaging. Stir until there are no lumps.
3. Pour the blue sprinkles into a small bowl.
4. Line a cookie sheet with wax paper.
5. One-by-one, dip each strawberry into the candy melts and roll around until coated. Make sure to leave a third of the red of the strawberry uncovered.
6. Immediately dip the chocolate covered strawberry into the blue sprinkles, rotating until the bottom third of the strawberry is coated.
7. Lay each finished strawberry on the cookie sheet. When the cookie sheet is full, place it into the fridge to set the chocolate.

Red White & Blue Strawberries | Vicky Barone

We are so excited to share the rest of our red, white, and blue ideas. Stay tuned!

Click here to find more creative ways to use candy melts.

Categories
DIY Holidays Kids Things I Love

Things I Love: The 4th of July

1. Noisemaker | 2. American Flag Shorts
3. Star Garland | 4. Paper Flowers
5. Braided Headband | 6. Painted Tree Slice

Here are 6 fun DIY ideas for the whole family to try this 4th of July! Have any fun plans this weekend? There’s a tropical storm headed our way! We’re hoping it doesn’t keep us inside all weekend!

We hope everyone has a safe and happy Independence Day!

Categories
DIY Holidays

4th of July Star Garland

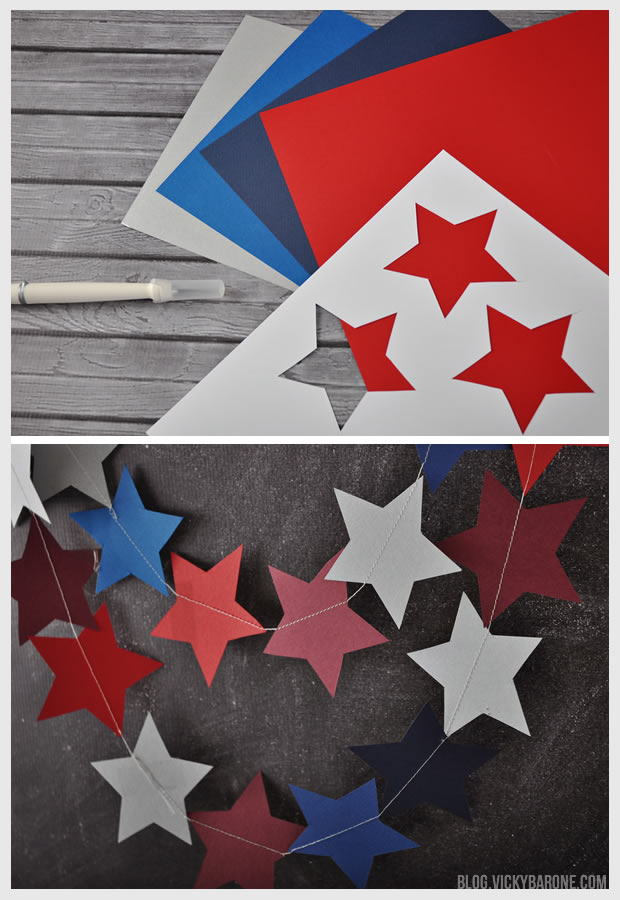
Independence Day is this Friday! If you’re having a get-together or you’d just like a little patriotic decor, this paper garland adds the perfect touch of red, white, and blue!

4th of July Star Garland | Vicky Barone

Materials:
1. Scrapbook paper. We used red, burgundy, navy blue, royal blue, and a glimmery silver.
2. Stars to trace. We printed a few stars on a piece of paper, cut them out with an X-acto knife, and used both the cut-out stars and the remaining paper as stencils.
3. X-acto knife. You can also trace the stars with a pencil onto the scrapbook paper and then cut them out with scissors.
4. A sewing machine and all-purpose white thread.

Directions:
1. Use a star stencil to trace and cut out stars from the different colored scrapbook paper.
2. Adjust the sewing machine to a loose stitch.
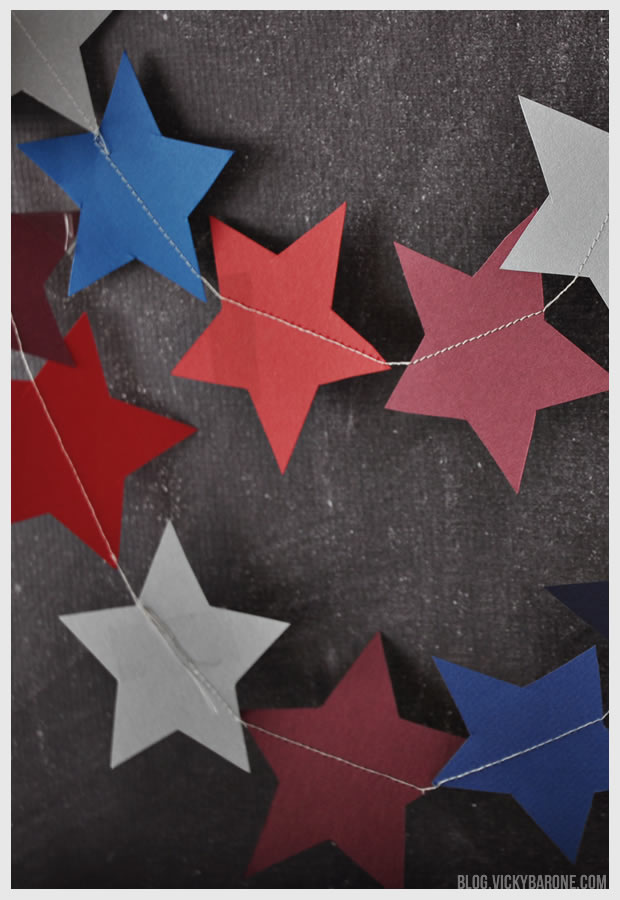
3. Feed the stars one by one into the sewing machine, leaving tails of thread at the ends to hang the garland (If you don’t have a sewing machine, you can use clear tape or even patterned washi tape to attach the stars to a piece of string).
4. Hang up your garland and enjoy!

4th of July Star Garland | Vicky Barone

4th of July Star Garland | Vicky Barone

Have any fun plans this weekend? We’re hoping to relax and watch some fireworks. Happy Independence Day!

Categories
Kids Recipes

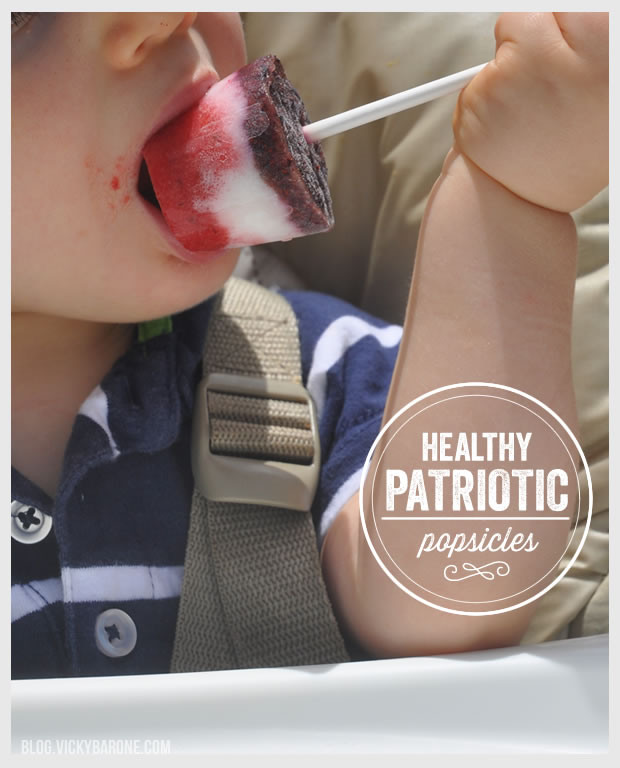
Healthy Patriotic Popsicles

Despite the gloomy weather we’re having here, we are still gearing up for the 4th of July!

We’re hoping for sunshine tomorrow and we’re already planning to cool off with some patriotic popsicles!  While store-bought popsicles are convenient, they are just water, sugar, and food coloring. By making your own popsicles, you can make them healthy and delicious. That’s just what we did with these red, white, and blue popsicles! We also made them in 2oz cups with longer sticks to make them easier for the kids to eat!

7_3_13_FourthPops

Ingredients (to make approximately 12-15 popsicles):
8oz pureed strawberries
8oz pureed blueberries
6oz vanilla yogurt
2oz milk

We used organic fruit, non-fat greek yogurt, and 2% milk, but you can use whatever you and your family enjoy! We made ours as simple as we could since we’ll be sharing them with the little ones, but you can add sweeteners like honey or agave to your yogurt and milk layer to make it even sweeter.

For the popsicle forms, we used 2oz plastic party cups (aka plastic shot glasses) and lollipop sticks. You can also use Dixie cups and popsicle sticks or any other popsicle form you might have from the Dollar store, etc.

What to do:
1. Using a blender (we used a baby food maker!), puree your fresh fruit.
2. Mix together yogurt and milk.
3. In whatever order you’d like, pour a layer of strawberry puree, yogurt, and blueberry puree into each cup (each layer is thick enough that you won’t even need to freeze each one individually so that they don’t run together like fruit juice would!)
4. Place a sheet of plastic wrap over each cup and wrap tightly
5. Using a sharp knife, make a small slit in the center of the plastic wrap and insert the lollipop stick (the plastic wrap will help the lollipop stick stand straight up until the popsicle freezes).
6. Freeze!
7. To remove from the plastic cup, place each popsicle in a bowl of warm water for 15 seconds (if you used a paper cup, you can just rip it and peel it away!)

And that’s it! Now you and your little ones can enjoy your healthy popsicles!

Check out our Popsicle Pinterest board for more ideas!

Happy Independence Day!