Categories
DIY Holidays Lifestyle Parties and Events Things I Love

Happy New Year 2014!

1. Tinsel Numbers | 2. Tassel Garland | 3. Glitter S’mores | 4. Tinsel Swizzle Sticks | 5. Gold-dipped Balloons | 6. Happy New Year Garland

Happy 2014! Here are a few of our favorite New Year’s Eve party details. 2013 was such a wonderful year for us and we are so excited to see what 2014 has in store!

We wish you all a happy and healthy new year!

Categories
DIY Parties and Events Projects

Dip-Dyed Frosted Tumblers

This post contains affiliate links. If purchased, I will receive a commission.

Last but not least, my very favorite detail from our End of Summer Party!

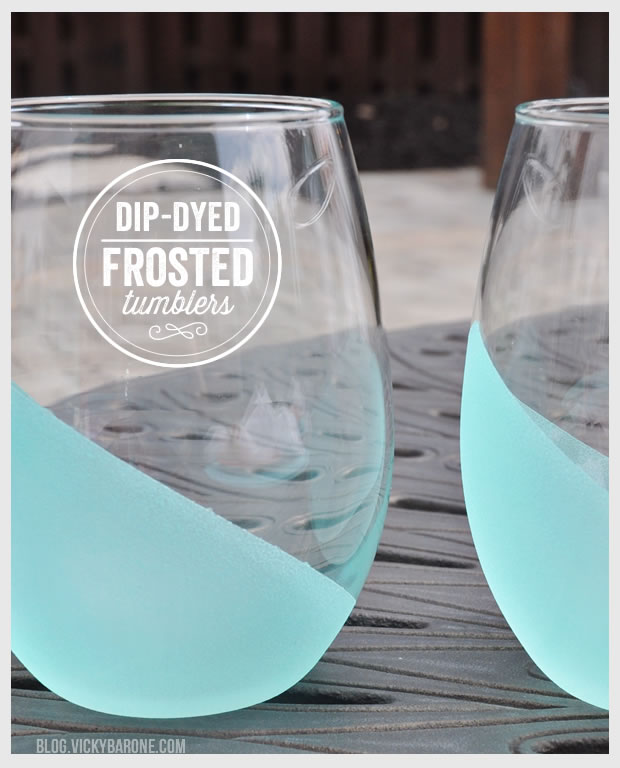
Dip Dyed Frosted Tumblers
We loved the Metallic Confetti Tumblers from our Summer party so much that we just had to make some more. Again we went with Martha Stewart’s glass paint collection, but this time we tried the “Frost” paint. It is an awesome product and we’re so happy with how these turned out!

Materials: Glass tumblers, rubbing alcohol, painter’s tape, a foam pouncer, and Martha Stewart Craft’s Translucent Frost Glass Paint (we used Beach Glass!)
One or more of the supplies listed contain affiliate links. If purchased, I will receive a commission.

What to do:
1. Using rubbing alcohol and a paper towel or cotton ball, clean the tumblers and let dry.
2. Take the painter’s tape in manageable sections and tape off where you want your paint to go.
3. Use your finger nail or a credit card to press out all air bubbles and seal the tape onto the tumblers.
4. Dip the foam pouncer in the frost paint and begin painting the tumblers using an up and down motion (don’t worry if it doesn’t look perfect – a second coat will fix any mistakes!).
5. Let dry two hours before applying a second coat.
6. Let second coat dry overnight and then peel off the painter’s tape!
7. Follow the directions on Martha Stewart’s craft website for how to set the paint (We air cure for 21 days, but you can also oven bake them!).
8. Have a party!

We hope you’ve enjoyed our DIY projects from our End of Summer Party. Bring on the Fall!

**UPDATE**
Thank you all so much for your interest in this fun little DIY! Check out the comment section for paint alternatives and extra advice on making the tumblers.
Sadly, this paint has been discontinued, but we found a few colors still for sale on Amazon! HERE and HERE.
(The above include affiliate links. If purchased, I will receive a commission.)


For more fun DIY projects and inspiration, greeting cards, and more check out Vicky Barone on Instagram!

Categories
DIY Projects

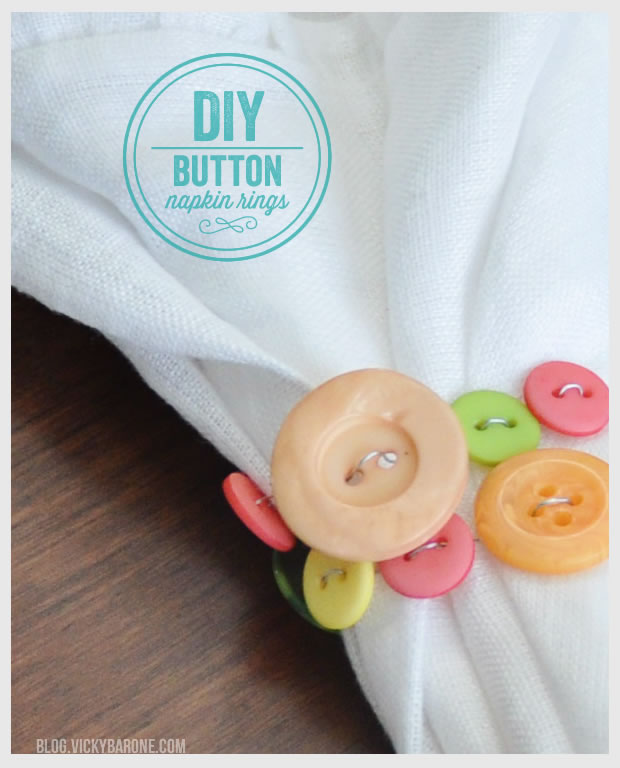
DIY Button Napkin Rings

Check out what else we made for our End of Summer Party! The easiest of all easy napkin rings!

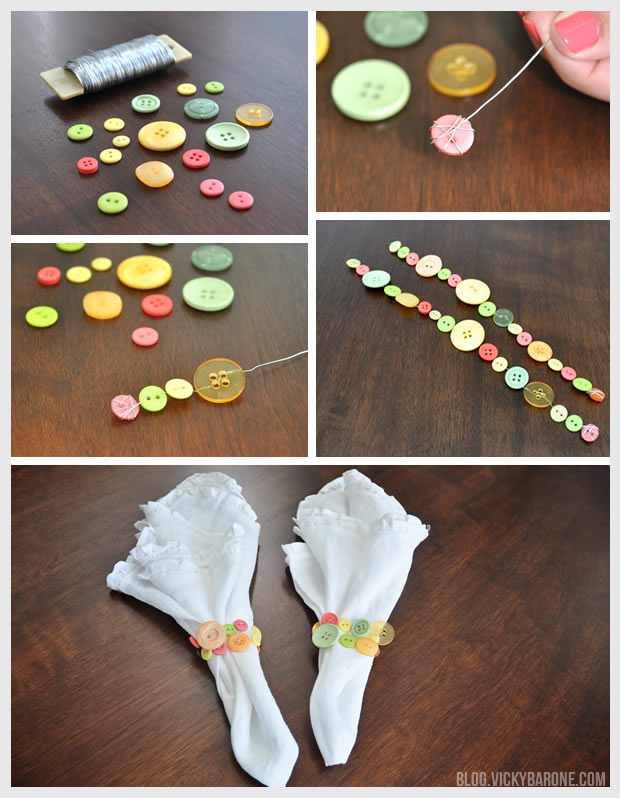
DIY Button Napkin RingsMaterials: Floral wire, buttons, and scissors.

What to do:
1. Cut a piece of wire to wrap around whatever napkins you are using, giving yourself an extra four inches or so.
2. Thread your first button and wrap the wire around it a few times to secure it, tucking in the end of the wire.
3. Thread the rest of your buttons, alternating color and size.
4. Wrap the remaining wire around the last button to secure it and cut off any excess wire.
5. Wrap your napkin rings around your napkins and enjoy!

We did a few other DIY projects for our End of Summer Party so be sure to check those out too!


Categories
DIY Parties and Events Projects

DIY Paper Strip Garland

Here’s a fun detail from our End of Summer Party! We loved the Paper Mobile by Oh Happy Day and thought it would add the perfect touch to our bright outdoor set up.
For step-by-step instructions, check out the paper mobile link above, or take a look at our Circle Paper Garland blog post! I will say, however, that the strips of paper are a bit harder to sew together than the circle garland was. I found that adjusting the needle thread tension on my sewing machine to a lower setting while using a straight stitch helped a lot! If you find your thread snapping or getting caught, try loosening your stitch and tension before calling it quits. Or call it quits and make the circle garland instead (can you tell we’re partial to the circle garland? It might just be the quickest sewing project ever.)!

9_10_13_VerticalPaperGarland