Categories
DIY Holidays Kids

Monogrammed Easter Eggs

We are always looking for new ways to decorate Easter eggs – and the easier the better! You only need two things to create these personalized eggs (three if you count the egg!) and they couldn’t be simpler. Your little bunnies will be so happy to see their initials!

Monogrammed Easter Eggs | Vicky Barone

(Adapted from this tutorial. How cute are those bunnies!)

Supplies: alphabet stickers, Sharpie markers, and hard boiled eggs.

Directions:
1. Center a sticker onto a dry egg. Press it down with your thumbnail to squeeze out all the air bubbles.
2. Use a Sharpie in a bright color to make dots around the sticker. Concentrate the dots around the outline of the sticker and spread them out as you move outwards away from the sticker.
3. Make sure the marker dots have dried and carefully remove the sticker.

Monogrammed Easter Eggs | Vicky Barone

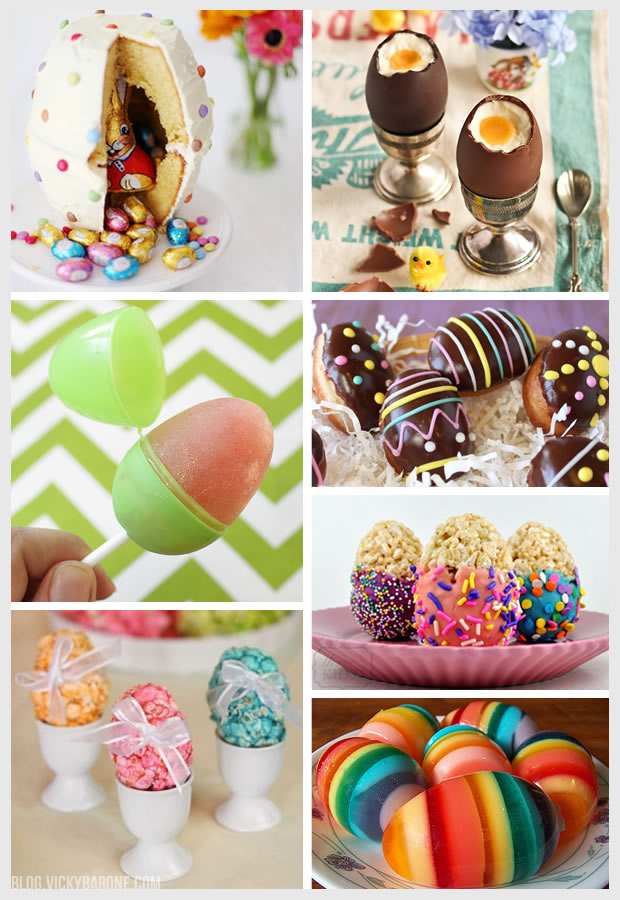
If you’re looking for more creative ways to decorate Easter eggs, check out this post.

We hope you’re enjoying Spring so far!

Categories
Holidays Recipes Things I Love

Things I Love: Easter Egg-Shaped Treats

1. Cake | 2. Cheesecake Chocolates | 3. Popsicles | 4. Doughnuts | 5. Rice Krispies | 6. Popcorn | 7. Jello

If you gave up sweets for Lent, this post is not for you! Here are seven delicious treats shaped like Easter eggs you might just want to start making now.

Follow Vicky Barone on Bloglovin’ for more fun and tasty Easter ideas!

Categories
DIY Holidays Things I Love

Things I Love: Modern Easter Eggs

1. Doodles | 2. Gold Leaf | 3. Ombré | 4. Washi Tape  | 5. Glitter Dipped | 6. Silhouettes

We are LOVING all the new creative ways to dye Easter eggs! While we decide which modern egg dyeing technique to use, here are six of our favorites for you to enjoy!

Categories
DIY Holidays

DIY Easter Egg Garland

Here is a simple and affordable DIY decoration for your home this Easter! All you need are some plastic eggs from the dollar store, yarn, and a plastic sewing needle.

DIY Easter Egg Garland | Vicky BaroneDirections:
1. Most plastic Easter eggs come with at least one pre-punched hole in the top and bottom, perfect for threading with string to make a garland! A handful of the eggs that we got from the dollar store didn’t have holes punched all the way through, so we used the plastic needle to puncture the holes a little better. If some of your eggs don’t have holes for whatever reason, just use any pointy object to make a hole, like the needle, a pen, or a small screwdriver.
2. Thread the yarn onto the sewing needle (you can also use any kind of string as long as it fits through the holes in the eggs).
3. Starting stringing the eggs onto the yarn!
4. Once you reach the length you’d like, tie a knot at each end of the garland to keep the eggs in place. If you use yarn, the eggs will most likely grip and not move, but just to be safe, a little knot at each end is a good idea.
5. Hang your garland and enjoy!

Follow Vicky Barone on Bloglovin’ to see more Easter ideas!