Happy Monday! Another week of Winter has come and gone and still no snow! Well, we did see some flurries two weeks ago, but other than that we are still snow-less. Has it snowed where you are?
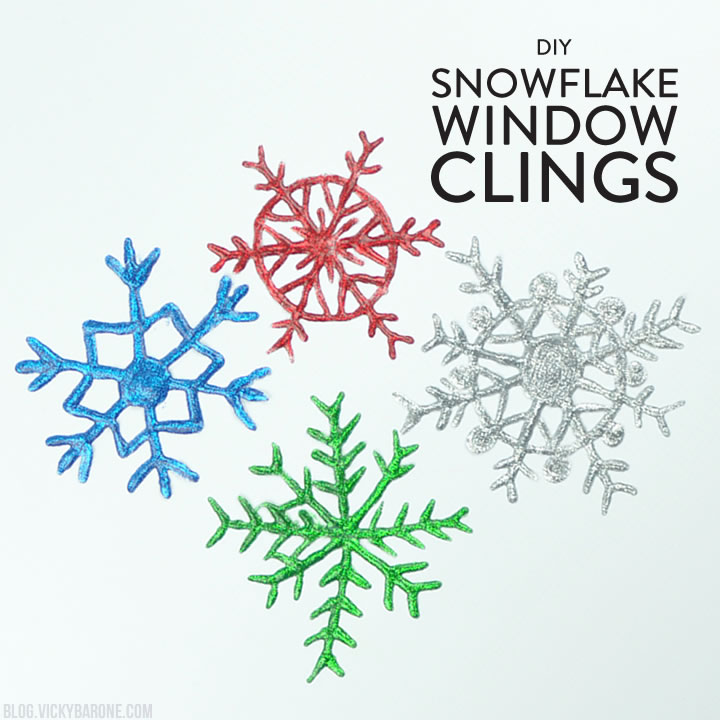
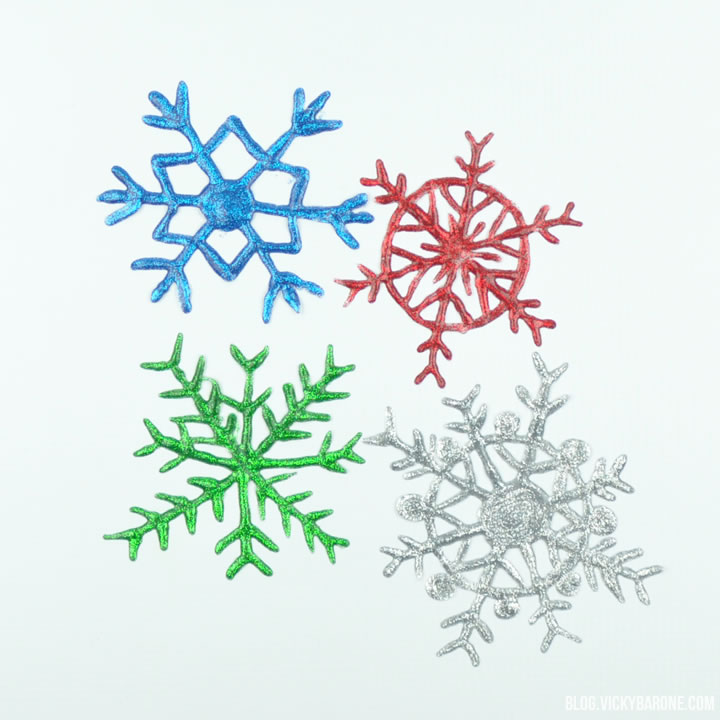
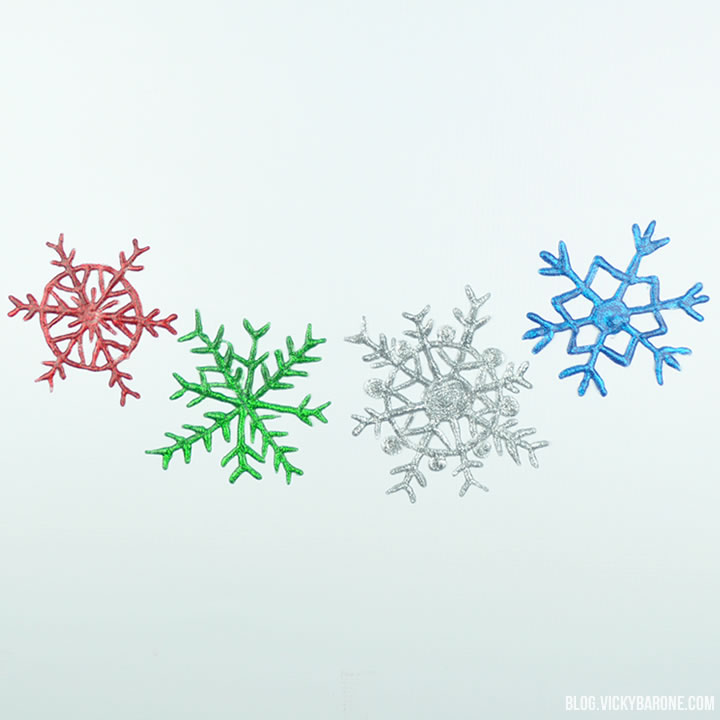
Today we’re sharing a kid-friendly DIY to encourage those snow flakes to fall! These window clings are super fun to create, and look great on glass windows and doors. Here’s how you can make your own…
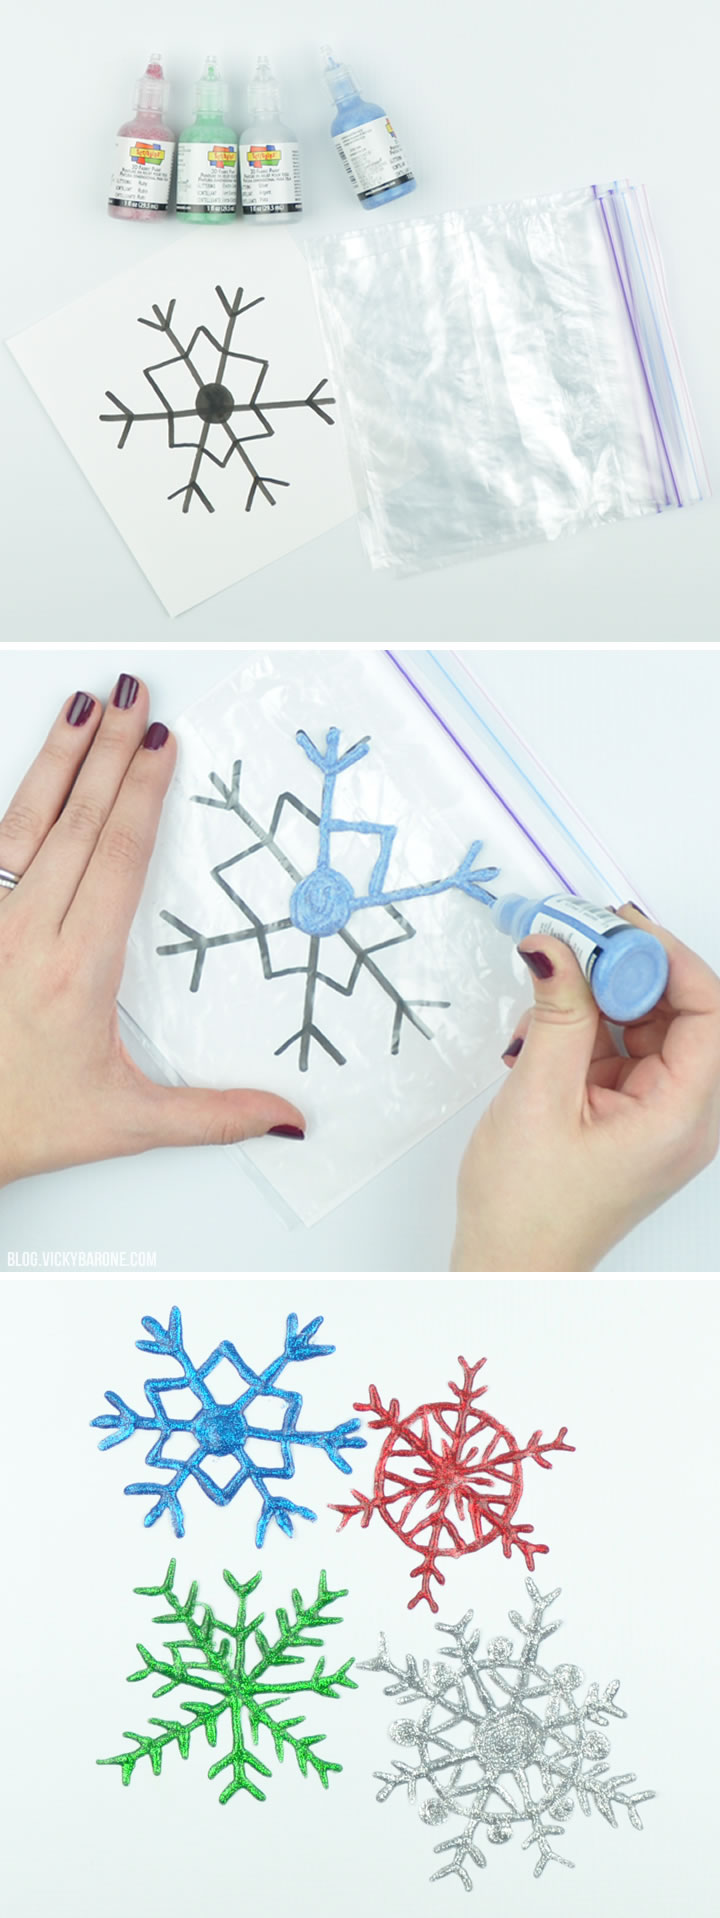
Supplies:
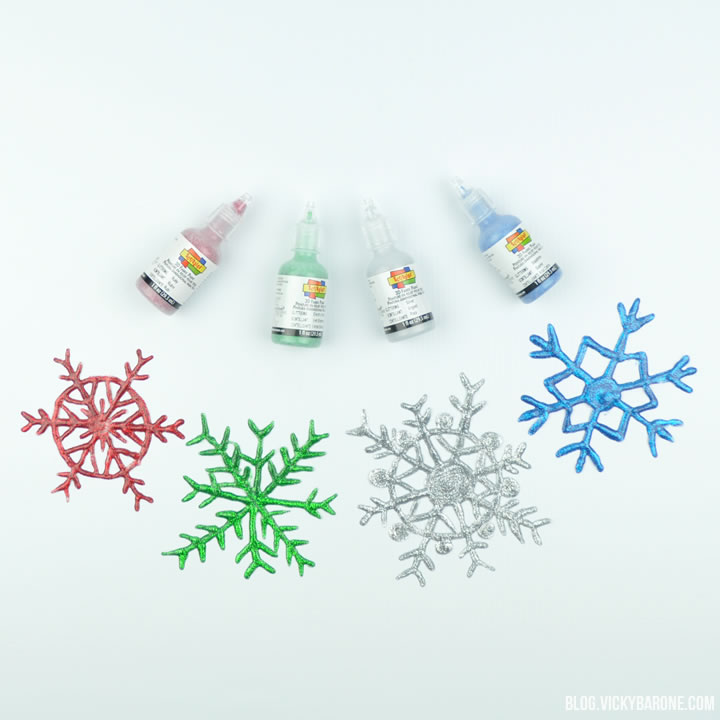
– 3D glitter fabric paint
– Ziploc sandwich bags
– Snowflake stencil (we made our own with a piece of paper and a marker).
Directions:
1. If you are making your own snowflake stencil, use a marker to draw it on a piece of paper.
2. Lay a Ziploc bag on top of the stencil.
3. Trace the design onto the plastic bag with the paint.
4. Let dry overnight.
5. Carefully peel and remove the snowflake from the plastic bag and stick to a window or glass door.
The trick to keep the designs from ripping when you peel them off the bag, is to have a strong center and thick, consistent lines. Using a sturdy plastic surface, like a Ziploc sandwich bag, is super important as well! Using a flimsy plastic bag or plastic wrap will cause the design to stick and make a tangled mess even when fully dry.
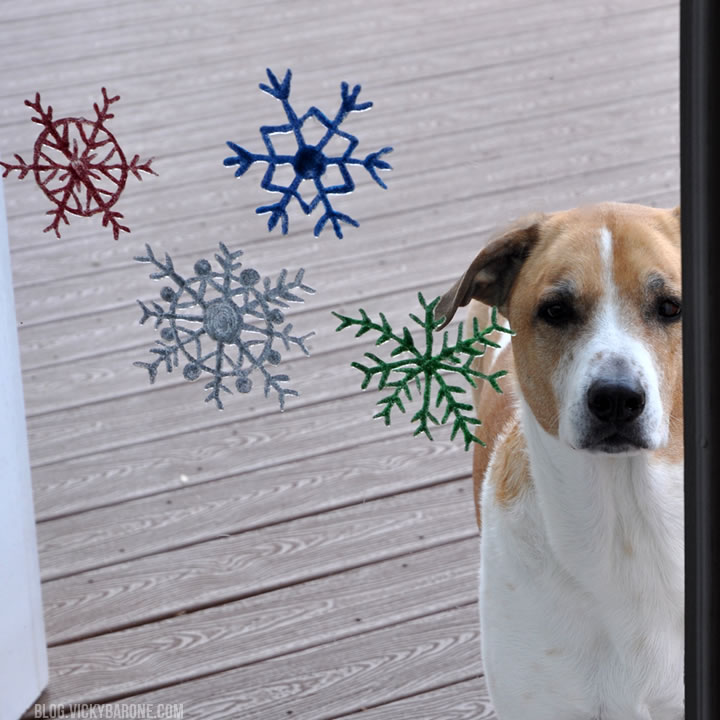
It’s also important to have a stoic model like Cooper to stand behind the decals on the back door.

Bonus points if you have grimy kid hand prints on your door! They add to the design, don’t you think?
Let it snow, let it snow, let it snow!