Categories
DIY Kids

DIY Cardboard Tube Binoculars

Happy Monday, everyone! Today we have a kids craft that’s perfect for your little explorers – their very own binoculars!

DIY Cardboard Tube Binoculars | Vicky Barone

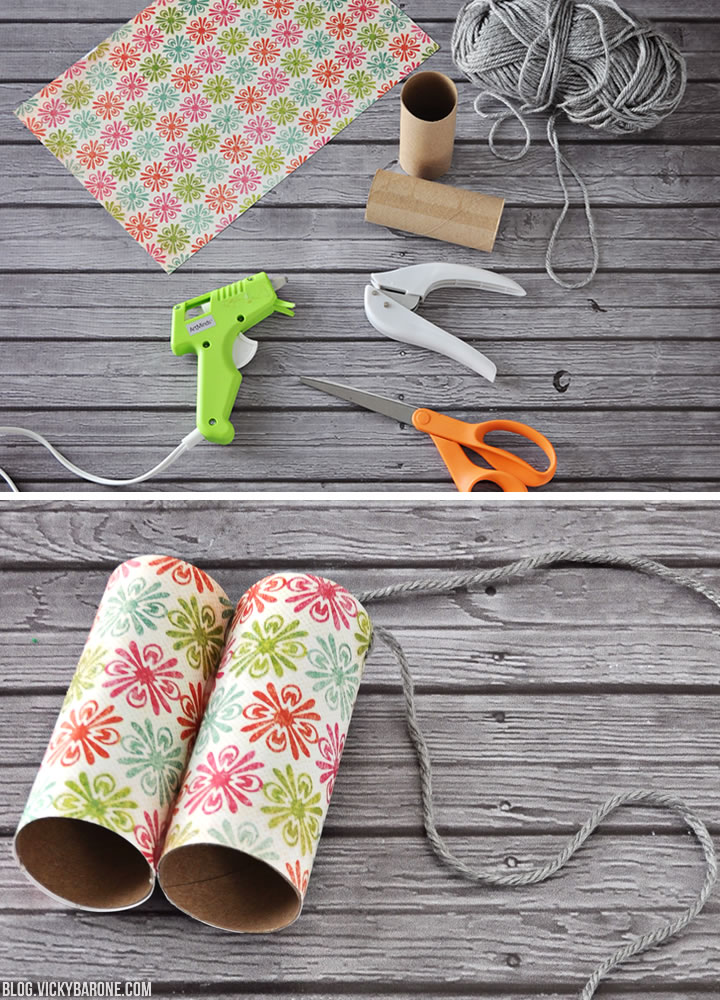
Supplies: 2 toilet paper rolls OR 1 paper towel roll cut in half, scrapbook paper, scissors, hot glue, a hole punch, and yarn.

Directions:
1. Wrap scrapbook paper around each tube and trace. Cut the scrapbook paper to size.
2. Use hot glue to attach the paper to each tube.
3. Glue both of the tubes together on their seams using hot glue.
4. Use a single hole punch to make holes in the outside top of each tube.
5. Cut a piece of yarn and tie each end to each hole.

Happy exploring!

Categories
DIY Holidays

DIY Halloween Mobile

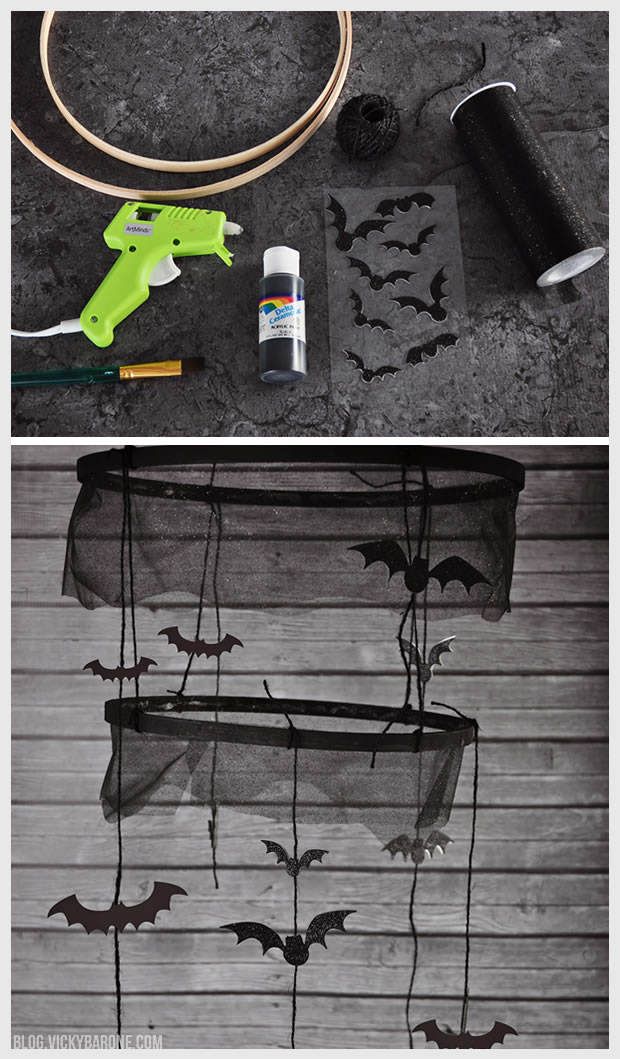
We saw this bat chandelier while flipping through the Pottery Barn Kids catalog and knew we could make out own for a fraction of the price. It’s not longer available on the site, so if you like it, keep scrolling to learn how to make your own!
DIY Halloween Mobile | Vicky Barone

Supplies: 2 wood embroidery hoops (one smaller than the other), black acrylic paint, a paint brush, black hemp or string, bat cut-outs or stickersblack glitter organza, scissors, and a hot glue gun.

Directions:
1. Remove the outer part of each wooden hoop and set aside. You will only need the inner hoops.
2. Paint the inner hoops black with acrylic paint. Let dry completely.
3. Attach bats to lengths of string and tie at varying heights onto both hoops. We used bat stickers that we stuck together to sandwich the string between them, mixed with some papet cut-outs attached with hot glue.
4. Tie four long pieces of black string equidistant apart on the lower hoop then attach those four strings to the upper hoop. If there is enough string, tie all four pieces together in the center to hang the mobile. If not, attach more string to create a place to hang the mobile.
5. Measure the inside of the larger hoop and cut a piece of organza the same length. Cut the organza in half down the middle, making wavy cuts.
6. Using hot glue, attach one half of the organza strip to the inside of the larger hoop. Do the same with the other half on the smaller hoop and cut excess organza.

You can fill the mobile with lots of bats, or use other Halloween-inspired shapes! Hang this in an entry way or over a table for a spooky touch to your Halloween decor. Enjoy!

Categories
DIY

DIY Stamped Tea Towels

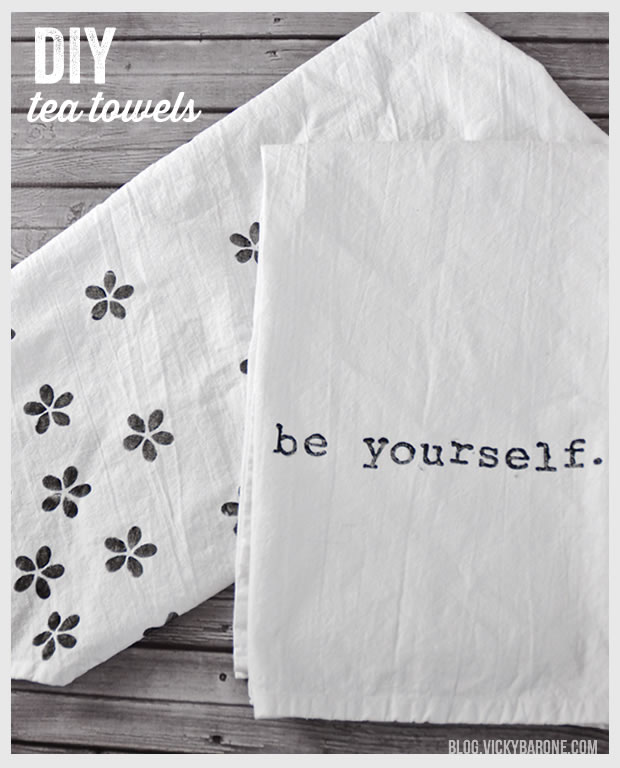
These tea towels make the perfect personalized hostess gift or even just a fun and simple rainy day activity. Create your own design or choose an inspirational phrase or quotation to decorate your tea towel and add a sweet touch to your kitchen.

DIY Stamped Tea Towels | Vicky Barone

Supplies:
Tea Towels
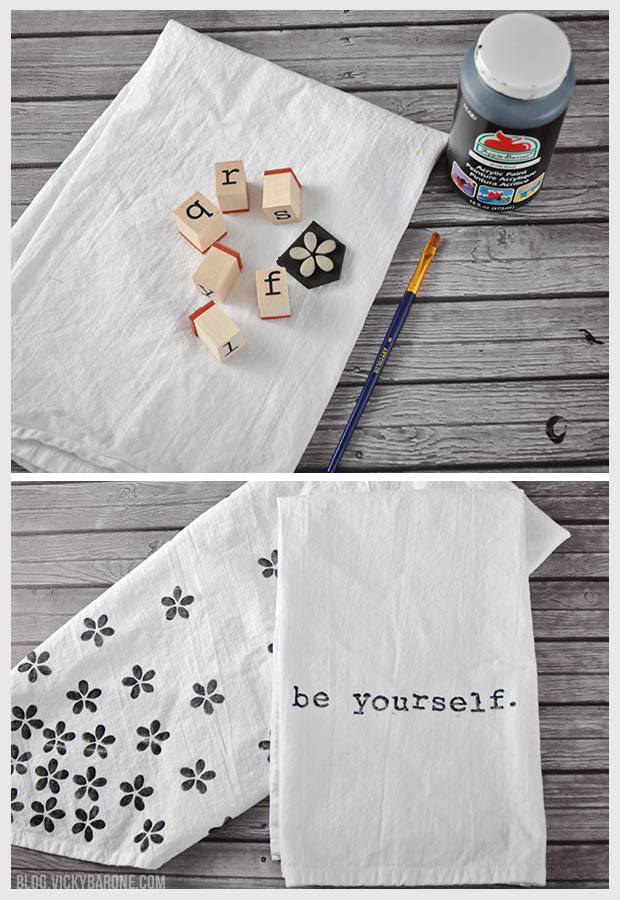
– Flower stamps or alphabet stamps
– A paint brush
– Fabric Paint (we used regular acrylic paint because we don’t plan to use these for anything other than decoration).
– Cardboard

DIY Stamped Tea Towels | Vicky Barone

Directions:
1. Wash and dry tea towels.
2. Arrange a tea towel over a piece of cardboard (so that any paint that may seep through does not ruin your work surface).
3. Using the paintbrush, paint a thin layer of paint on a stamp. Test this stamp on a paper plate or a piece of scrap fabric to see if you like the paint thickness.
4. Stamp the towel and let dry completely!

DIY Stamped Tea Towels | Vicky Barone

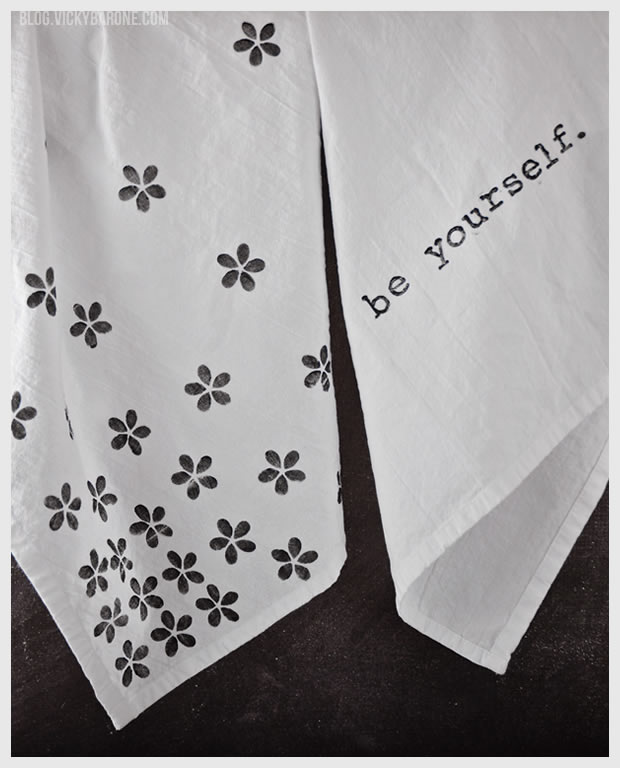
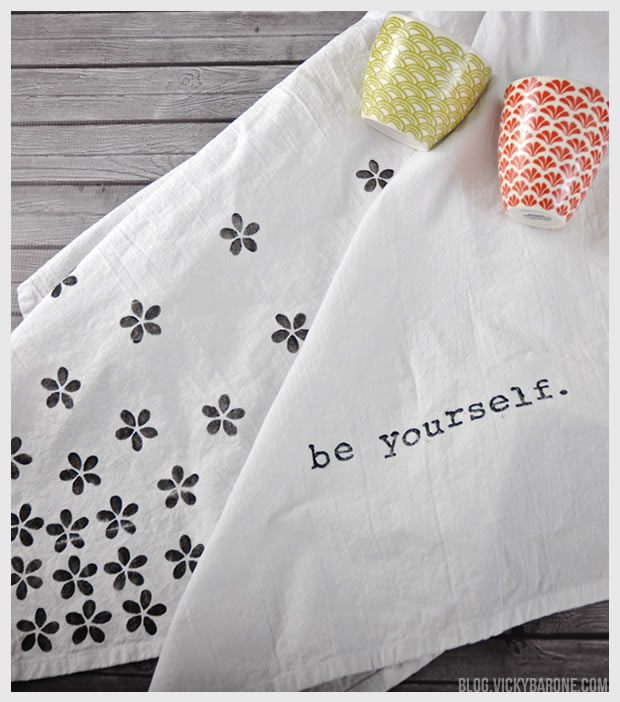
To make the “Be Yourself” tea towel, we taped off the section where we wanted the words to go and marked off where each letter would fit. We also tested it on a piece of cardstock first to see how the letters would need to be spaced out. Have fun with it! The handmade look is the best part!

DIY Stamped Tea Towels | Vicky Barone

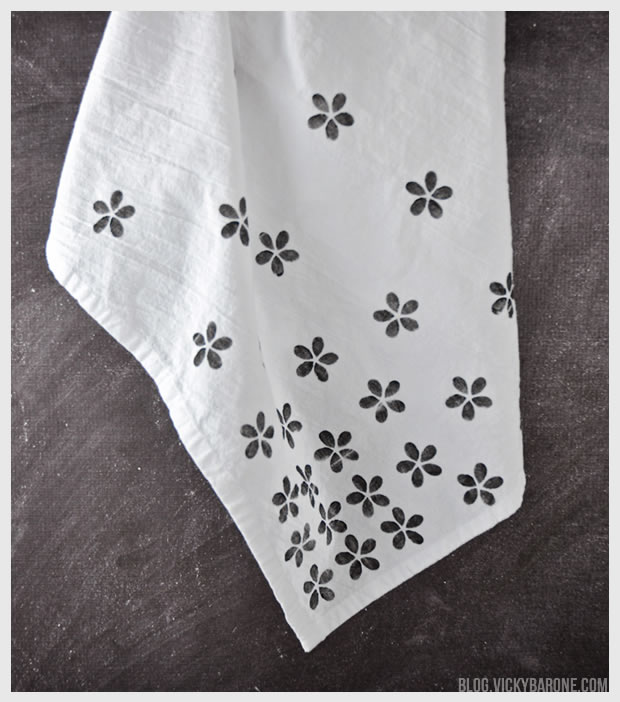
For the floral tea towel, we started the stamping at one of the corners of the towel. We stamped the flowers in a concentrated pattern in the corner and made them more spread out as we worked our way up.

DIY Stamped Tea Towels | Vicky Barone

Have fun and enjoy your handmade tea towels!

Categories
DIY Holidays Kids

Chick & Bunny Easter Craft

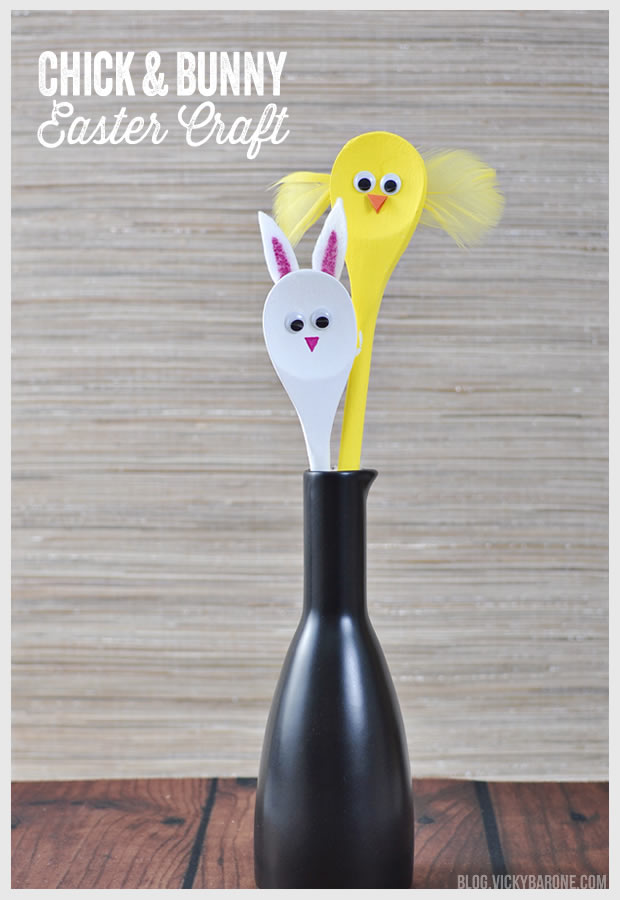
Inspired by this picture on Pinterest, we went out and bought a handful of wooden spoons for this sweet and easy kids craft for Easter.

Chick & Bunny Easter Craft | Vicky BaroneMaterials: Wooden spoons, acrylic paint, scrapbook paper, googly eyes, feathers, felt, glue, and a marker.

Directions:
1. Paint both spoons with white acrylic paint. Let dry.
2. Paint one of the white spoons yellow (the white will have acted as a primer so that the yellow paint would pop without the need for too many coats).
3. Make bunny ears by cutting out small pieces of white felt and coloring the insides pink with the marker.
4. Glue bunny ears onto the back of the white spoon and yellow feathers onto the back of the yellow spoon. Let dry.
5. Glue on googly eyes to each spoon.
6. Draw a small triangle with pink marker onto the white spoon to create the bunny’s nose.
7. Cut out a small diamond from the scrapbook paper, fold in half, and glue onto the yellow spoon to create the chick’s beak.

Chick & Bunny Easter Craft | Vicky Barone

Just like with our chick and lamb paper plate craft, the googly eyes really give the Easter characters personality (and they crack us up!).