Categories
DIY

DIY Toilet Paper Pumpkins

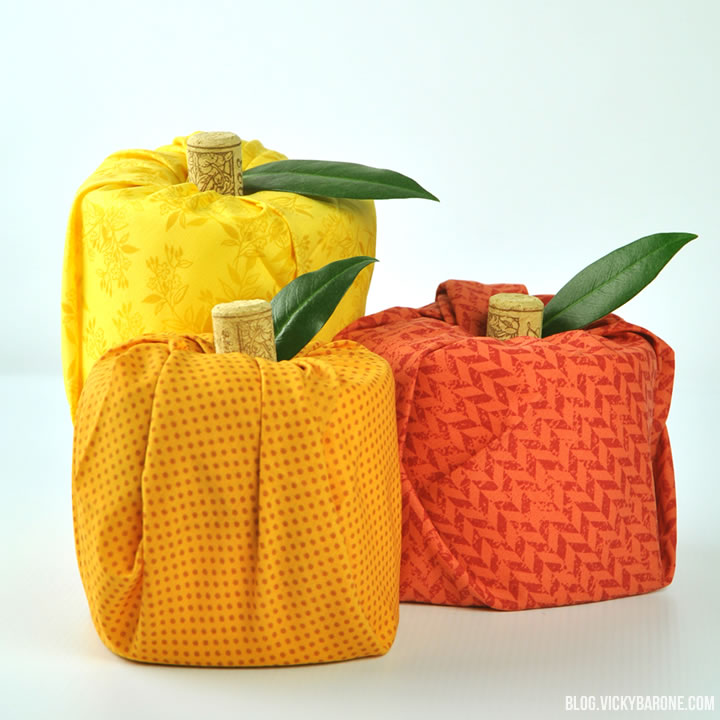
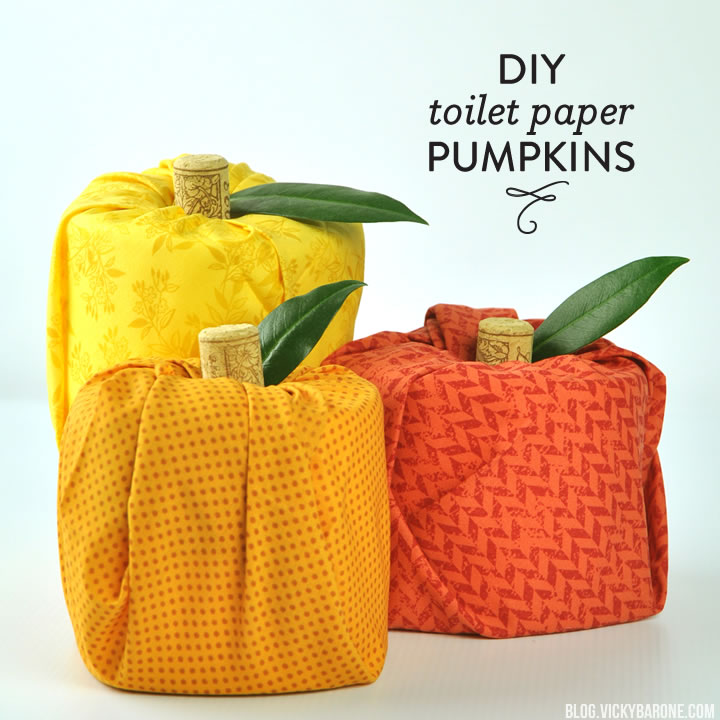
Only two more days until Halloween! Today we’re sharing an easy way to decorate your home for this pumpkin-filled season without actually buying any pumpkins! These cuties are made from rolls of toilet paper and some patterned fabric that you can find in the quilting section of most craft stores. For the stems, we used wine corks that were left over from this project, and we pulled some leaves from a bush in the backyard to complete the look!
DIY Toilet Paper Pumpkins | Vicky Barone

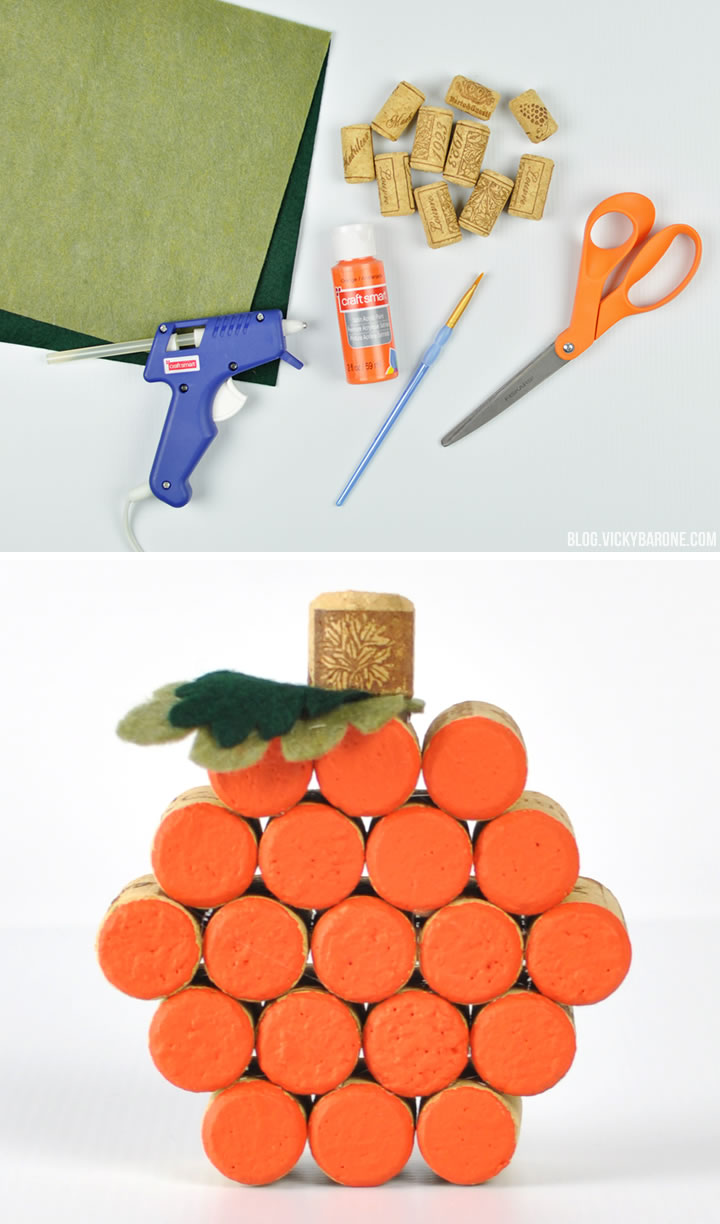
Supplies: toilet paper, fat quarters, wine corks, and leaves.

Directions:
1. Unfold a fat quarter and lay it flat on your work surface, with the pattern facing down.
2. Place a roll of toilet paper in the center.
3. Fold in each corner of the fabric and tuck it into the center of the toilet paper, working clockwise or counter clockwise. Adjust the fabric as necessary.
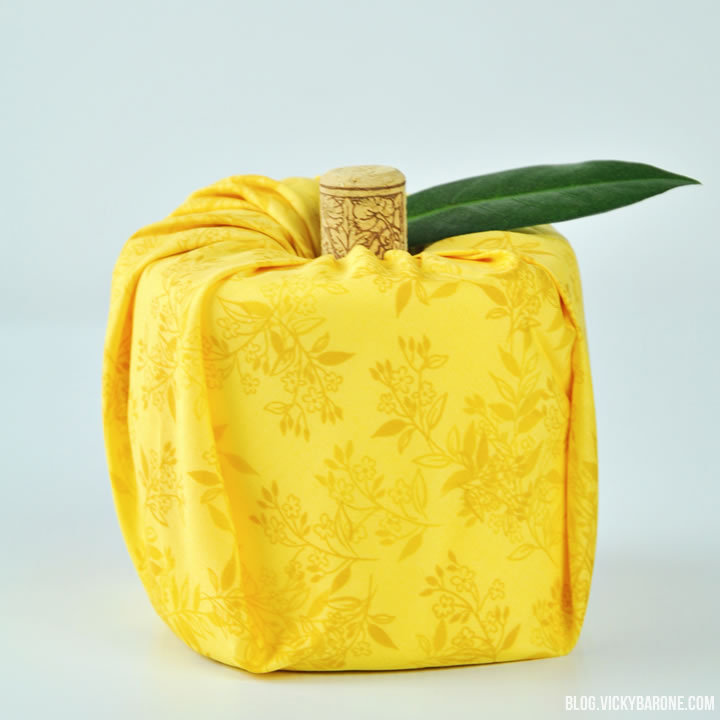
4. Place a leaf in the center of the fabric-wrapped toilet paper roll and push it into place with a wine cork.DIY Toilet Paper Pumpkins | Vicky Barone

Tada! Quick and easy pumpkins to decorate your home.

DIY Toilet Paper Pumpkins | Vicky Barone

When you’re all done with the pumpkins, simply un-assemble them and return the toilet paper back to its rightful place. Storing the fabric and a couple corks takes up much less room than a whole pumpkin decoration, meaning one less thing to hide in the garage for a year!

DIY Toilet Paper Pumpkins | Vicky Barone DIY Toilet Paper Pumpkins | Vicky Barone DIY Toilet Paper Pumpkins | Vicky Barone

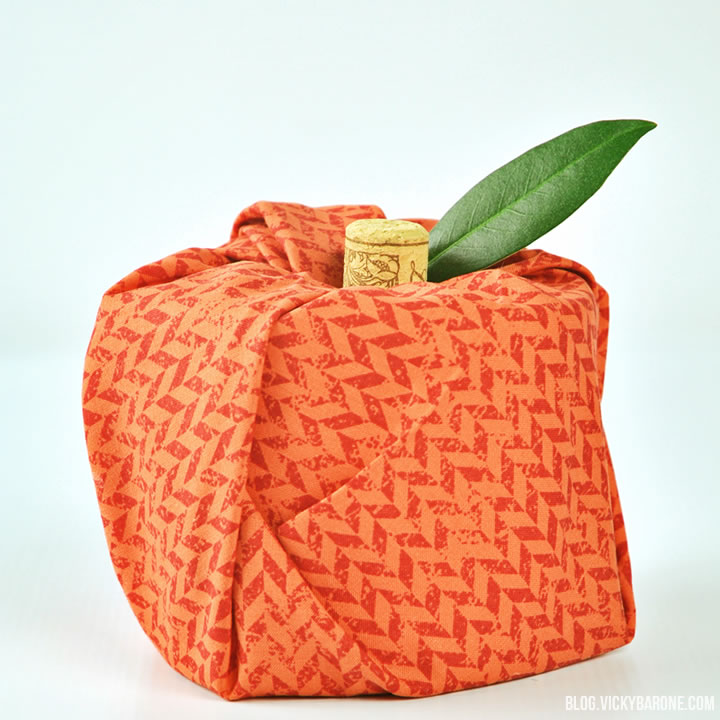
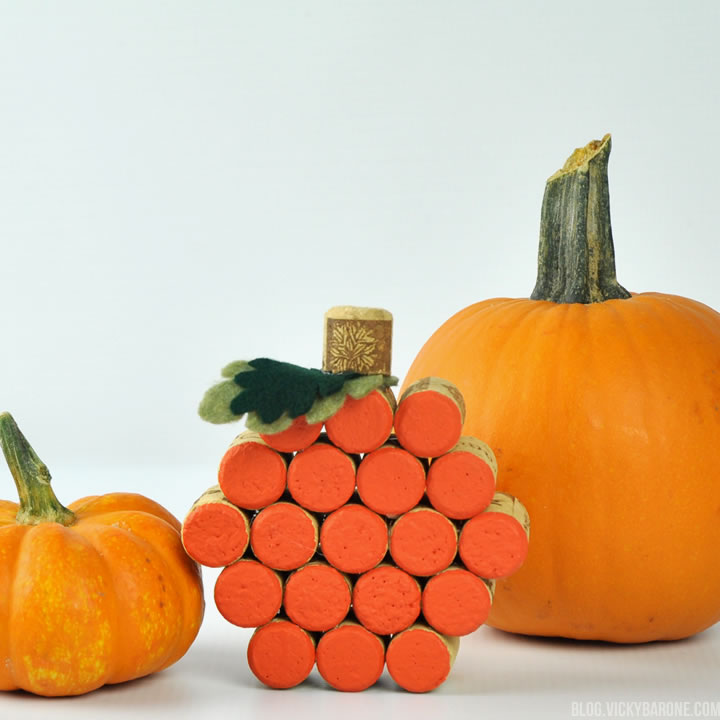
Have fun picking out the colors and patterns of your pumpkins! The dark orange pumpkin we made looks red on its own and could pass for an apple. Maybe next time we’ll make an entire fruit basket…

DIY Toilet Paper Pumpkins | Vicky Barone

Categories
DIY Holidays

DIY Wine Cork Pumpkin

Happy National Pumpkin Day! Today is the day for all things pumpkin (looking for ideas? Click here!). We are celebrating with pumpkin-flavored everything in sight AND this little pumpkin-inspired DIY…

DIY Wine Cork Pumpkin | Vicky Barone

This wine cork pumpkin is super easy to make and adds a cute handmade touch to your Fall decor. Bonus: it will never ever rot 😉

DIY Wine Cork Pumpkin | Vicky Barone

Supplies: wine corks, orange paint, a paint brush, hot glue, green felt, and fabric scissors.

Directions:
1. Choose 19 wine corks that are about the same diameter in size (they can be different lengths – just make sure they are flesh with one another in the front when you glue them together). Our design used 5 corks in the middle, then 4, then 3 on the top and bottom. You can make a bigger pumpkin with 24 corks and start with 6 corks in the middle.
2. Paint the ends of each cork with the orange paint and let dry.
3. Glue the middle 5 corks together with the hot glue gun in a line.
4. Glue a row of 4 corks, one by one, to the top of the line you just created. You will need to create two glue lines on each cork and press it in between two corks on the middle row. Repeat with a row of 4 below the middle as well.
5. Glue a row of three corks to the top and bottom.
6. Cut two leaves out of green felt and hot glue them to the top of the pumpkin.
7. Cut a cork in half and glue it on top of the leaves to create a stem.

DIY Wine Cork Pumpkin | Vicky Barone

DIY Wine Cork Pumpkin | Vicky Barone

DIY Wine Cork Pumpkin | Vicky Barone

DIY Wine Cork Pumpkin | Vicky Barone

How will you celebrate National Pumpkin Day today? Check out some of the things we’ve made on the blog for inspiration and don’t forget to follow Vicky Barone on Instagram!