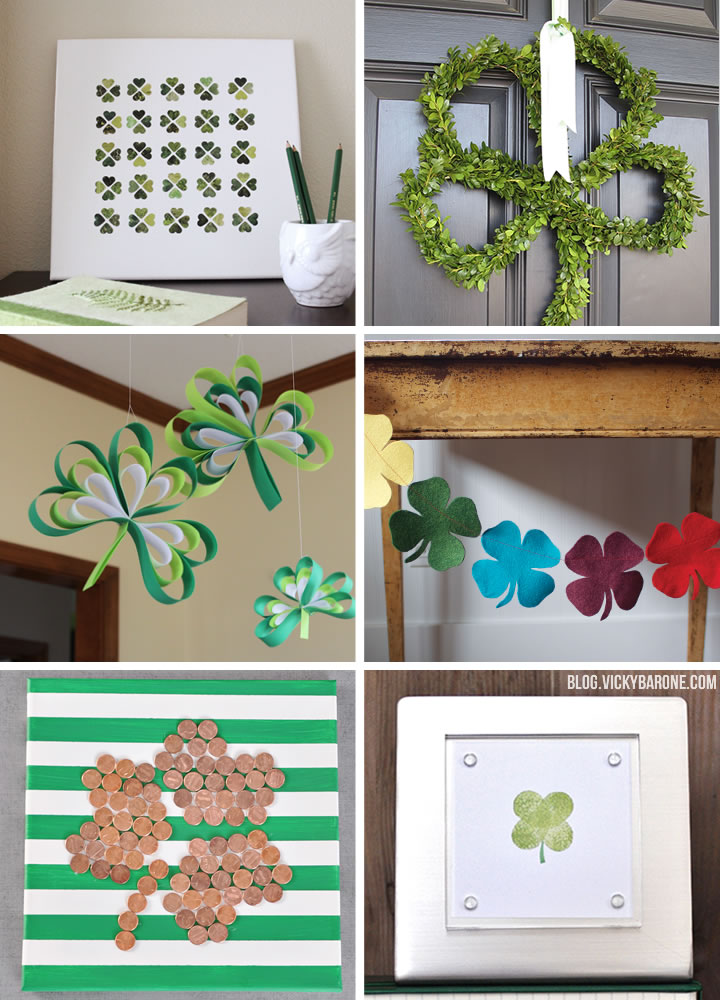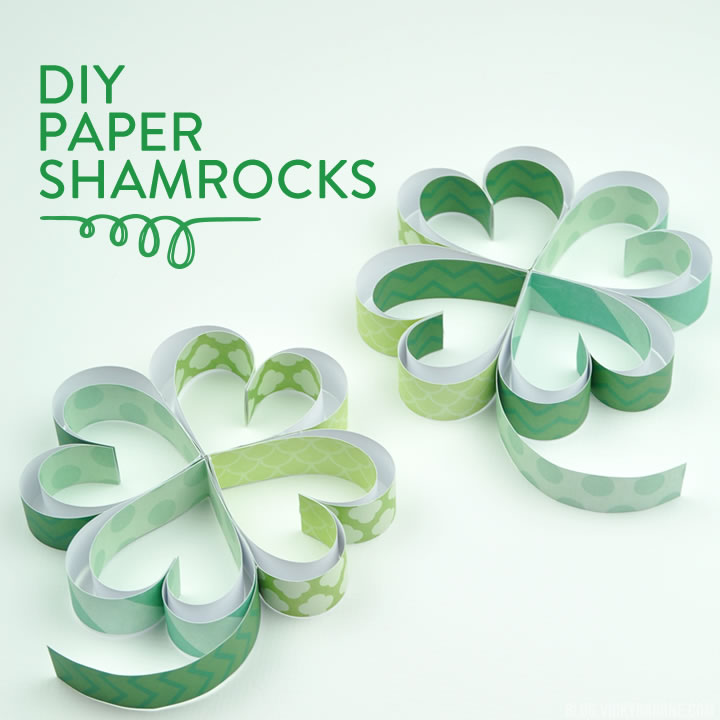
This week is finally feeling like Spring! We hope that wherever you are, you’re enjoying some nice warm weather too! Today we’re sharing a DIY paper clover project for St. Patrick’s Day.
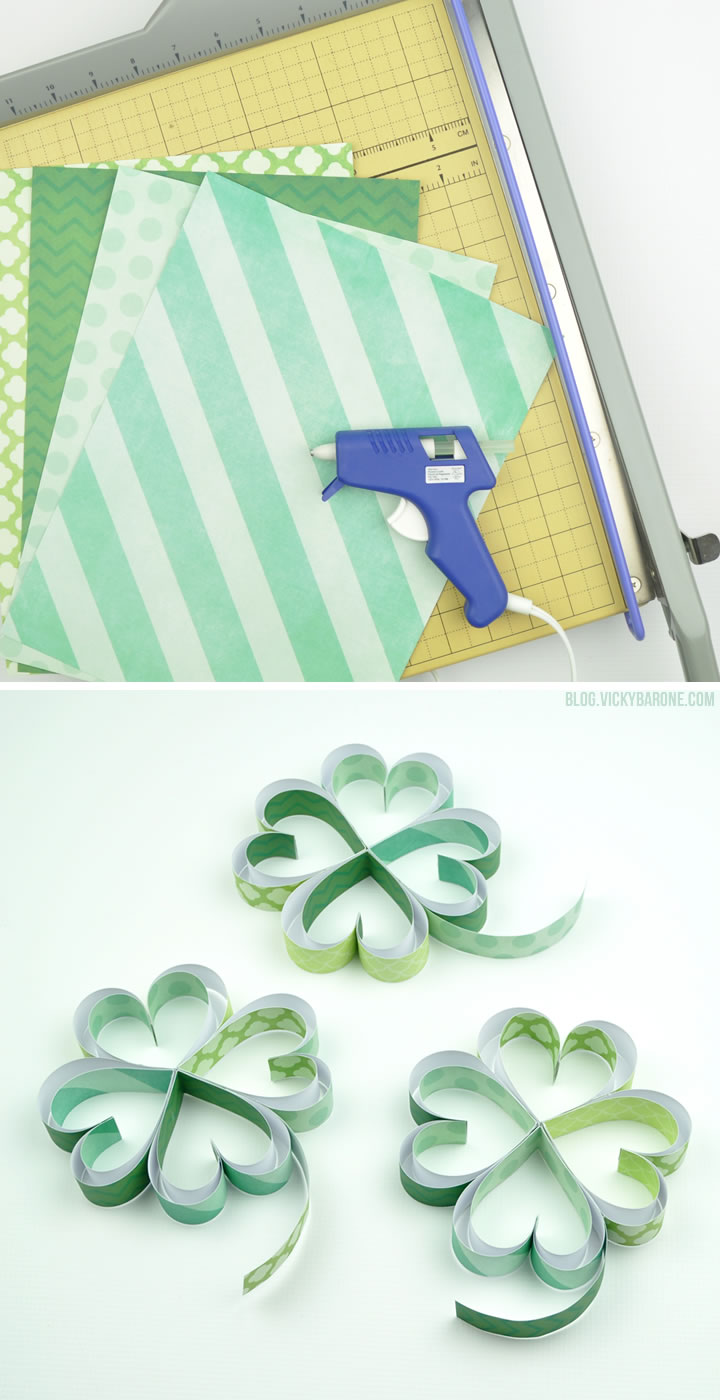
Supplies: green scrapbook paper, a paper cutter, and hot glue.
Directions:
1. Cut 4 strips of paper 1″ wide by 8″ long and 4 more strips of paper 1″ wide by 10″ long.
2. Fold the 8″ strips in half, patterned side together. Fold the 10″ strips in half, white side together.
3. Glue one end of an 8″ strip to an end of a 10″ strip, white sides together.
4. When the glue is set, glue the opposite ends of both strips together, white sides together again.
5. Glue the folded centers together with a dot of glue.
6. Take the glued ends and curl them in towards each other to create the heart shape. Glue the ends together and hold in place until the glue sets.
7. Repeat with the rest of the strips until you have four hearts.
8. Cut a 6 inch long strip of paper for the stem.
9. Glue the hearts together in a circle to create a shamrock with a stem between two of the hearts!

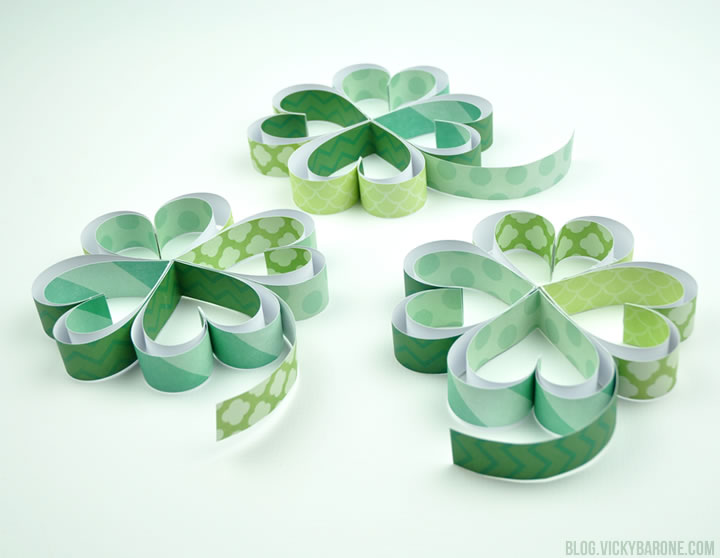

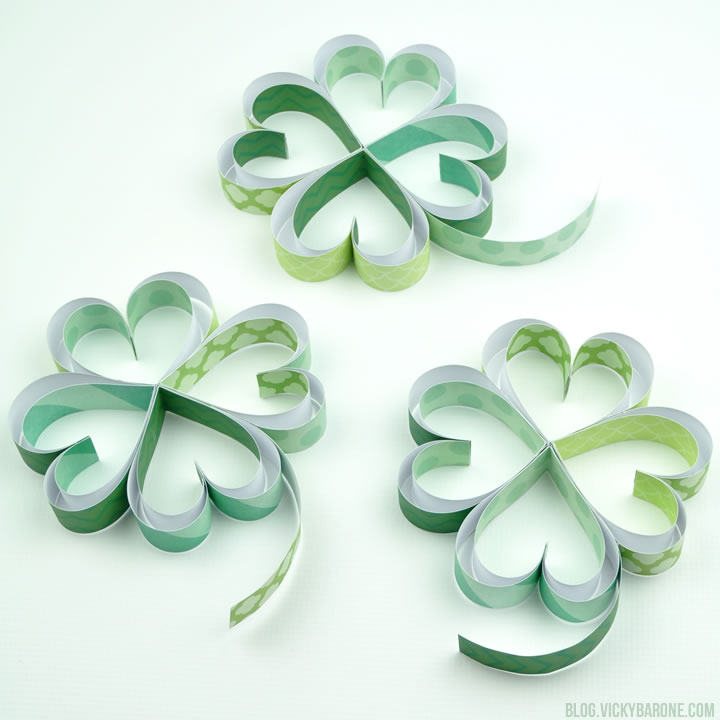
Hang these shamrocks from string to create a garland or just set them out on a table to create a runner!
Follow Vicky Barone on Instagram for more St. Patrick’s Day inspiration!