Categories
DIY Parties and Events

DIY Chalkboard Wine Glasses

We have seen these chalkboard-dipped wine glasses all over Pinterest for years now so it’s about time we tried them out! One thing that held us back was the thought of potentially ruining perfectly good wine glasses, but we have a solution! The glasses we used are from the Dollar Tree! Lots of dollar stores have great glassware to choose from that’s perfect for crafts like this. Target even has some inexpensive stemware to choose from!

DIY Chalkboard Wine Glasses | Vicky Barone

This DIY could not be simpler, and it’s an awesome way to save your glass during a dinner party or get together! Here’s how to make your own:

DIY Chalkboard Wine Glasses | Vicky Barone

Supplies: wine glasses, chalkboard paint, aluminum foil, a paint brush, and chalk.

Directions:
1. Make sure your glasses are clean and dust-free. Use rubbing alcohol to make them squeaky clean and ready for paint!
2. Open your can of chalkboard paint and give it a good stir.
3. Lay out a piece of aluminum foil to rest the painted glasses on. You can also use wax paper or newspaper, but we found that the paint stuck to those surfaces and had to be picked off later. They peeled right off the aluminum foil though with no trouble at all!
4. Dip the base of a wine glass into the chalkboard paint container.
5. Tap the base of the glass on the insides of the paint can in a back and forth motion to shake off the excess paint.
6. Use the paint brush to clean off the bottom of the glass and remove and drips.
7. Set the glass down on the aluminum foil and move on to the next glass!
8. Let the glasses dry overnight. While they’re drying, if you see that the paint is puddling, just simply move each glass to a new spot on the aluminum foil.

DIY Chalkboard Wine Glasses | Vicky Barone

Set the glasses out for your guests with a bowl full of chalk and they’ll be good to go. These glasses would be perfect for Christmas dinner or even New Year’s Eve!

DIY Chalkboard Wine Glasses | Vicky Barone

We hope everyone has a wonderful holiday and safe travels to those of you visiting friends and family!

Categories
DIY Holidays Kids

DIY Chalkboard Ornaments

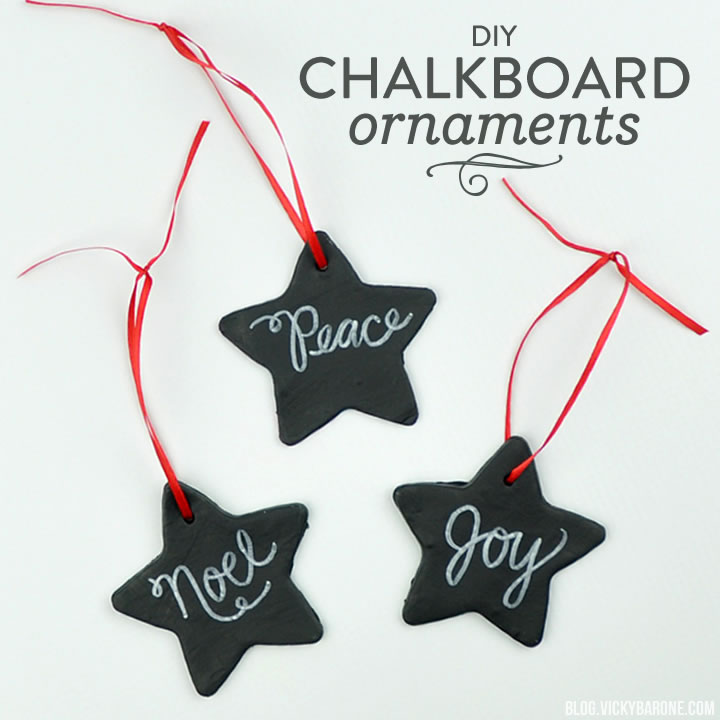
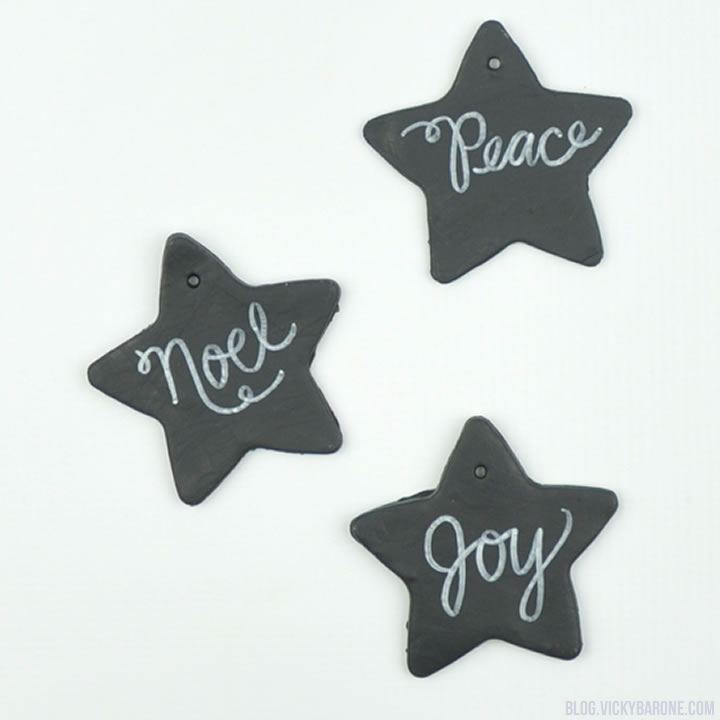
Looking for a fun and easy Holiday DIY to make this weekend? These chalkboard ornaments are super simple and can be personalized however you’d like! They would also make great gifts, stocking stuffers, or even gift tags!

DIY Chalkboard Ornaments | Vicky Barone

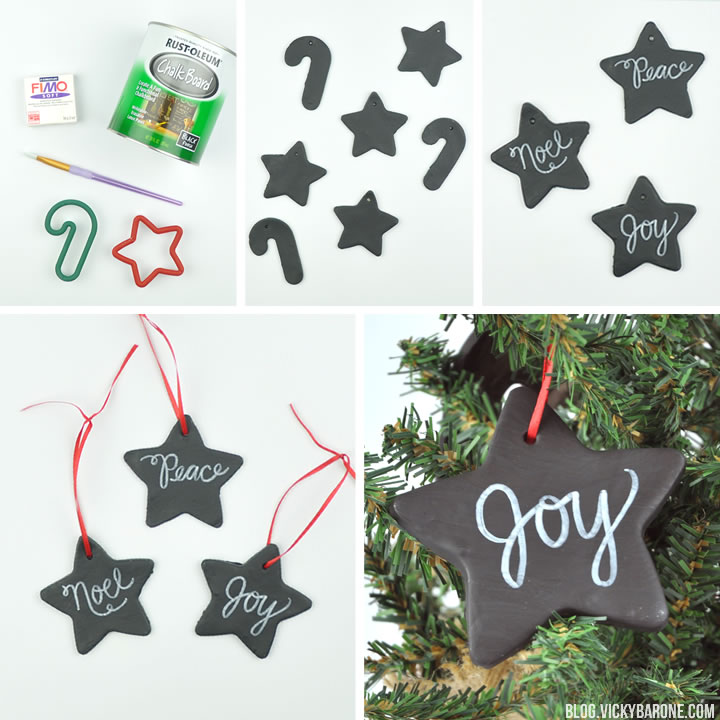
Supplies:
– white polymer clay
– cookie cutters (we got ours from the Dollar Store to use specifically for clay. Play it safe and refrain from using the cookie cutters in your kitchen!)
– wooden skewer
– chalkboard paint
– paint brush
– white paint pen
– ribbon

DIY Chalkboard Ornaments | Vicky Barone

Directions:
1. Roll out clay according to directions until you reach a desired thickness. Ours were a little less than 1/8 of an inch thick, but were pretty sturdy when baked.
2. Use cookie cutters to make shapes. Remove excess clay from around cookie cutter before picking it up to reveal the shape. This will help make cleaner edges!
3. Use a wooden skewer to create a hole in each shape. Make sure it goes all the way through. This will be where you tie ribbon to hang the ornament when it’s complete.
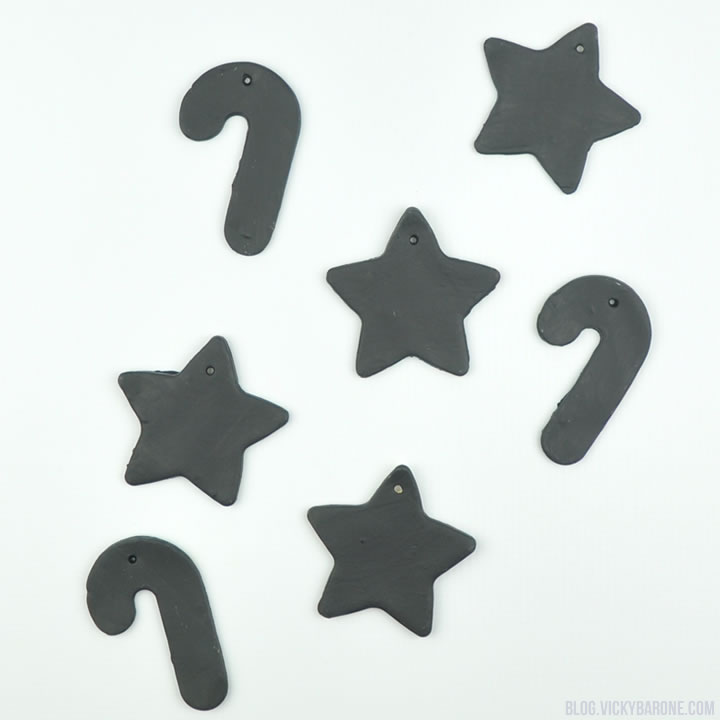
4. Place shapes on a cookie sheet lined with aluminum foil. Bake according to directions on package. Let cool completely.
5. Paint shapes with chalkboard paint (2 coats should do). Let dry.
6. Decorate the ornaments with white paint pens however you’d like!
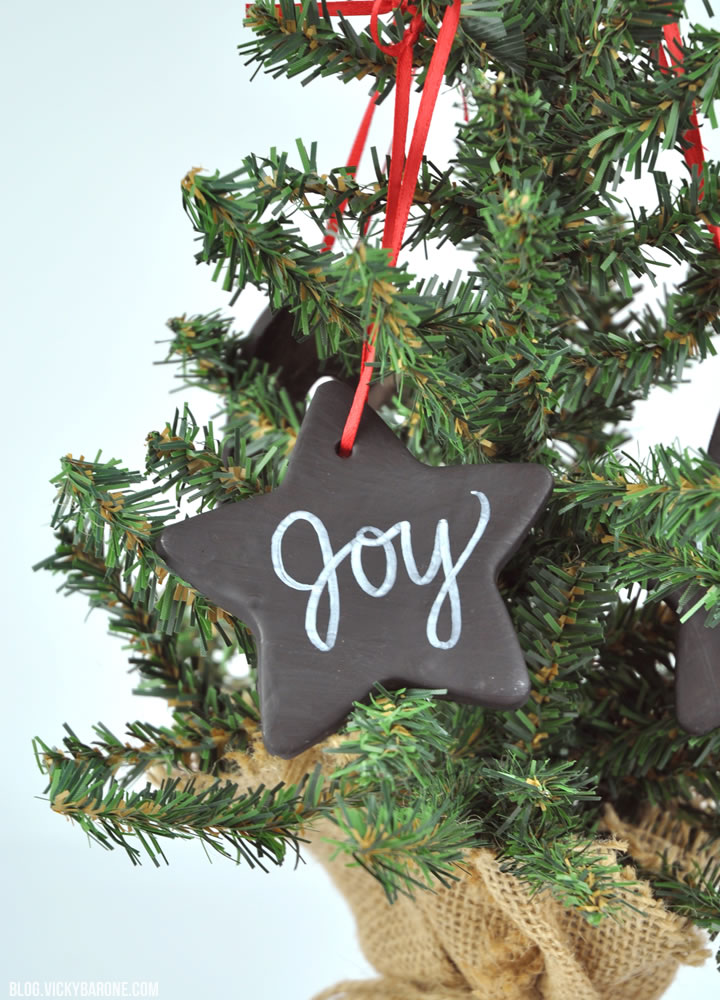
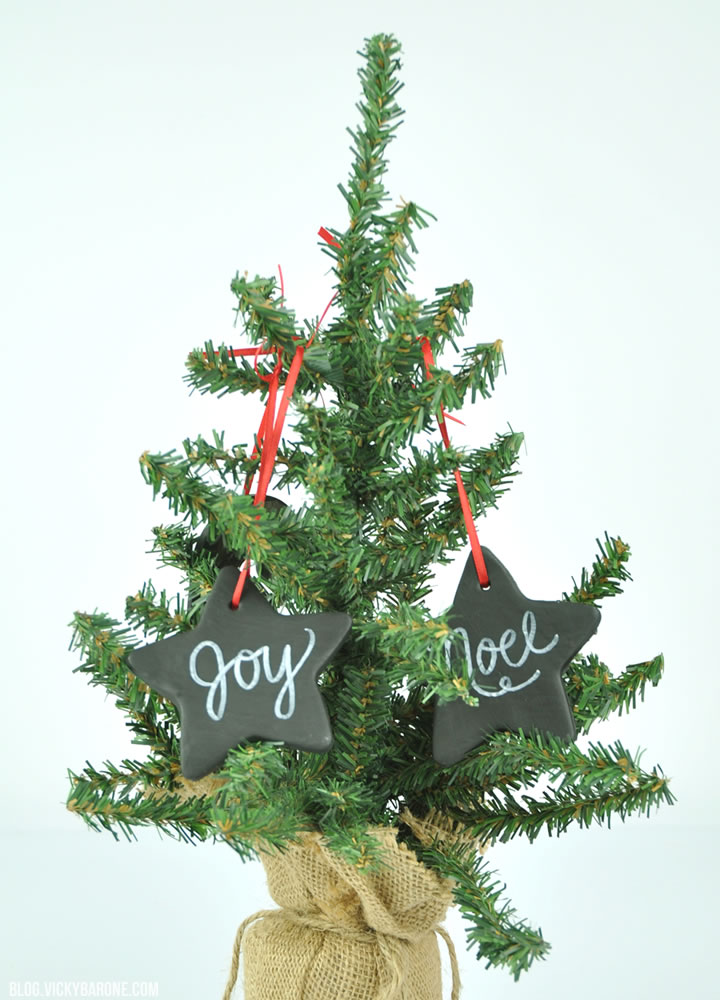
7. Tie a ribbon through the hole and hang on a tree.

DIY Chalkboard Ornaments | Vicky Barone

DIY Chalkboard Ornaments | Vicky Barone

DIY Chalkboard Ornaments | Vicky Barone

DIY Chalkboard Ornaments | Vicky Barone

Have a wonderful weekend, everyone! Happy crafting!

P.S. Speaking of ornaments, don’t forget to order your personalized ornaments from Vicky Barone Designs by December 7, 2015 for guaranteed Christmas delivery!

Categories
DIY Holidays Kids

DIY Christmas Countdown Plate

Happy December! Can you believe it? Before you know it, it will be Christmas day. In the meantime, half the fun is the countdown! We made this chalkboard advent calendar to help keep the excitement going all month long. Here’s how to make your own…

DIY Christmas Countdown Plate | Vicky Barone

Supplies:
– A metallic charger. You can find these at most craft stores for just a few dollars.
– Chalkboard paint. We LOVE Rust-Oleum’s Black Finish Chalk Board paint.
– A paint brush.
– Chalk (and a paper towel!).
– Alphabet stickers.

DIY Christmas Countdown Plate | Vicky Barone

Directions:
1. Gather your supplies. Make sure the charger is clean and dry before painting.
2. Paint the center of the charger with chalkboard paint. Let dry completely.
3. Prep the chalkboard. First, rub chalk onto a paper towel.
4. Gently rub the chalk-covered paper towel onto the chalkboard paint.
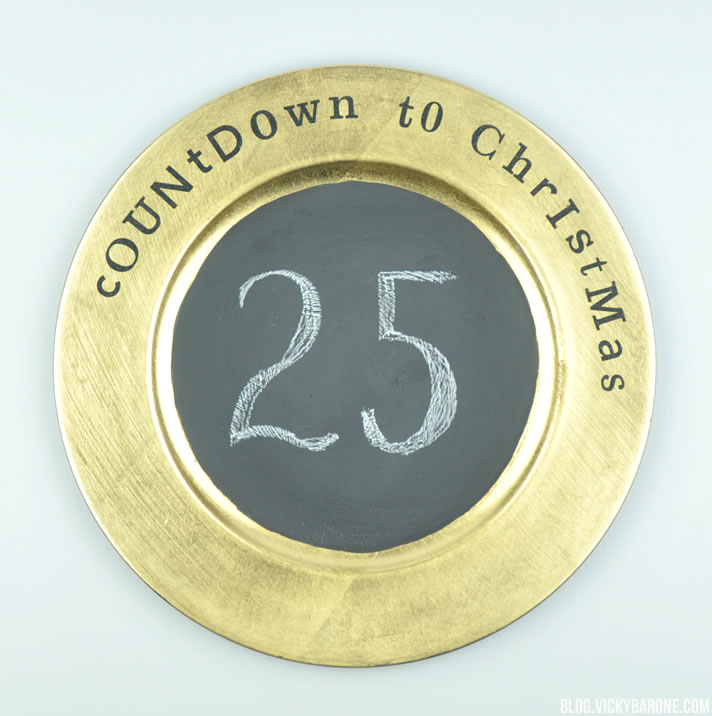
5. Add stickers! Say whatever you’d like. We had enough random stickers to spell out “Countdown to Christmas,” but you can also say “Days until Christmas,” “Christmas is Coming,” “Santa Claus is Coming to Town,” or anything you’d like!
6. Use chalk to start your countdown. Each day, wipe the number away with a wet or dry paper towel and write the next number.

DIY Christmas Countdown Plate | Vicky Barone

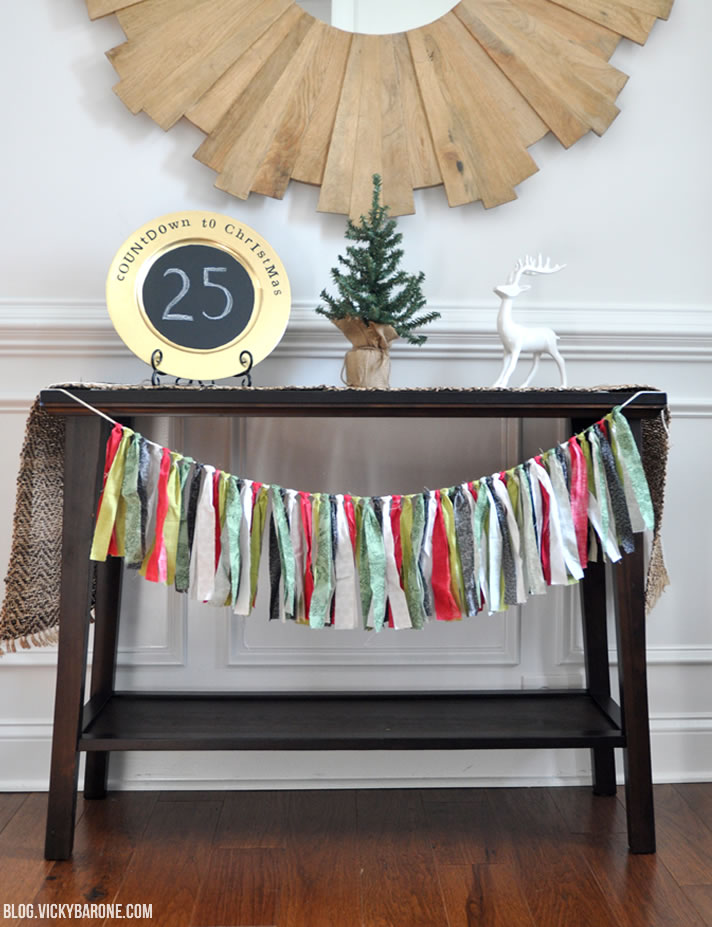
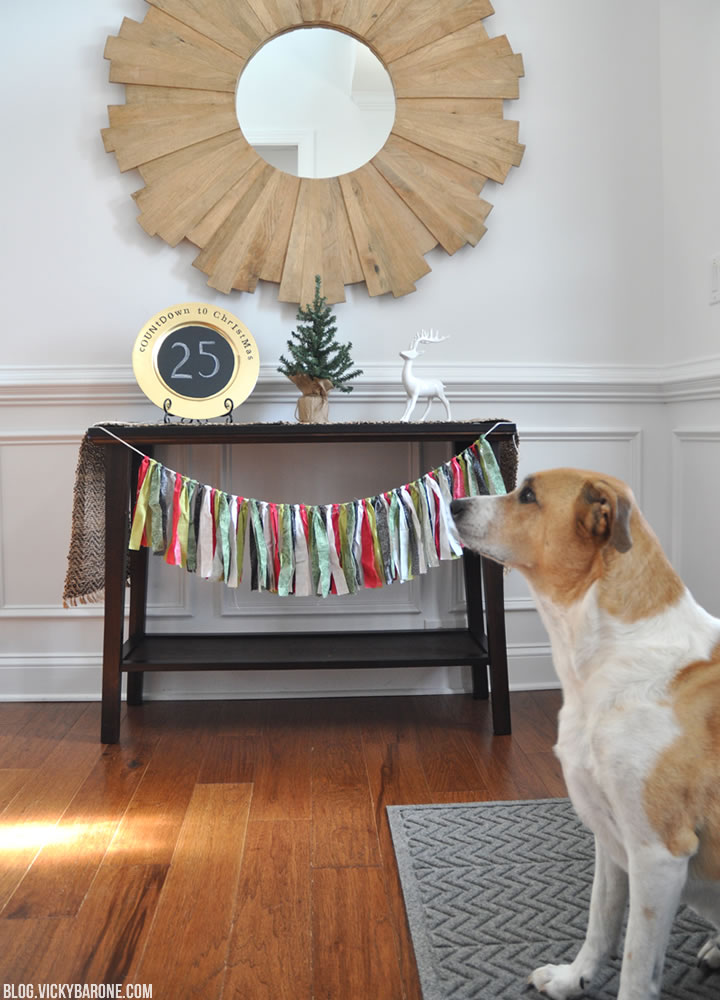
We displayed ours on a pretty black easel in the foyer (that fabric garland tutorial will be on the blog soon!). It’s so exciting to see the countdown each day! It’s no advent calendar full of candy, but your kids may still fight over who gets to write the numbers each day. 😉

DIY Christmas Countdown Plate | Vicky Barone

DIY Christmas Countdown Plate | Vicky Barone

Here’s Cooper posing with the countdown plate like the majestic beast he is…

DIY Christmas Countdown Plate | Vicky Barone

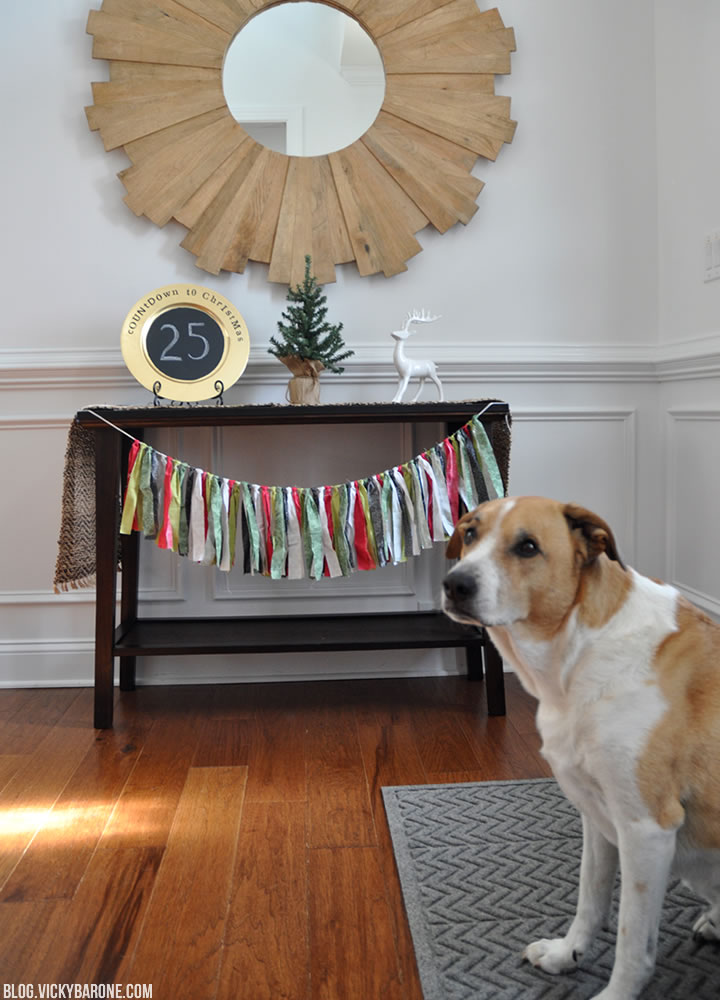
…aaaand here he is looking awkward.

DIY Christmas Countdown Plate | Vicky Barone

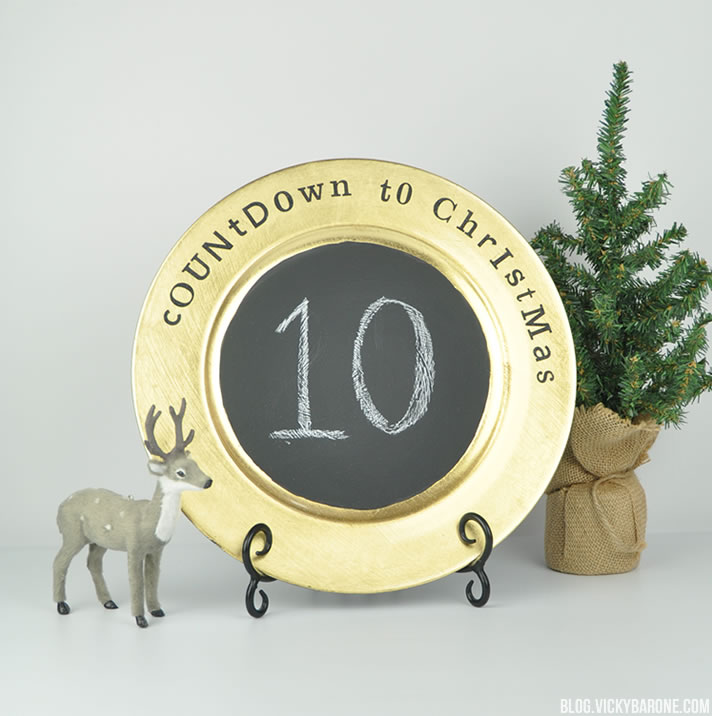
Eek! We can’t wait until the plate reads a number like this!

We hope everyone has a wonderful first day of December! Happy Holidays!