This post contains affiliate links. If purchased, I will receive a commission, but the price stays the same for you!
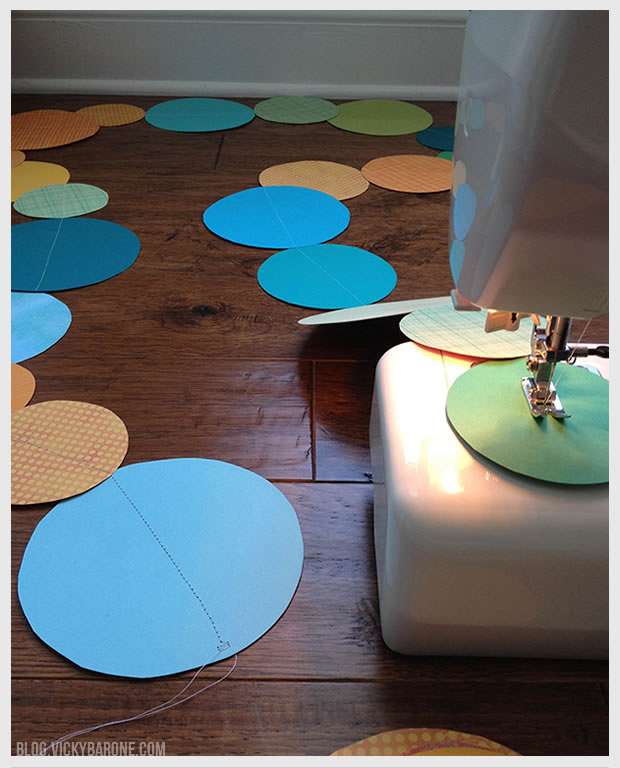
Here’s our first Valentine’s Day decoration of the season! We love how colorful and happy this garland is and we’re excited for Valentine’s Day already!
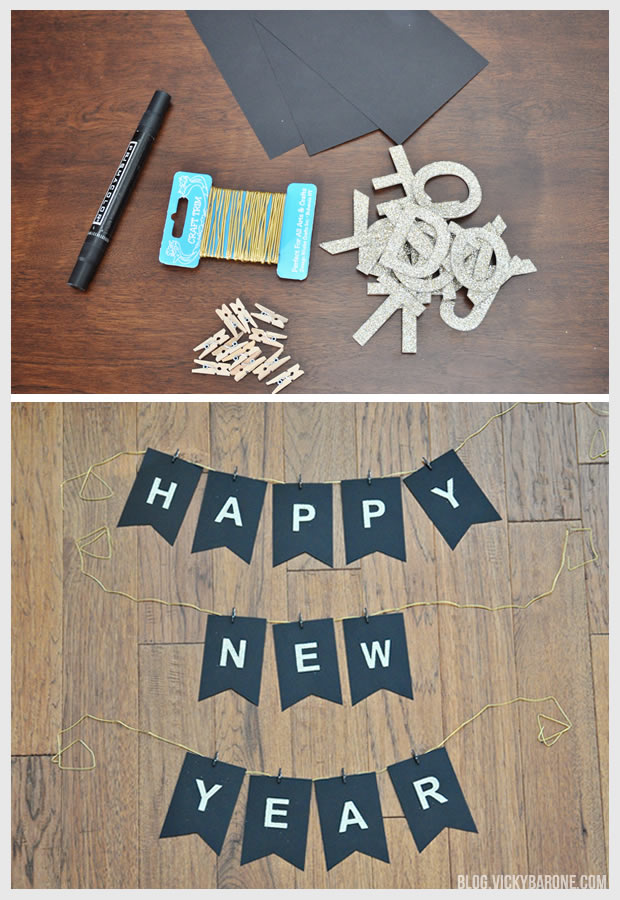
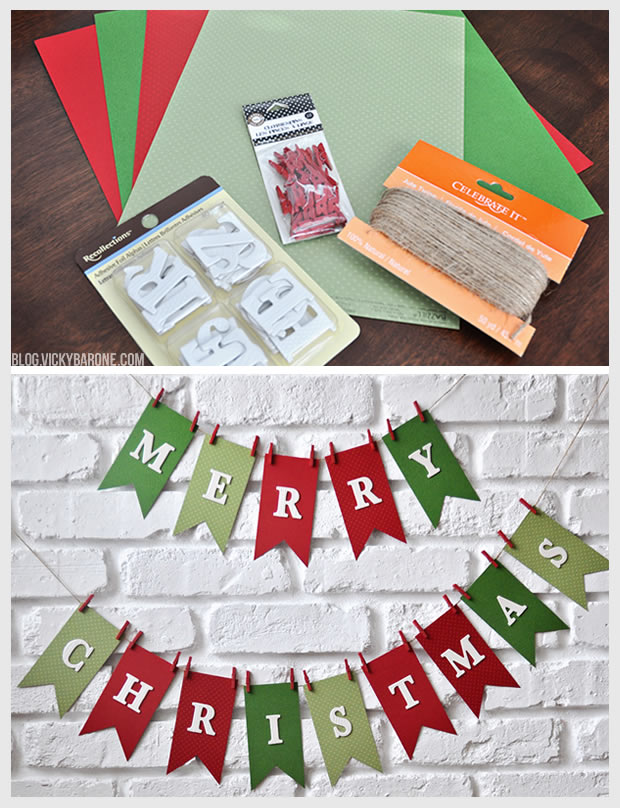
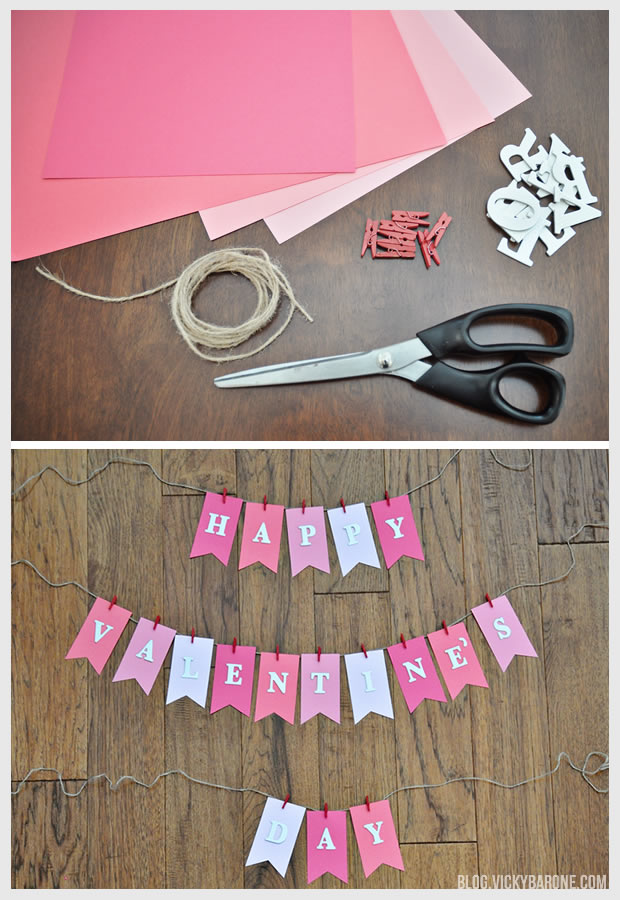 Materials: scrapbook paper, adhesive chipboard alphabet letters (similar), mini clothespins, a paper cutter and/or scissors, and twine. You can find all of these materials in your local craft store!
The above supplies contain affiliate links. If purchased, I will receive a commission, but the price stays the same for you!
Directions:
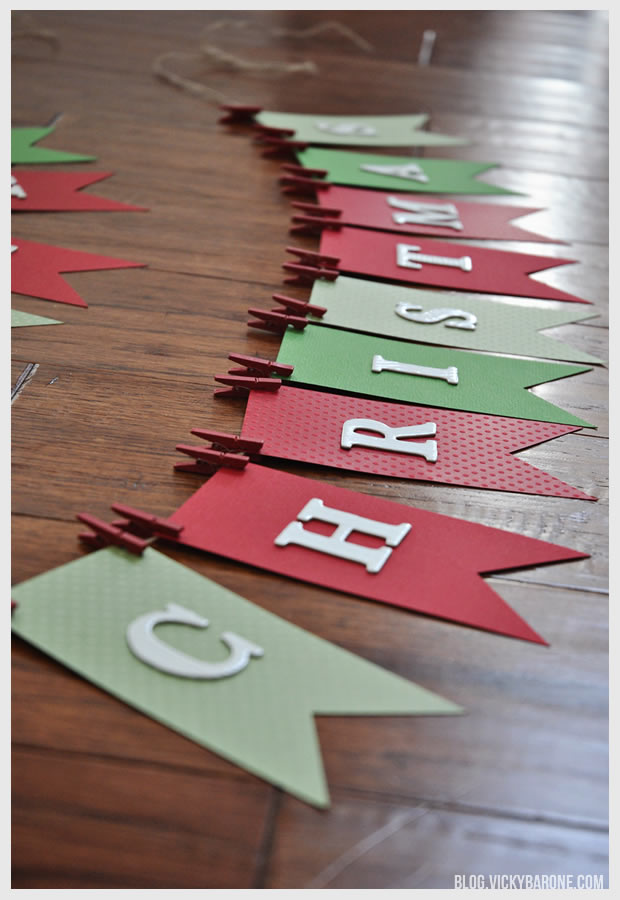
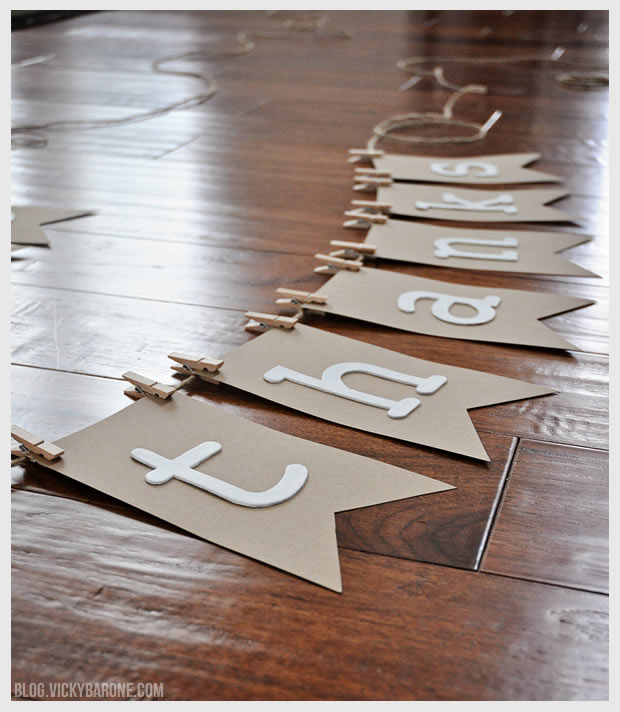
1. Using a paper cutter, cut scrapbook paper into 2.5 x 5 inch rectangles.
2. Cut a triangle out of the bottom of each paper rectangle using scissors. We made a stencil out of scrap paper to make sure each triangle cut was the same.
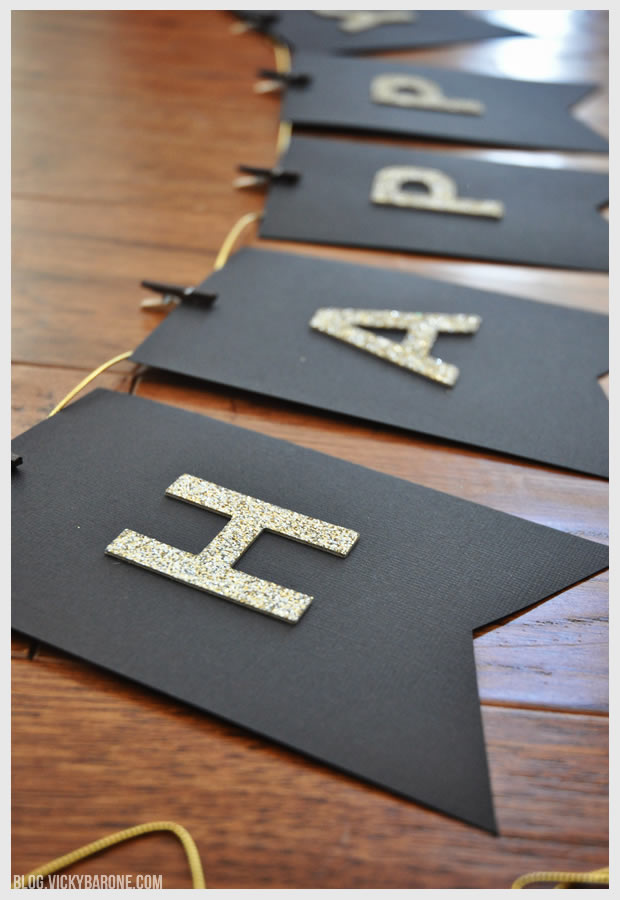
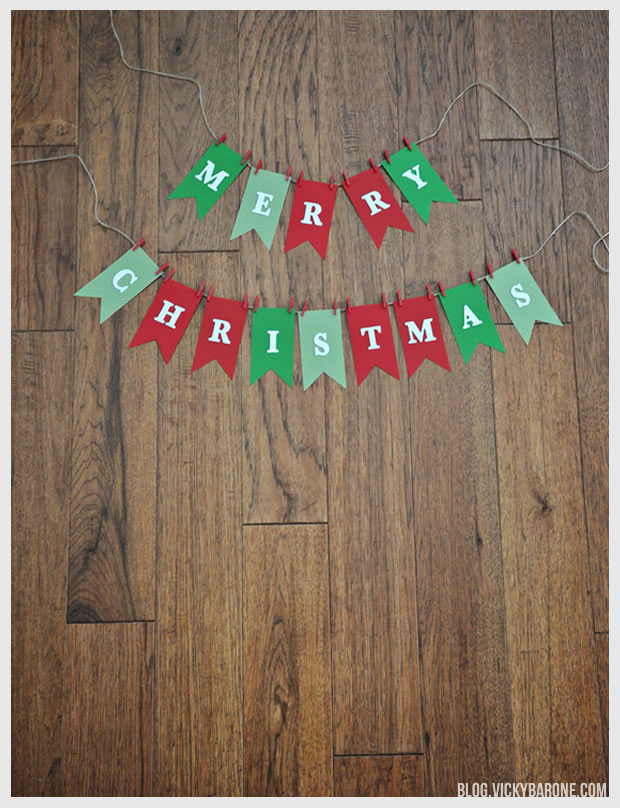
3. Remove the backing from the adhesive letters and attach to each paper flag.
4. Cut three long pieces of twine and attach each flag with a mini clothespin, leaving equal space between the flags and extra twine on each end for hanging.

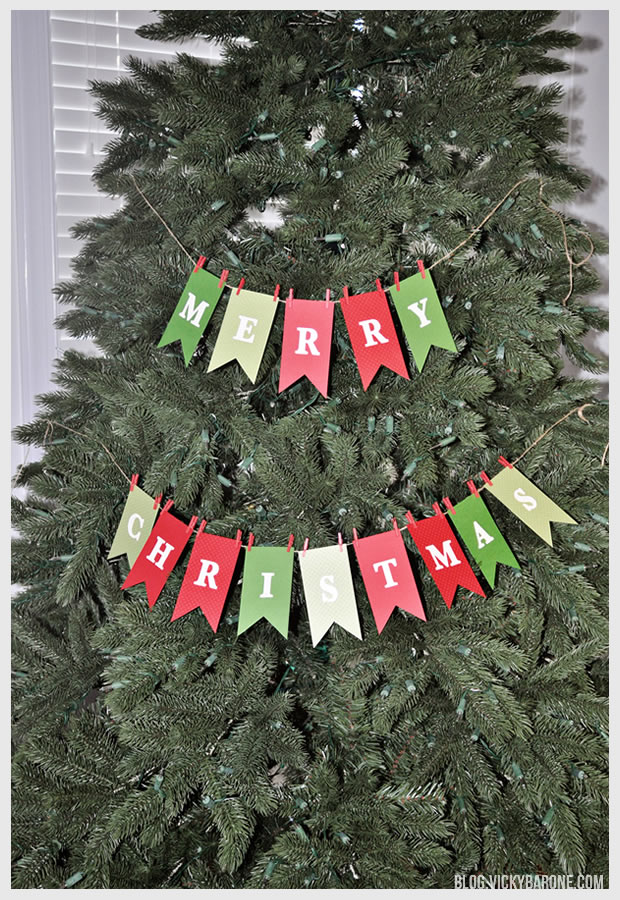
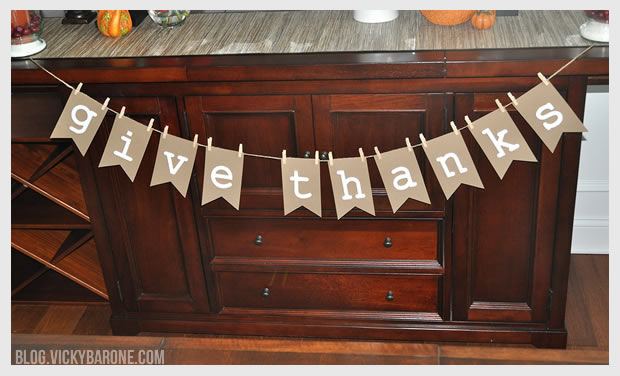
If you like this garland, be sure to check out our Thanksgiving, Christmas, and New Year’s Eve garlands as well!
Follow Vicky Barone on Pinterest for even more great Valentine’s Day Ideas!