Categories
DIY Holidays

DIY No-Sew Felt Bat Garland

Happy Monday, friends! It is getting mighty chilly on the east coast, which makes all of these Halloween (and Christmas?!) decorations feel a lot more appropriate. Sure, we’d love a few more Summery days, but this Autumn air is all too welcome.

DIY No-Sew Felt Bat Garland | Vicky Barone

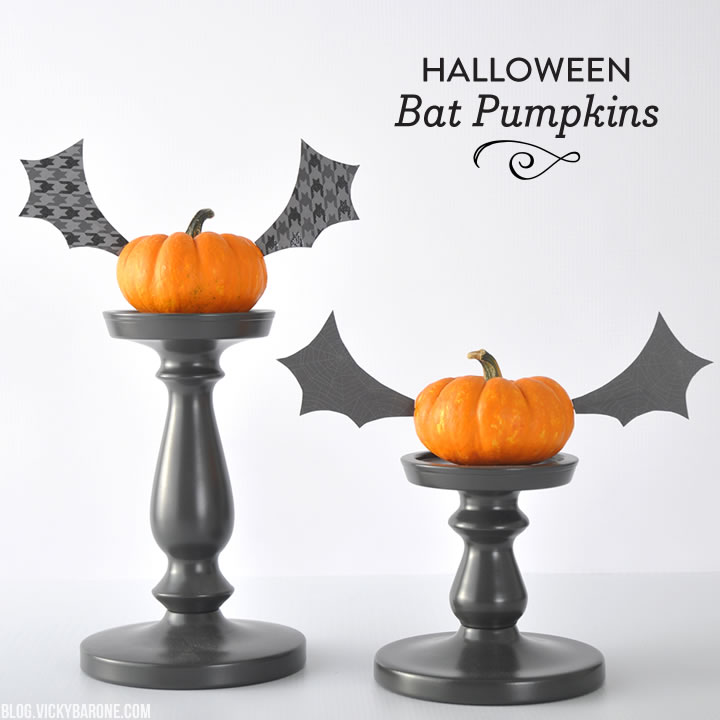
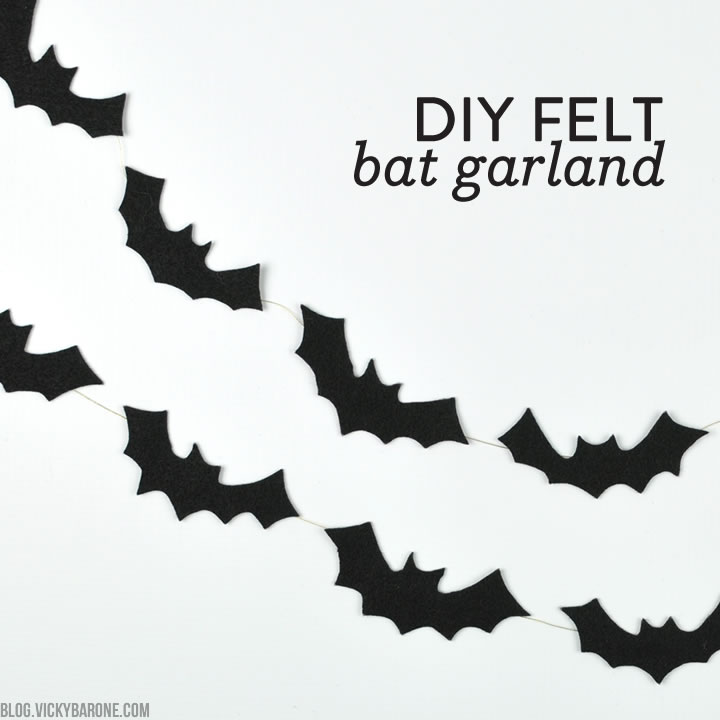
Today we’re sharing a bat garland that requires absolutely NO sewing! Grab your felt, scissor, and hot glue, and follow us…

DIY No-Sew Felt Bat Garland | Vicky Barone

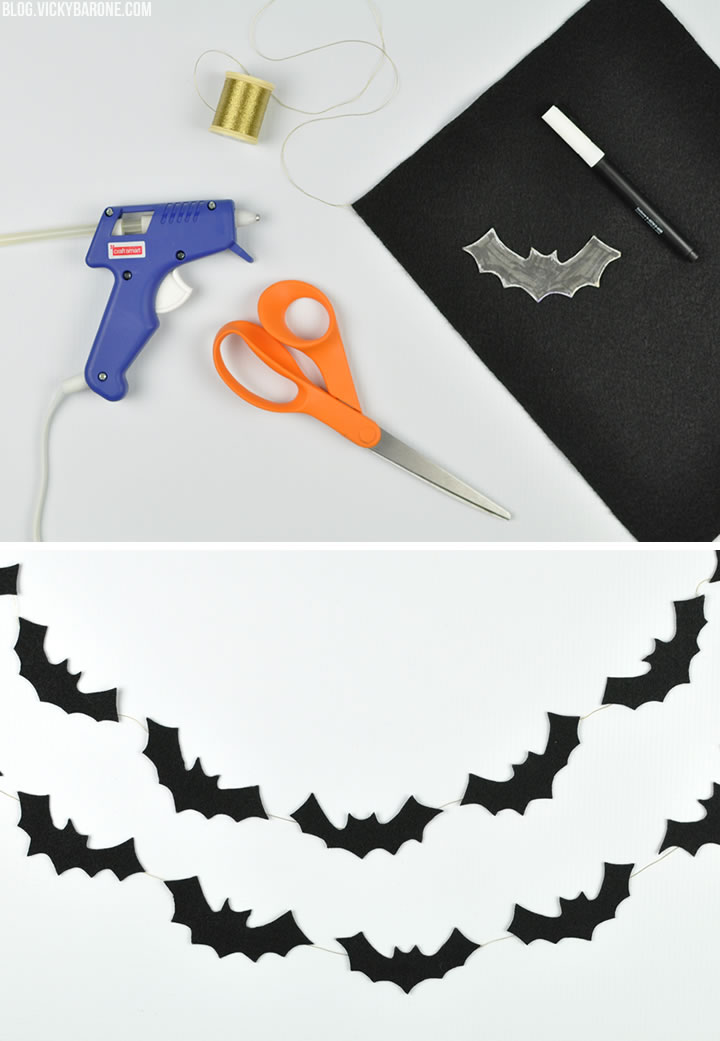
Supplies: black felt, fabric scissors, chalk or a white marker, string, and hot glue.

Directions:
1. Hand draw or print out a bat shape onto a piece of paper. When you like the size and shape, trace it onto a small piece of card stock or thin cardboard and cut it out. This will be your template!
2. Trace around the template onto a piece of black felt using chalk or a white marker.
3. Cut the bat shapes out of the black felt.
4. Cut out a length of string for your garland. We used thin gold thread.
5. Heat up your hot glue gun and make two or three glue dots onto the back of a bat shape. We made three dots of glue – one on each wing and one in the center so the string made a V-shape when glued down (this way the string wouldn’t show between the wings when hung).
6. Quickly press the string to the glue dots.

DIY No-Sew Felt Bat Garland | Vicky Barone

Hang your spooky garland and enjoy!

DIY No-Sew Felt Bat Garland | Vicky Barone

Looking for more garlands? You’re in luck! Click here to see more.

Categories
DIY Holidays Kids

Halloween Bat Pumpkins

Fall is in full swing and pumpkins are taking over! If you’re anything like us, you frequently find yourself leaving the grocery store, farmer’s market, and craft store with more and more mini pumpkins. We don’t blame you! They’re irresistible (especially to little ones tagging along on your errands). Thankfully, there are endless things to do with those little orange wonders to give them a multitude of purposes around the house.

Halloween Bat Pumpkins | Vicky Barone

Today we’re sharing a super simple DIY to turn your mini pumpkins into bats for Halloween!

Halloween Bat Pumpkins | Vicky Barone

Supplies: mini pumpkins, a thumb tack, patterned black and gray scrapbook paper, scissors, toothpicks, and tape.

Directions:
1. Cut bat wings out of scrapbook paper. We made a template to trace by holding a pumpkin on its side and sketching some wings to the left and right. One curved swoop out, and four curved swoops in. Once you get the shape you like, cut out the wings and use them to trace the shape onto the back of the patterned scrapbook paper. Cut the scrapbook paper wings with scissors.
2. Tape a toothpick to the back of each wing, leaving 1/4 inch of toothpick sticking out past each wing.
3. Use a thumbtack to make two holes in the sides of a pumpkin. To make the wings stick out at different angles, make the thumbtack hole in the center, the top, or the bottom.
4. Insert the wings into the holes, pressing them in until the paper meets up with the pumpkin and you can’t see the toothpick.

Halloween Bat Pumpkins | Vicky Barone

Decorate your home with your bat pumpkins! We put ours on candle sticks on the dining room table for a Halloween-themed tablescape.

Halloween Bat Pumpkins | Vicky Barone

If you like these bat pumpkins, you’ll love our spider pumpkins!

Are you decorating for Halloween yet? How about Christmas? 😉

Categories
DIY Holidays Kids Parties and Events

Halloween Ice Cubes

Here is a super simple DIY to make your Halloween party extra spooky! All you need are some plastic ring party favors from the Dollar Store and an ice cube tray.

Halloween Ice Cubes | Vicky Barone

Directions:
1. Remove rings from packaging and clean with soap and water.
2. Place rings in ice cube tray and fill half way with water. Freeze.
3. Remove ice cube tray from freezer and fill the rest of the way with water. Return to freezer until fully frozen.

Halloween Ice Cubes | Vicky Barone

These spider and bat ice cubes are perfect for a Halloween drink or would look great floating in a bowl of punch! Want crystal clear ice cubes? Boil a pot of water, let cool, and boil a second time. Add the pot of water into ice cube trays and freeze. After boiling the water twice, you’ll have perfectly clear ice cubes to better see your creepy additions.