Categories
DIY Holidays Kids

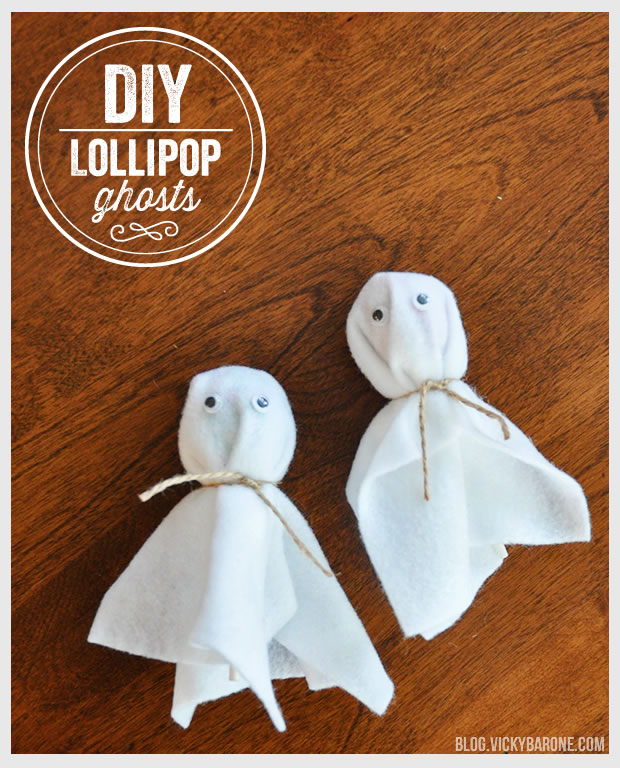
DIY Lollipop Ghosts

We’ve been boo-ed! Have you?
When you’re stretched for time, it’s tempting to re-gift your “Boo” Bag, isn’t it? We fought that urge this morning when we were boo-ed and made a quick craft for our neighbors to enjoy (or maybe re-gift??).

If you’ve been boo-ed, try this cute five-minute craft with lollipops, felt, twine or ribbon, googly eyes, and glue!

DIY Lollipop GhostsCheck out the You’ve Been Booed Website for more ideas! Happy Halloween!

Categories
DIY Family Holidays Kids Lifestyle My Projects Projects

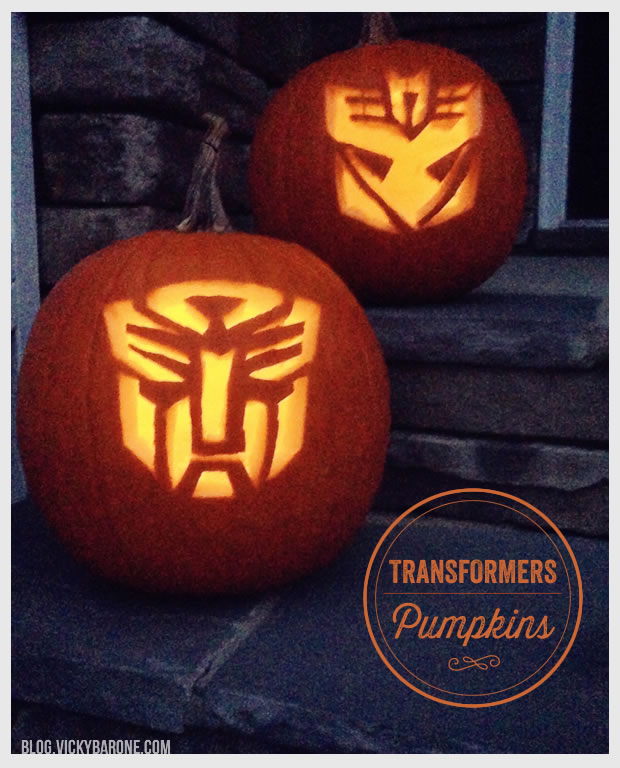
Transformers Pumpkins

It’s almost Halloween! Time to carve the pumpkins!  For the last couple of years I got away with carving a goofy face. However, this year I had a special request from our 4-year-old who is obsessed with Transformers.  I guess saying I got away with carving a goofy face isn’t exactly accurate because last year I splurged and purchased a Pumpkin Carving Kit from Williams Sonoma since I almost lopped off my own finger the year before trying to use a cheaper version.  I attempted a Mickey Mouse face last year and after hours of carving, I produce a masterpiece that my then 3-year-old said he liked and then moved on.  He probably would have been just fine with the goofy face, but this year, after having a little taste of last year’s extravagantly-carved pumpkin, he requested Transformers.

Now I’m worried that they won’t last until tomorrow night, but for now, here they are in all their glory: The Autobots and The Decepticons.

To carve these designs, I created my own template on a piece of paper so that I didn’t have to freehand the logos.  It was much quicker and turned out more symmetrical.  Once I had the template, I traced the logos onto the pumpkins in pencil so the carving would go quickly.  If you search the web, you can find lots of Transformers images that would work great for tracing and carving your own!

Now I’m extremely worried about what my son’s request will be next year. I may have to take an actual carving class!

Categories
Holidays Kids Recipes

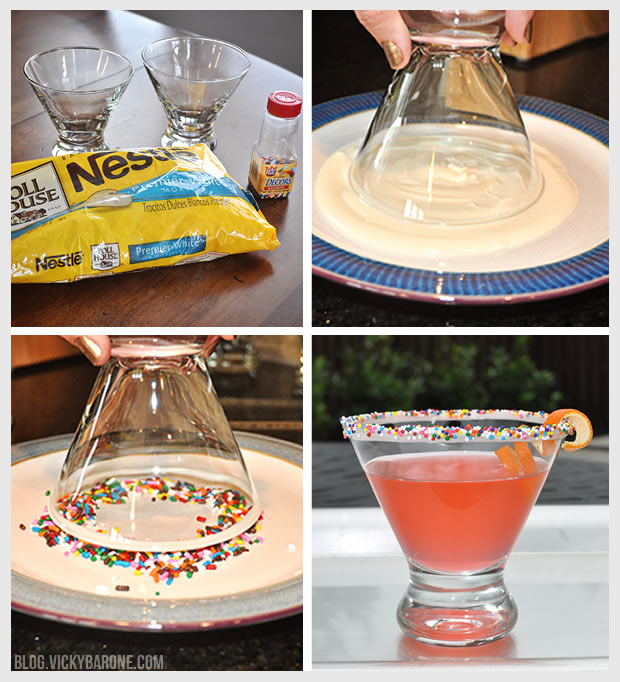
Halloween Sprinkle Rimmed Glasses

For those of you who liked our sprinkle rimmed cocktail glasses, here are some Halloween sprinkle rimmed glasses* for kids! We used white chocolate and orange and black nonpareils for the rims, and filled the glasses with milk! You could even add a little food coloring to the milk to make it orange if you’d like! We also added some orange straws with glittery bat stickers to make them extra festive.

Click here to see a full how-to on the sprinkle rims!

Click here for even more last minute Halloween ideas!

*We suggest using plastic cups for your littlest ones, not glass!

Categories
DIY Holidays Products Things I Love

Things I Love: Halloween!

1. Spiderweb Cupcakes | 2. Mummy Toast | 3. Jack-o-Lantern Tassel Garland | 4. Halloween Costumes for Dogs | 5. Halloween Wreath | 6. Spider Pumpkin

With only five more days until Halloween, we’ve put together a little last-minute round-up of some of our favorite things!
Enjoy!

Categories
My Projects Parties and Events Recipes

Sprinkle Rimmed Glasses DIY

This is the easiest DIY for a party that will make you feel like the fanciest host ever! These sprinkle rimmed cocktail glasses were so perfect for our Pizza and Champagne Party and they only required two ingredients!

Sprinkle Rimmed Glasses DIYWhat you need:
1. Cocktail glasses. You can use any kind of drink wear including shot glasses!
2. Chocolate bits or melting chocolate. We used Nestle Premier White Morsels.
3. Sprinkles! We used rainbow sprinkles for our first round of glasses and nonpareils for the main picture you see at the top! They both worked great.

Directions:
1. Melt about 1/4 cup of chocolate bits in a small bowl in the microwave, stirring every 30 seconds until completely melted.
2. Spread the melted chocolate onto one small plate and pour sprinkles onto another small plate.
3. Dip a glass into the melted chocolate and carefully lift it back up. Slowly turn the glass clockwise and counterclockwise to catch any drips onto the rim and not down the side of the glass!
4. Immediately dip the glass into the sprinkles on the other plate. You can lift the glass up and down to pick up more sprinkles until the melted chocolate rim is covered.
5. Let the glasses set before serving. We put ours into the freezer to set faster.
6. Add your favorite cocktail (or mocktail!) and serve!

We hope this fancy touch will add some flair to your next party! Don’t forget to check out the rest of the DIY details from our Pizza and Champagne Party!


Categories
DIY Holidays My Projects Projects

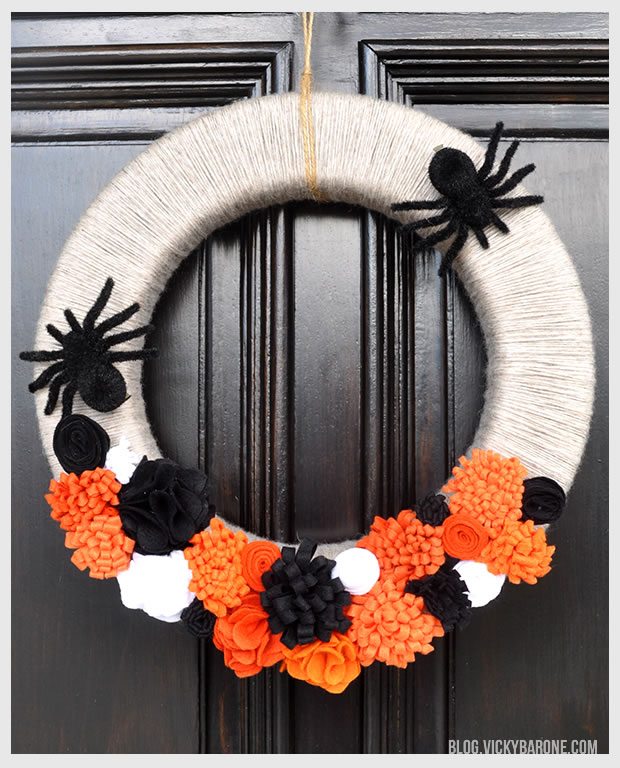
Halloween Wreath

The best part about our felt flower wreath is that it’s seasonal! Here is what it looks like this week, complete with fuzzy clip-on spiders from Michael’s.

We used some of the different orange flowers from our Virginia Tech wreath, and added some white and black flowers to make it Halloween-themed. You can add any other elements to your wreath to make it festive! The spiders we bought came with metal clips on the back, but you can attach bobby pins or clips to any object and attach it your wreath as well. Don’t forget to read this wreath post for full directions!

Happy crafting!


Categories
DIY Holidays Kids My Projects Parties and Events Projects Recipes

Halloween Spiderweb Cupcakes

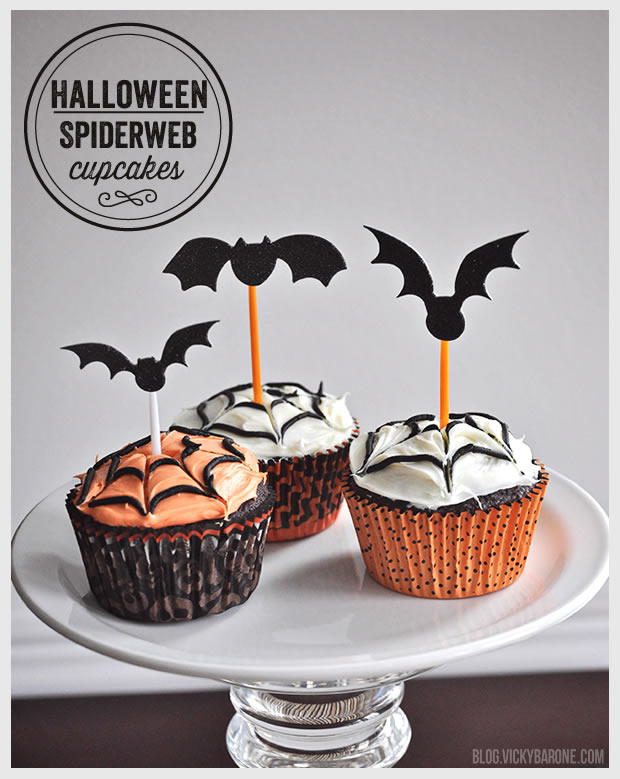
Here’s an easy Halloween treat that everyone is sure to love! Spiderweb cupcakes with bat cupcake toppers! We did a DIY post for these easy spiderweb cupcakes in the Spring for this Spider-Man Birthday Party and they were a hit! So, we thought we’d do them again with Halloween colors. Here’s how we made them:

Halloween Spiderweb Cupcakes
Directions:
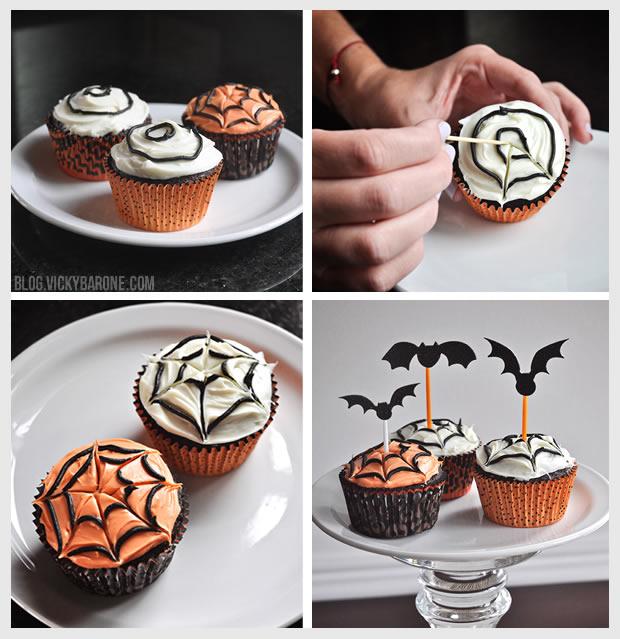
1. Frost cupcakes with white and orange icing (we just added food coloring to half of our white icing to make the orange!).
2. Using black icing with a decorator’s tip, pipe two or three concentric circles on top (The black icing we used here was thicker than the red icing from the Spider-Man cupcakes. They are the same brand, but the black doesn’t pull as smoothly with the toothpick as the red).
3. Drag a clean toothpick from the center of the cupcake to the outside six or seven times to create the webbed look.
4. Add fun Halloween stickers to some colorful toothpicks or cocktail picks to create spooky cupcake toppers!

We used these treat wrappers, treat cups, and bat stickers!

We hope you enjoy this easy and sweet Halloween treat!


Categories
DIY My Projects Parties and Events Projects

DIY Diamond Paper Garland

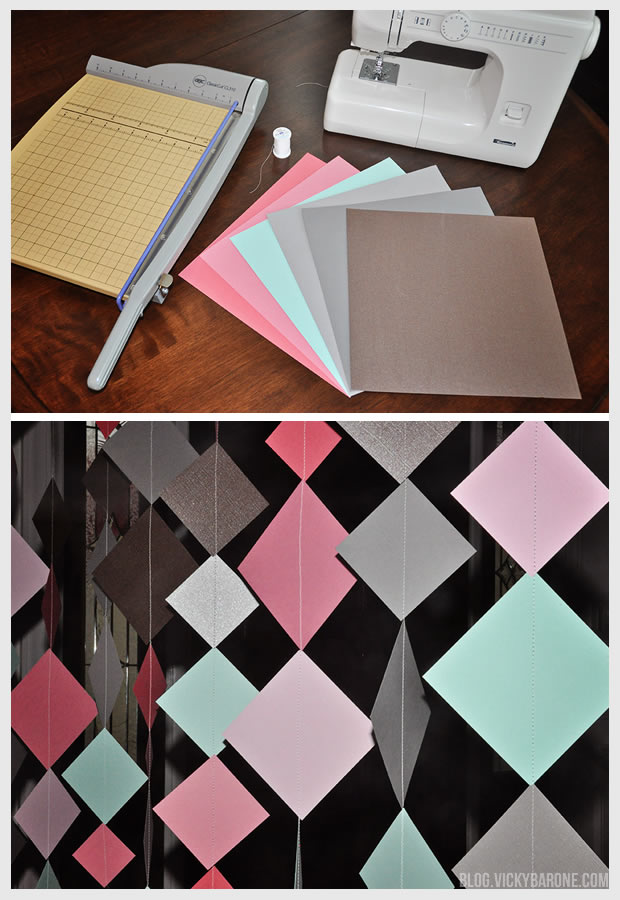
Sewn paper garlands have become our go-to decoration lately. They are a great way to create a bright color palette for any party and they are easy to make! Here is the diamond paper garland we made for our Pizza and Champagne Party!

DIY Diamond Paper GarlandMaterials:
1. Colorful card stock or scrapbook paper
2. A paper cutter
3. A sewing machine
4. All purpose thread

Directions:
1. Using the paper cutter, cut each piece of colored paper into squares of different sizes
2. Put all of your squares into the order that you want (we did the same pattern of colors in order, but mixed up the sizes as we went)
3. Leave a tail of thread to hang the garland before starting to sew into the paper
4. One by one, feed each square into the sewing machine corner to corner to create the geometric diamond look
5. Hang your garland and enjoy! We made each of our strips long enough to hang vertically in a doorway, but you can also leave a tail of thread on each side of the garland and hang them horizontally as well!

Diamond Paper Garland
Don’t forget to check out our Pizza and Champagne Party for other fun party ideas!

P.S. Our circle garland, and our paper strip garland.