Categories
DIY Parties and Events

Aloha Summer Banner

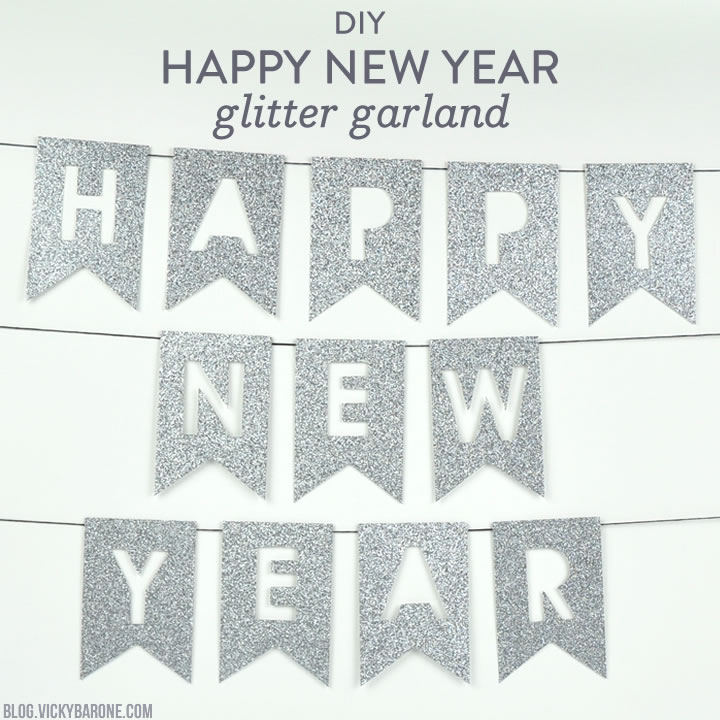
Happy First Day of Summer! We are so excited that Summer is officially here, so we’re celebrating with a DIY paper banner!

Aloha Summer | DIY Paper Banner | Vicky Barone

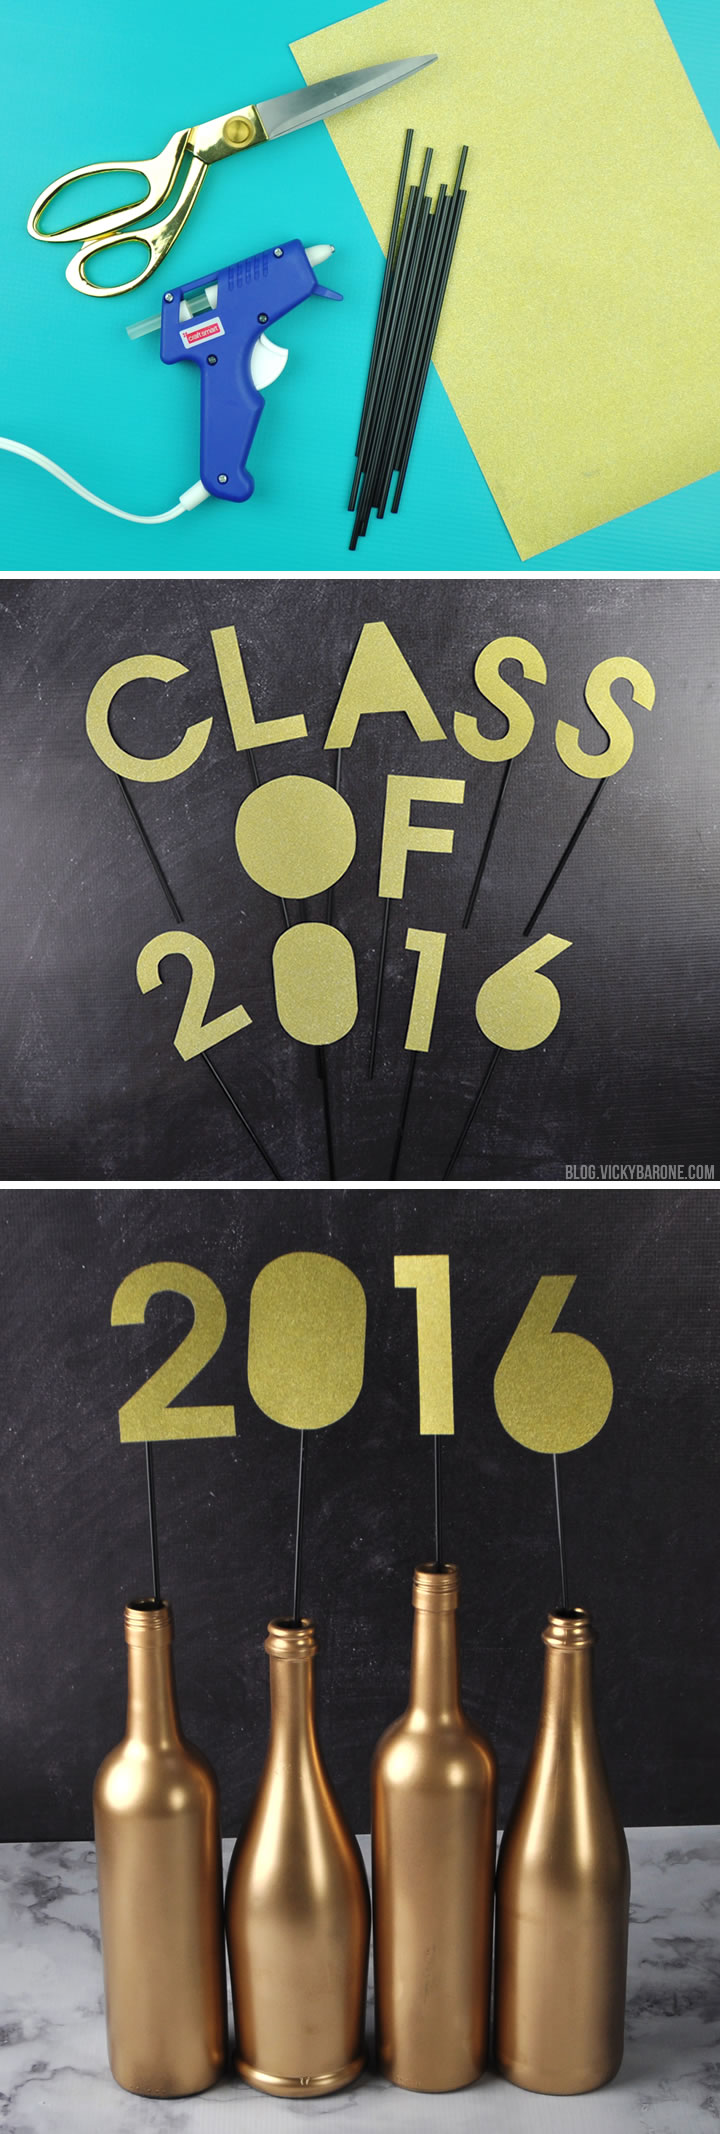
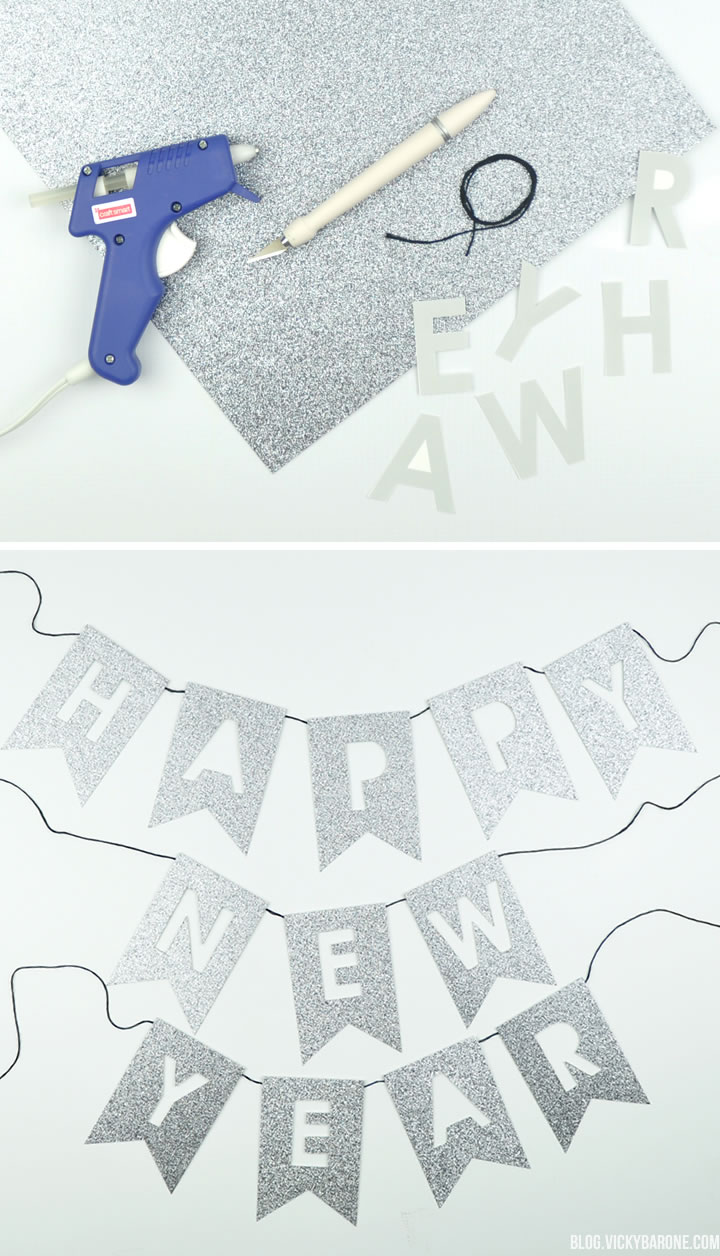
Supplies: colorful scrapbook paper, white cardstock, a printer, scissors, glue, a single hole punch, and twine.

Directions:
1. Cut scrapbook paper into rectangles using scissors or a paper cutter. Ours were about 4×5″
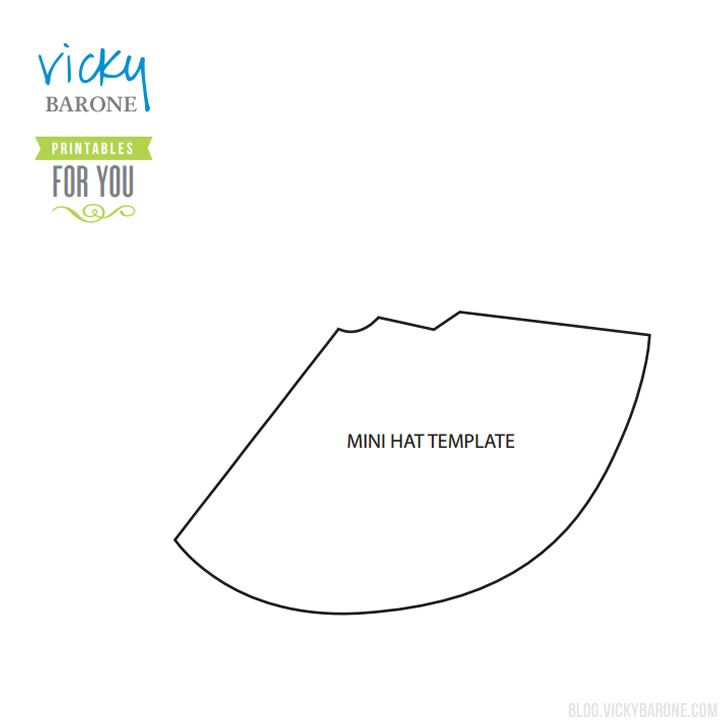
2. Cut triangles out of the bottom of each rectangle. You can freehand this or create a template to trace to make each triangle the same.
3. To create the white letters, you can use a program like Illustrator or Photoshop to type the words you’d like to say and then increase the size so that each letter fits into your rectangles. Our letters were about 3×4″
4. Change the font color of the letters to a super light gray so you don’t use a lot of ink, but can still see the outlines when you cut.
5. Before printing, reverse the letters so they are all backwards! You will want them to print that way so that when you cut them out, the glue will go on the light gray side and the opposite side will be a crisp white!
6. Print and cut the letters.
7. Glue the letters to each rectangle.
8. Use the single hole punch to create two holes in each rectangle.
9. Cut two lengths of twine and thread them through the holes in the rectangles to create the banner.

Hang and enjoy!

Aloha Summer | DIY Paper Banner | Vicky Barone

How will you celebrate the first day of Summer?

Categories
DIY Parties and Events

Graduation Party Centerpiece

Happy Monday, friends! Today we’re sharing a super easy DIY centerpiece for a grad party! Our New Year’s Eve centerpiece was such a hit that we decided to turn it into graduation decor. Here’s how to make your own:

Class of 2016 Graduation Party Centerpiece | Vicky Barone

Supplies: wine bottles, metallic spray paint, coffee straws, wooden skewers, glitter scrapbook paper, scissors, and hot glue.

Directions:
1. Thoroughly clean the glass bottles. To remove the labels, soak in hot soapy water for ten minutes and peel away labels. Remove any remaining glue with Goo Gone or nail polish remover. After using Goo Gone, clean the bottles again with warm soapy water. Let dry completely.
2. In a well-ventilated area (we always suggest doing this outside!), spray the bottles with the spray paint according to directions on the can. Let dry completely.
3. Print out the words and/or numbers you’d like to use, trace them onto the glitter scrapbook paper, and cut out.
4. Hot glue the letters and numbers to some coffee straws.
(At this point you can use these as cake or cupcake toppers!)
5. Insert wooden skewers into the bottom of the coffee straws and place each one into a wine bottle.

Class of 2016 Graduation Party Centerpiece | Vicky Barone

That’s all! Now you have a shimmery centerpiece to celebrate the occasion!

Class of 2016 Graduation Party Centerpiece | Vicky Barone

These would be super cute in a line of cupcakes!

Class of 2016 Graduation Party Centerpiece | Vicky Barone

Speaking of graduation…we have a graduation greeting card giveaway happening RIGHT NOW on Instagram! Go check it out and enter to win! It ends tonight!

Categories
DIY Holidays Parties and Events Recipes

Heart-Shaped Cake for Valentine’s Day

A heart-shaped cake made without a heart-shaped mold? That’s right! This last-minute dessert is super impressive and perfect for Valentine’s Day!

DIY Heart-Shaped Cake for Valentine's Day | Vicky Barone

All you need to make this cake is just 1 box of cake mix, 1 square cake pan, and one circular cake pan! This may come as a surprise to you all, but this idea actually came from the homemaker queen herself, Martha Stewart. AND to top it all off, she posted a video about it today on her Instagram! Great minds think alike right?

DIY Heart-Shaped Cake for Valentine's Day | Vicky Barone

Divide the cake batter between the two cake pans and bake according to directions. When the cakes have cool, cut the circular cake right down the middle and line up the edges against two of the square sides.

DIY Heart-Shaped Cake for Valentine's Day | Vicky Barone

Frost your pretty cake and decorate with sprinkles!

Follow Vicky Barone on Instagram for lots more Valentine’s Day inspiration!

Categories
DIY Holidays Kids Parties and Events Printables Recipes

Valentine’s Day Cupcake Ideas

Happy Monday, friends! Still stumped as to what to make for Valentine’s Day? Today we’re sharing three sweet cupcake ideas that are perfect for the 14th.

Heart-Shaped Cupcakes

Valentine's Day Cupcake ideas | Vicky Barone

First up: heart-shaped cupcakes! Well, kinda-heart-shaped cupcakes. We have seen the Pinterest hack to make heart-shaped cupcakes by adding glass marbles to a cupcake tin and thought we’d try it out! Instead of marbles, we rolled up tiny pieces of aluminum foil and placed them between the cupcake tin and the liners. They looked so promising! But, alas, it was too good to be true. They don’t have a pointy base, but they can still pass as hearts, right?

Valentine's Day Cupcake ideas | Vicky Barone Valentine's Day Cupcake ideas | Vicky Barone Valentine's Day Cupcake ideas | Vicky Barone

Candy Melt Conversation Cupcakes

Valentine's Day Cupcake ideas | Vicky Barone

Next up are these Candy Melt Conversation Cupcakes! All you need to create these cupcake toppers is a bag of red (or pink!) candy melts, a ziploc bag, scissors, a cookie sheet, and some waxed paper.

Valentine's Day Cupcake ideas | Vicky Barone

Line a cookie sheet with the waxed paper and melt the candy melts in a bowl according to the directions. Scoop the melted candy melts into a Ziploc bag and cut one of the corners off. Write any words you’d like onto the waxed paper (make sure they are in cursive and all the letters are connected!) and place the cookie sheet into the refrigerator to set. Carefully peel the words off of the waxed paper and stick them right into the cupcake icing!Valentine's Day Cupcake ideas | Vicky Barone

Custom Cupcake Toppers by Places for Faces

Valentine's Day Cupcake ideas | Vicky Barone

Last but not least, our favorite way to decorate cupcakes: Places for Faces!

Valentine's Day Cupcake ideas | Vicky Barone

Use Places for Faces to create custom dessert toppers with your face on them! They are perfect for Valentine cupcakes, birthday parties, and any event that could use a little personality. Places for Faces also offers printable valentines for your little ones!

Valentine's Day Cupcake ideas | Vicky Barone

Valentine's Day Cupcake ideas | Vicky Barone

What’s your favorite way to decorate a Valentine cupcake? We’d love to hear your ideas!

Categories
Parties and Events Recipes

Mini Caprese Salad Bites

Looking for something a little more sophisticated to serve your Super Bowl party guests this weekend? These mini caprese salad bites are delicious, impressive, and secretly SO easy to put together! Here’s how…

Mini Caprese Salad Bites | Vicky Barone | Superbowl Appetizer Ideas

Ingredients: cherry tomatoes, mozzarella balls, fresh basil, balsamic vinegar, and toothpicks.

Mini Caprese Salad Bites | Vicky Barone | Superbowl Appetizer Ideas

Directions: Grab a toothpick or a plastic appetizer skewer and start stacking your ingredients in whatever order you like. We found it was best when the basil leaf was between the tomato and the mozzarella. Once all of your caprese bites are assembled, drizzle some balsamic vinegar over the top (or leave it on the side for dipping!).

Mini Caprese Salad Bites | Vicky Barone | Superbowl Appetizer Ideas

Mini Caprese Salad Bites | Vicky Barone | Superbowl Appetizer Ideas

There you have it! Easy and impressive appetizers your guests will love. Want to go a more traditional route? Try these!

Categories
DIY Holidays Kids Parties and Events

New Year’s Eve Countdown Cake

Tomorrow is New Year’s Eve! Hooray! Today we’re sharing a delicious cake idea your kids will LOVE!

3

Count down to midnight with a Countdown Cake!

1

First, bake a cake and frost it with white icing. Next, melt chocolate candy melts and spoon them into a Ziploc bag. Cut the corner of the Ziploc bag and pipe out the numbers on the cake to create a clock!

2

Create a circle in the center of the cake with chocolate and place two pretzel sticks (one thin and one thick) to create the hour hand and minute hand. Cover with more chocolate to hold in place OR spin the pretzels throughout the night to reflect the time!

5

Enjoy your cake while you count down to the New Year!

We hope everyone has a safe and happy New Year! See you in 2016 😉

Categories
DIY Holidays Kids Parties and Events

DIY Mini Party Hat Headbands

Here’s a festive DIY for your New Year’s Eve party! These glittery mini party hats are super easy to make and are sure to delight your guests. Here’s how to make your own…

DIY Mini Party Hat Headbands | Vicky Barone

Supplies: plastic headbands, glittery scrapbook paper, pom poms, scissors, hot glue, and a mini party hat template (click on the image below to download the FREE template!)

DIY Happy New Year Glitter Garland | Vicky Barone

Directions:
1. Print out the template, cut it out, and trace it onto the glitter paper.
2. Cut the shape out of the glitter paper.
3. Put a line of hot glue on the tab of the party hat template, roll the paper into a cone, and press the tab onto the underneath of the other side. Hold together until the glue cools.
4. Attach the hat to the headband using hot glue.
5. Put a dot of hot glue on the top of the hat and add a pom pom.

DIY Mini Party Hat Headbands | Vicky Barone

That’s it! Set them out for your guests to choose from and have a happy New Year!

DIY Mini Party Hat Headbands | Vicky Barone

P.S. Add some faces to your hats with Places for Faces! Use the code MERRY2015 for 50% off templates and add some personality to your party!

Categories
DIY Holidays Parties and Events

DIY Happy New Year Glitter Garland

New Year’s Eve is just three days away! If you’re looking for festive ways to decorate, we have the perfect DIY garland for you!

DIY Happy New Year Glitter Garland | Vicky Barone

Supplies: glitter scrapbook paper, a paper cutter or scissors, an X-acto knife, a cutting mat, letter stencils, string, and hot glue.

Directions:
1. Using a paper cutter or scissors, cut glitter paper into rectangles. Ours were about 3.5×5″
2. On a cutting mat, use the X-acto knife to cut out triangles from the base of each rectangle to create flags.
3. Use stencils and the X-acto knife to cut out letters from each flag. We printed our letters and cut them out of card stock to create our own stencils in the font we liked.
4. Use hot glue to attach string to the back of each flag.
5. Hang your garland and enjoy!

DIY Happy New Year Glitter Garland | Vicky Barone

DIY Happy New Year Glitter Garland | Vicky Barone

How will you celebrate the New Year?

P.S. Places for Faces is offering a holiday coupon for 50% off templates! You can make personalized cupcake toppers, drink stirrers, centerpieces, and so much more. Use the code MERRY2015 at checkout and add some personality to your New Year’s Eve Party!