Categories
Parties and Events Things I Love

Things I Love: Graduation 2014

1. Sign In Book | 2. Chocolate Caps | 3. Paper Garland | 4. Money Balloon | 5. Paper Straws | 6. Photo Display | 7. Fruit Drink Stirrers

With college seniors out the door and high school graduations coming up fast, Grad parties are in full swing! Here are some fun ideas to celebrate your graduates and their accomplishments! Congratulations, Class of 2014!

Categories
DIY Kids Parties and Events

DIY Car Photo Booth

This post contains affiliate links. If purchased, I will receive a commission.

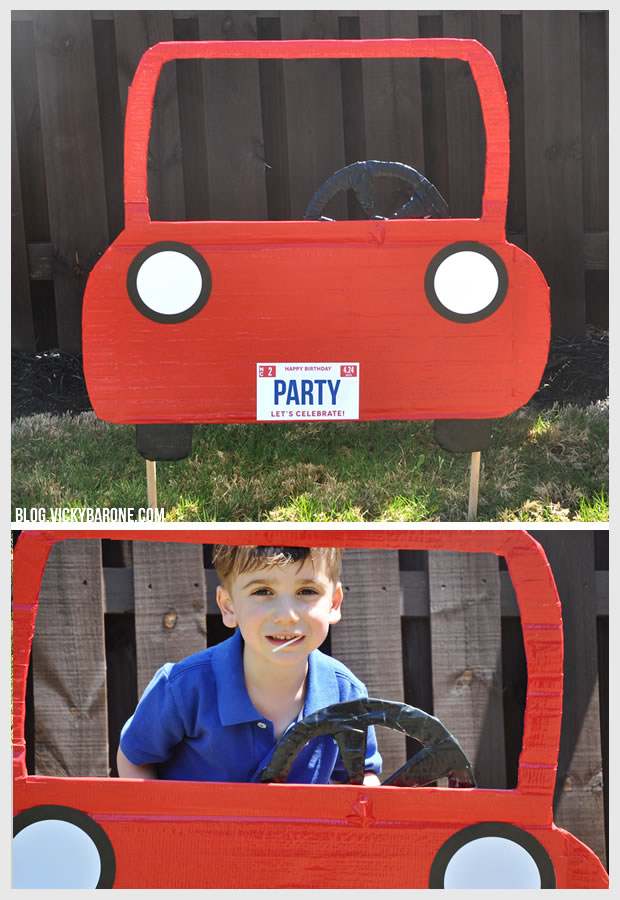
We saw this AMAZING idea for a photo booth here and knew we had to try and re-create it for the Race Car Birthday Party!

DIY Car Photo Booth | Vicky BaroneThe kids loved it and it made for great pictures! Using the pictures from this blog post as inspiration, we did our best to create our own free standing car photo booth. Here’s how we did it:

Materials: cardboard, an X-acto knife or scissors, red duct tape, black duct tape, two wooden dowels, a brad pin, and paper cut outs for the headlights and license plate.

Some of the supplies above contain affiliate links. If purchased, I will receive commission.

Directions:
1. On a large piece of cardboard, trace the shape of a front-facing car with a large windshield. Cut this out with an Exacto knife or scissors.
2. On a smaller piece of cardboard or with your cardboard scraps, trace and cut out two slightly squared off ovals (these will be the wheels!) and a steering wheel.
3. Wrap the car in red duct tape and the wheels and steering wheel with black duct tape. Attach the wheels to the bottom of the car with more tape.
4. I made my own head lights and license plate, printed them out, and glued them to the car. You can recreate this on the computer or by cutting out two black circles and two slightly smaller white circles for the headlights and a rectangle with any combination of letters and numbers you’d like for the license plate!
5. Flip the car over and tape the wooden dowels to the back. We attached ours midway up the sides of the car to support the flimsy outline if the windshield.
6. We attached the steering wheel by punching a hole in the car and in the center of the steering wheel and inserting a plastic brad from a DIY Pinwheel kit (you can use any kind of brad pin or paper fastener). This helped the wheel spin, which made it extra fun! Then we added a piece of red duct tape to the front of the car to cover where the brad stuck out.
7. Using a stake or sharp object, make holes in the ground outside and insert the wooden dowels.

DIY Car Photo Booth | Vicky Barone

We had so much fun with the photo booth we might make another one some day!

Check out the rest of the Race Car Birthday Party here!

Categories
DIY Holidays Parties and Events Recipes Things I Love

Things I Love: Memorial Day

1. American Flag Bunting | 2. Mini Burgers
3. Patriotic Popsicles | 4. Giant Jenga | 5. America the Blue-tiful Cocktail
6. Cream Cheese Fruit Tart | 7. Fruit Salad

To kick off Memorial Day weekend, we’ve collected some food, drink, decor, and even an activity to celebrate!

We are so grateful for the men and women who sacrificed their lives for our beautiful country. We hope everyone has a safe and happy Memorial Day weekend.

Categories
Kids Parties and Events Recipes

Cars Birthday Cake

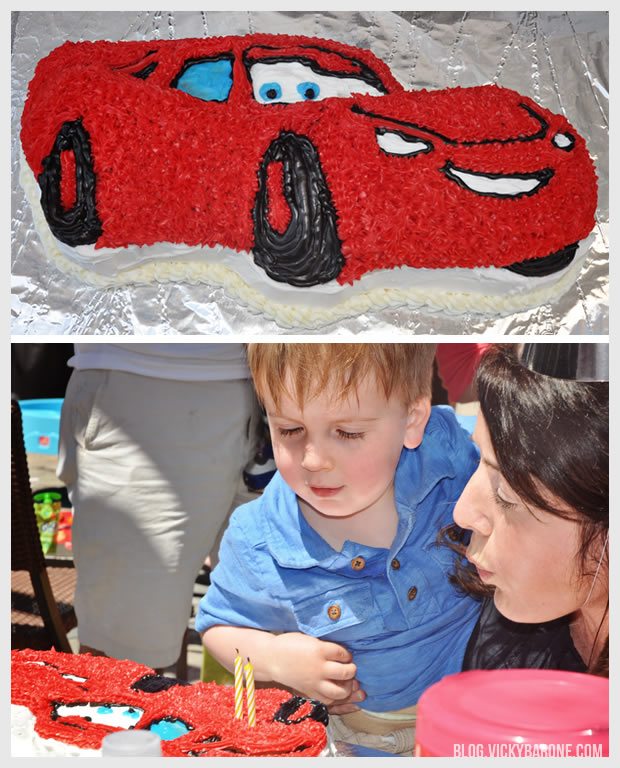
Here is the Lightning McQueen cake I made for my son’s race car birthday party! Cars Birthday Cake | Vicky Barone I used this Wilton cake pan, a few different decorating tips, and some red, blue, black, and white frosting. You can find full directions on the Wilton website here! Cars Birthday Cake | Vicky Barone My son LOVED it and it went perfectly with the race car theme! You can find the rest of the party details here 🙂

Categories
Holidays Parties and Events Products

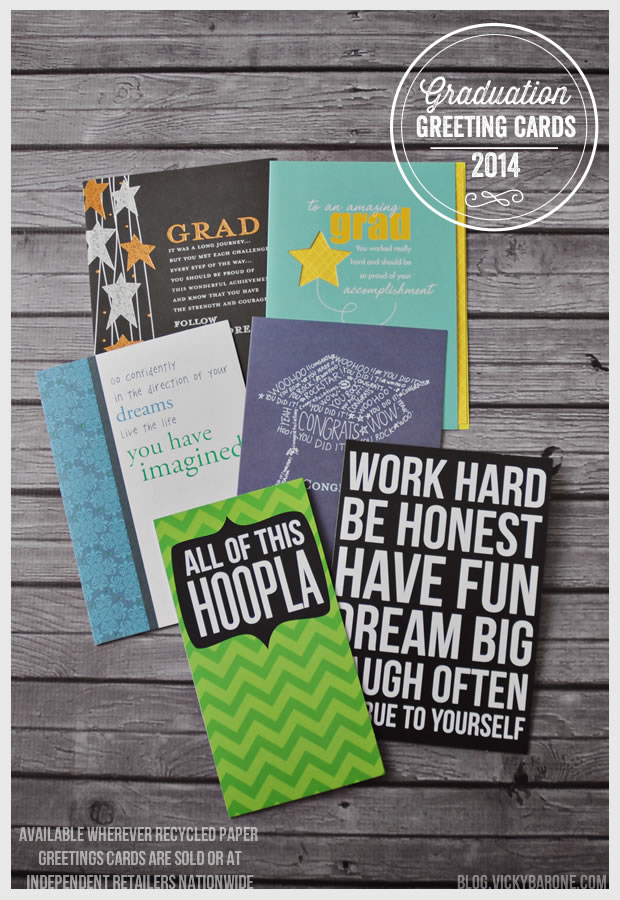
Graduation Greeting Cards 2014

Congratulate the special grad in your life with one of my encouraging greeting cards! These cards and more are available at independent retailers nationwide and wherever Recycled Paper Greetings cards are sold.

Congratulations, Class of 2014!

Categories
Family Recipes

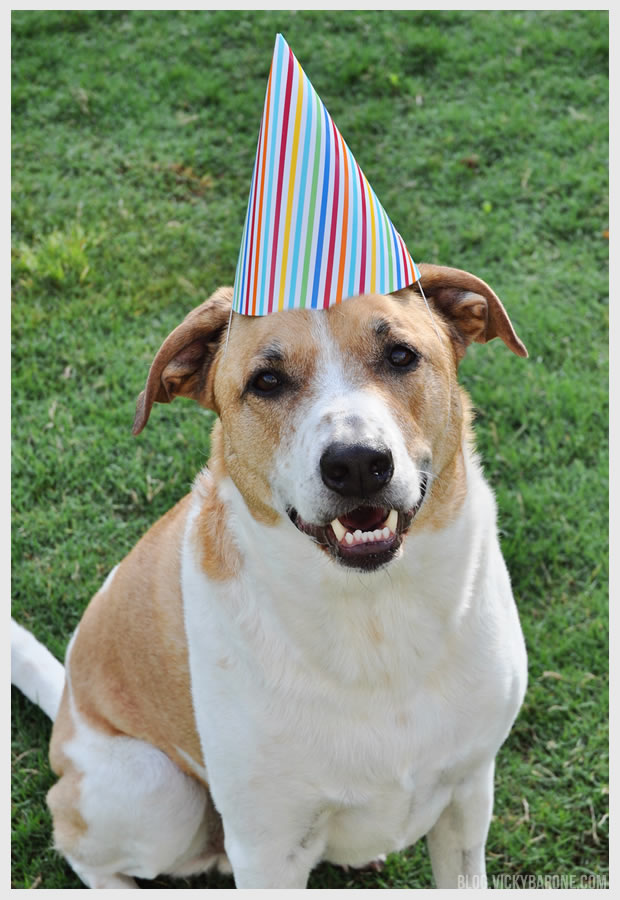
Happy 8th Birthday, Cooper Dog!

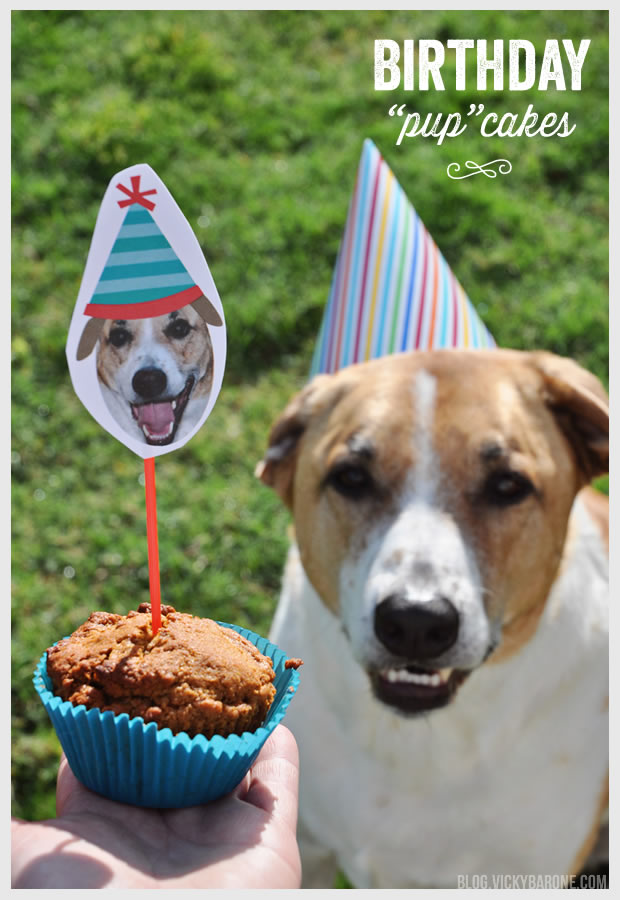
Cooper turns 8 today! Happy Birthday to my very best friend.

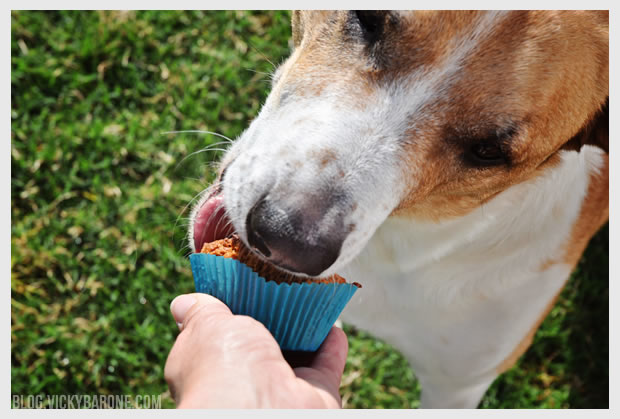
Dog Birthday "Pup" Cakes | Vicky BaroneI made Cooper his very own dog-friendly cupcakes AKA “Pup”Cakes to munch on. I used the same recipe from his birthday cake from last year, but this time spooned the batter into lined cupcake tins and baked them for 25 minutes.

Dog Birthday "Pup" Cakes | Vicky BaroneThe “pup”cakes are made with peanut butter and carrots so of course he LOVED them!

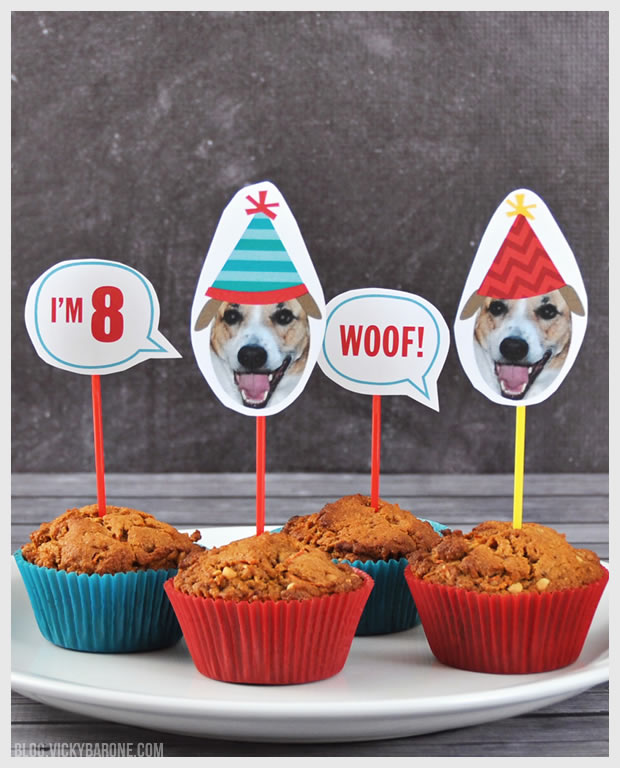
Dog Birthday "Pup" Cakes | Vicky Barone | Places for Faces

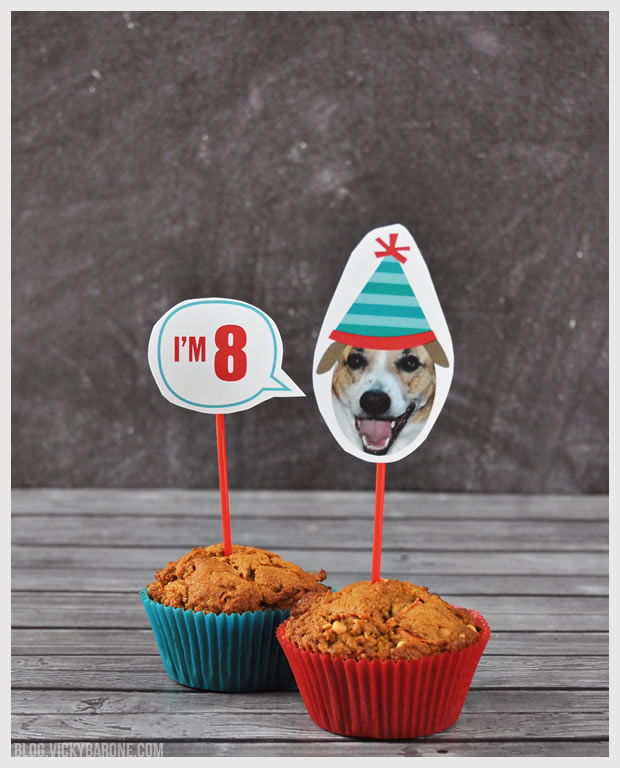
And since Cooper is obviously part of the family, he got his own personalized cupcake toppers using Places for Faces! Soon everyone will be able to make their own custom party decor using Places for Faces! Sign up below to be one of the first to use this new tool and to find out when we launch! We are so excited and we hope you are too!


Dog Birthday "Pup" Cakes | Vicky Barone | Places for Faces

Happy Birthday, Cooper dog! We love you so much!

Categories
DIY Kids Parties and Events

DIY Pull-String Car Piñata

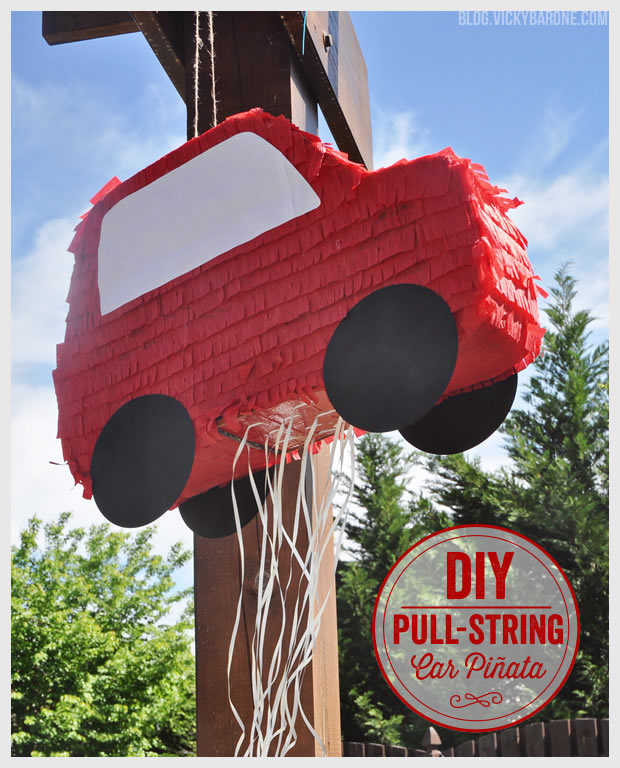
Here is another fun detail from the Race Car Birthday Party: a bright red car piñata!

Since it was a 2-year-old party, we decided to go the safer route and make a piñata that didn’t require any blindfolds or bat-swinging. A pull-string piñata is a great alternative for a party with young kids! Instead of constructing it with papier-mâché to make it easy to bust open, this piñata has a trap door on the bottom to release the candy when the right string is pulled. You can even use it over and over again!

Here is how you make your own:
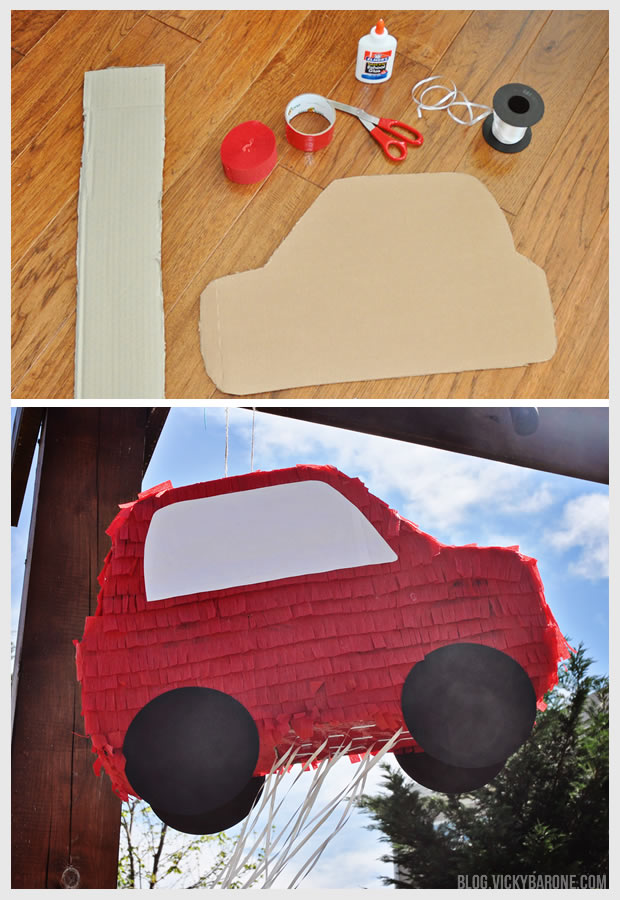
DIY Pull String Pinata | Car Party | Vicky BaroneMaterials: Cardboard, crepe paper, duct tape, scissors, ribbon, and glue. (Not pictured: white paper for the windows, black paper for the wheels, and twine to hang the piñata)

Directions:
1. Trace the shape of a car onto a piece of cardboard and cut it out. Trace that piece of cardboard onto another piece to create an identical car shape (make both shapes whatever dimensions you’d like!).
2. Cut out strips of cardboard to go in between each car silhouette (ours were about four inches thick).
3. Bend the cardboard strips around the edges of the car shapes and tape them in place to create a 3D car (Oh Happy Day has a great tutorial for making piñatas including step-by-step pictures!).
4. Cut a flap on the bottom of the 3D car and wrap it with the red duct tape so it fits snugly back together (we covered the entire bottom of the car with red duct tape to cover up the cardboard).
5. Fold segments of crepe paper and cut into fringe with scissors.
6. Glue strips of fringed crepe paper onto the car, starting from the bottom.
7. Cut out four wheels with the black paper and two windows with the white paper and glue onto the car.
8. Punch two holes at the top of the piñata and thread the twine through to hang it.
9.Cut ribbon into four or five foot pieces, depending upon how high or low you’d like your piñata to to hang (and how tall the participating kiddos are). Attach one piece of ribbon to the inside of the flap securely so that when pulled, the flap opens. Tape the rest of the pieces of ribbon to the outside of the flap with small pieces of tape so that when pulled, the flap stays closed, but those ribbons detach.
10. Fill the piñata with candy and hang it up! (It was windy on this day, so we tied the ribbons around one of the posts of the arbor so they didn’t get tangled)

DIY Pull String Pinata | Car Party | Vicky Barone

There are two ways to use a pull-string piñata:
1. Have each child choose a string to hold onto, but not pull right away. Once each string has a set of little hands on it, count to three and have everyone pull their string at the same time. This method is to eliminate the possibility of the “winning” string getting pulled first and the piñata festivities finishing before they even started.
2. Have the children line up and let each one pull a string one at a time. Eventually, one of the strings will open the trap door. You can also hand out the strings to each child, saving the “winning” string for the birthday boy or girl when it’s their turn in line.

DIY Pull String Pinata | Car Party | Vicky Barone

The car piñata was a hit with the kids, and went great with the theme of the party! Check out the rest of the party here 🙂

Categories
Kids Parties and Events Recipes

Stoplight Brownies

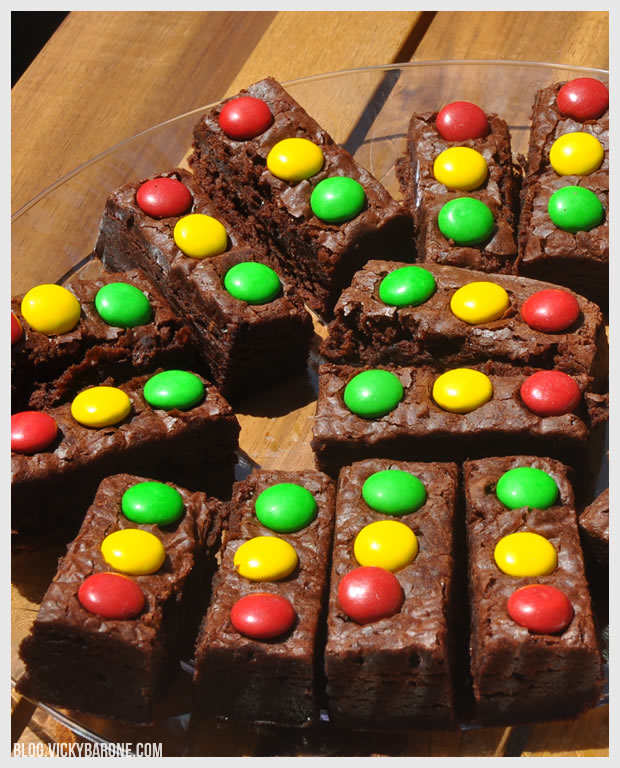
Our sweet former nanny brought these delicious brownies to my youngest’s birthday party a few weeks ago. How cute is it that they look like little traffic lights? They went perfectly with the race car theme! The birthday boy especially loved sneaking up to the table to pick off the m&ms and snack on them while he waited to blow out the candles on his cake. They were a hit, all around!

Stoplight Brownies | Vicky BaroneWe asked the chef herself to give us some tips and tricks to share with our readers! Here is how she made them:

Ingredients: one box of fudge brownie mix, eggs, water, vegetable oil, and a big bag of m&ms (to make sure you’ll have enough reds, yellows, and greens!).

Directions:
1. Bake brownies according to recipe on box (or make them from scratch!). Remove from oven and let cool.
2. Transfer pan of baked and cooled brownies to the refrigerator to chill overnight (this keeps them moist and makes them easier to cut).
3. Cut brownies into squares and then half the squares to create the little rectangular shapes.
4. Press red, yellow, and green m&ms face down into each rectangle.

Stoplight Brownies | Vicky BaroneSuper cute and perfect for a car-themed party! Thanks so much, Miss Joan!

Make sure to follow Vicky Barone on Bloglovin’, Pinterest, Facebook, and Instagram for more details on the party coming soon!

[This post was shared at The Makers Link Party!]